Applying a mist coat to freshly plastered walls or ceilings is the best way of ensuring that newly applied paint is long lasting and has a professional finish. The goods news is that with the right tools and instructions, it's a straightforward DIY project.
In this guide we'll take you through the process of how to apply a mist coat so that your walls and ceilings are ready for that new splash of colour.
Essential Tools & Equipment
Step 1: Make Sure The Plaster Is Fully Dry
It's really important that newly plastered walls are completely dry before you move on to applying a mist coat, otherwise paint could peel and flake. Typically, new plaster takes anywhere from a few days to a couple of weeks before it's fully dry. There's a couple of telltale signs to look out for:
- The colour of the plaster should be a consistent light pink across the surface with no dark patches.
- Fully dried plaster tends to feel "chalky" to the touch.
Step 2: Inspect and Fill Any Imperfections in the Plaster
Once you're happy that the plaster is dry, and before applying the mist coat, you'll want to take some time to properly inspect the wall, checking for any imperfections. Even the best plastering job may have resulted in small trowel marks or indentations.
-
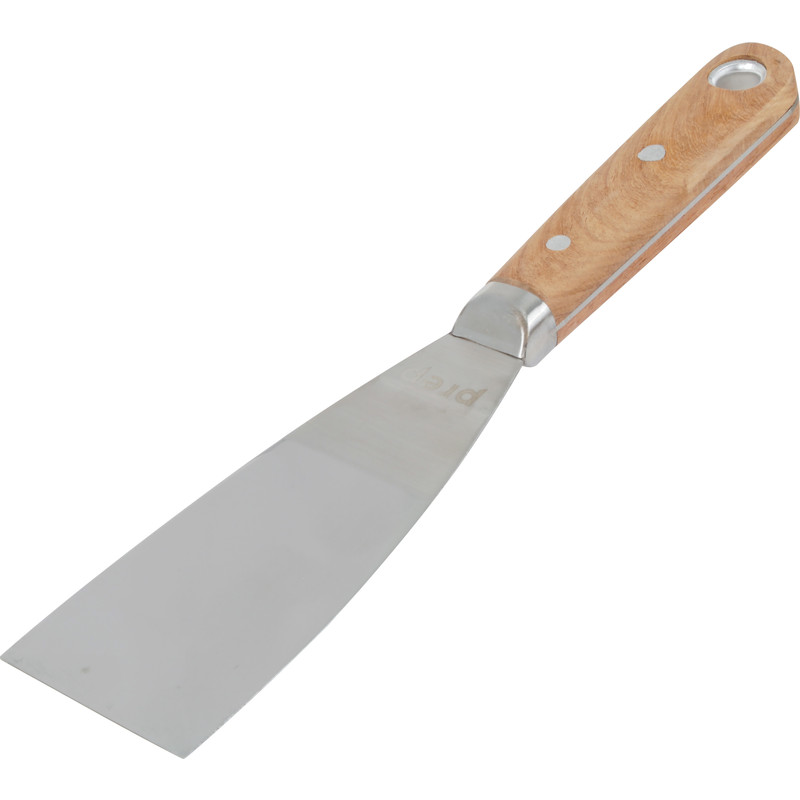
Use a filling knife and multi-purpose filler to carefully fill in these areas. Make sure to smooth the filler out so it blends in with the plaster.
Step 3: Sand Down The Plastered Surface
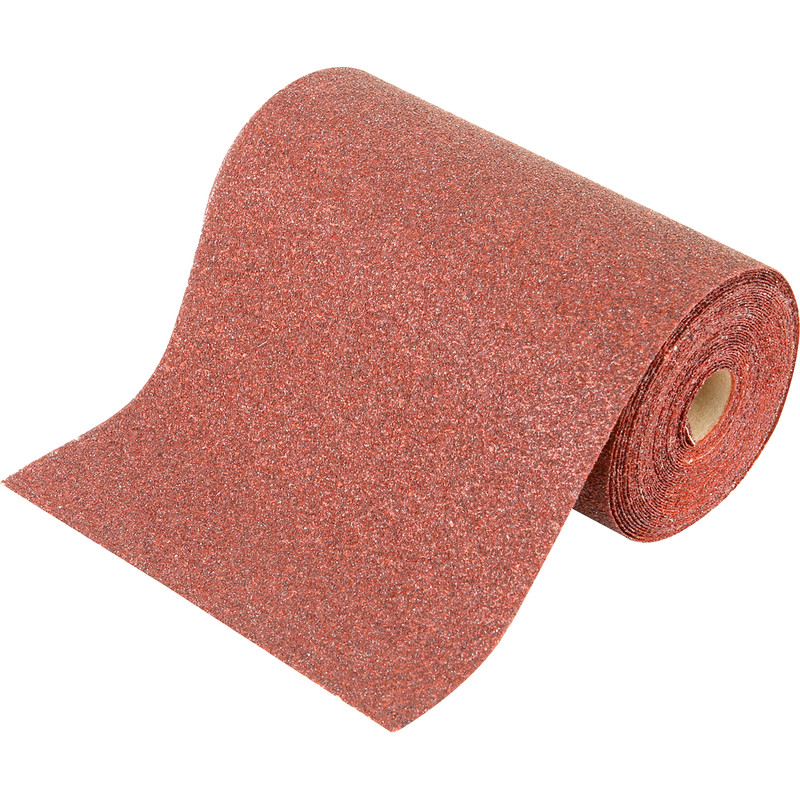
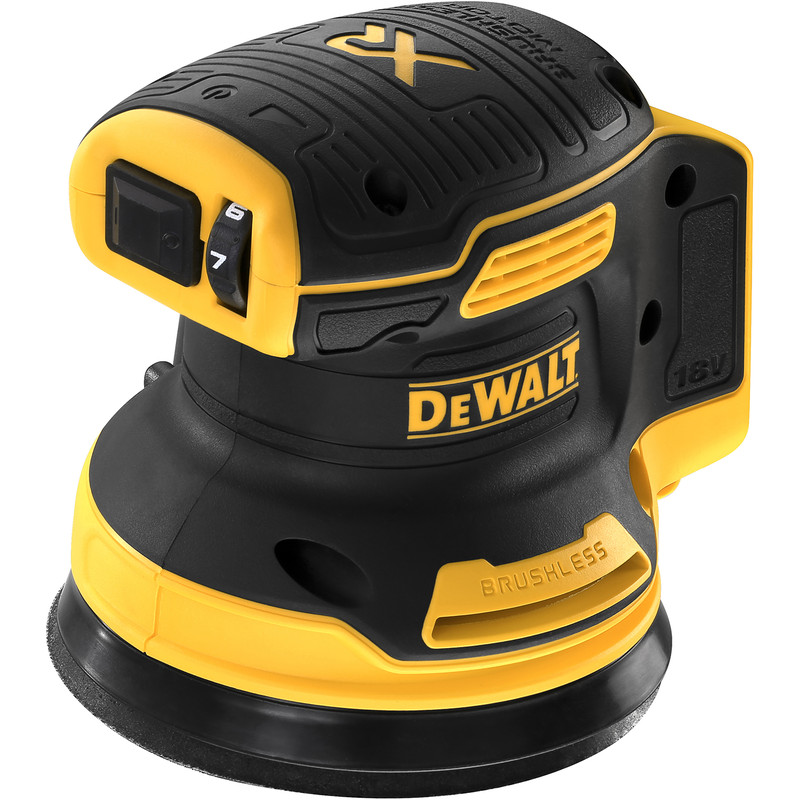
Once your filler has dried, it’s time to sand down any rough spots along with the rest of the wall. Newly dried plaster can result in a slight sheen, and if you apply a mist coat without sanding first, this could prevent the paint from adhering properly.
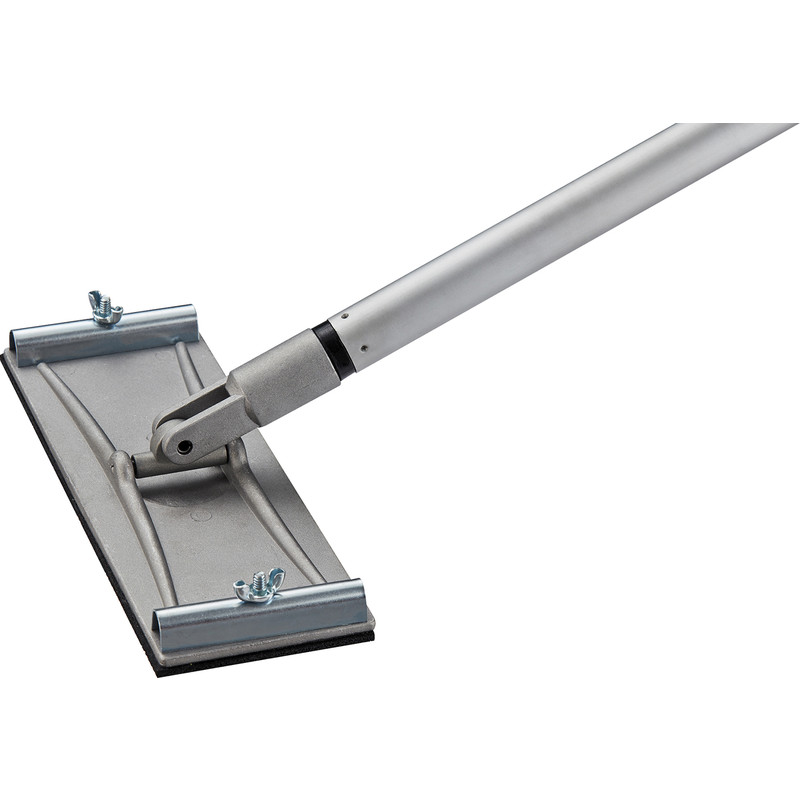
- For ceilings, attach a sanding mesh to a pole with a sanding head to make the job easier.
-
For walls, a hand sander will do the trick.
Your newly sanded surface should be smooth and shine-free. Now it's ready for the mist coat!
Step 4: Mix Your Mist Coat
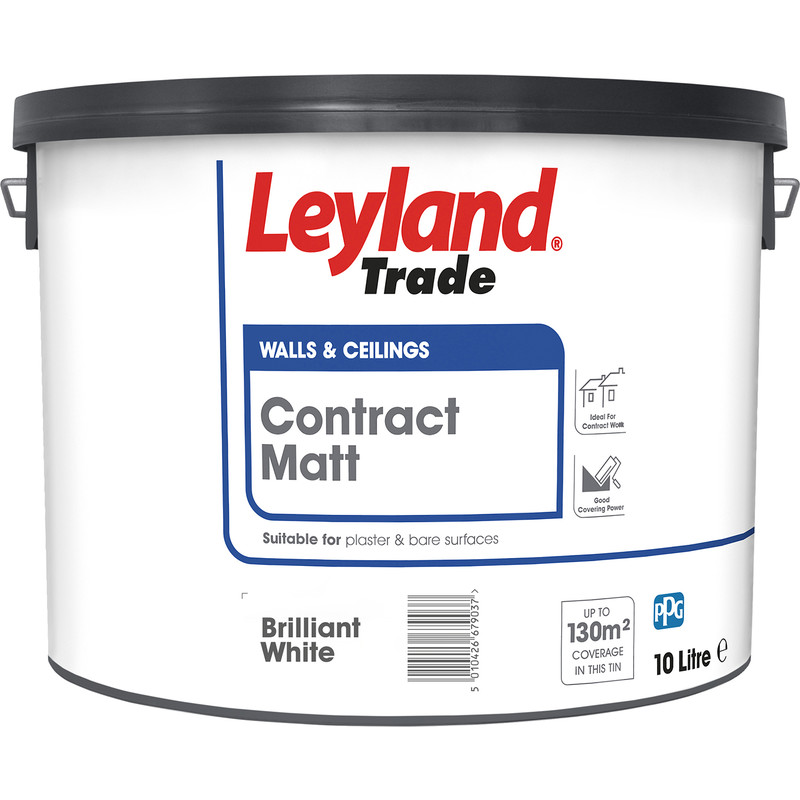
Mist coat is simply watered-down emulsion paint which acts a primer, to seal the walls and prepare it for any subsequent coats of paint. Here's how to mix your mist coat for the best consistency:
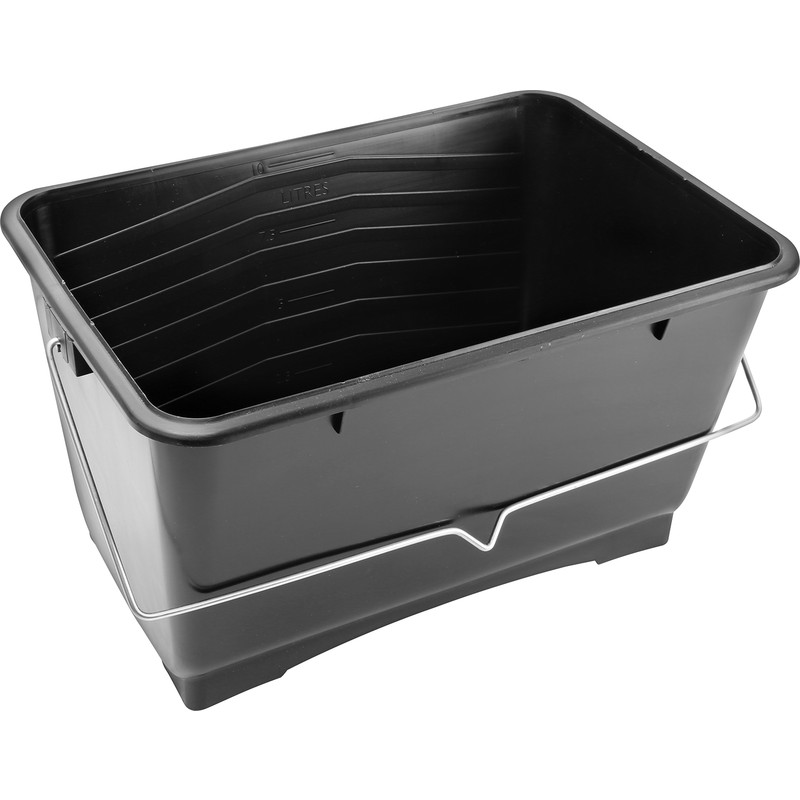
- Pour some of the matt emulsion paint into your paint scuttle.
- Add an equal amount of water into the paint. It's pretty easy to gauge with a 50/50 mix however, you can use a measuring jug for exact measurements if you prefer.
- With your mixing paddle attached to your drill, use this to blend together the paint and water.
The final result should leave you with a fairly watery consistency which allows the plaster to absorb it effectively.
Step 5: Apply the Mist Coat To Edges Using A Brush
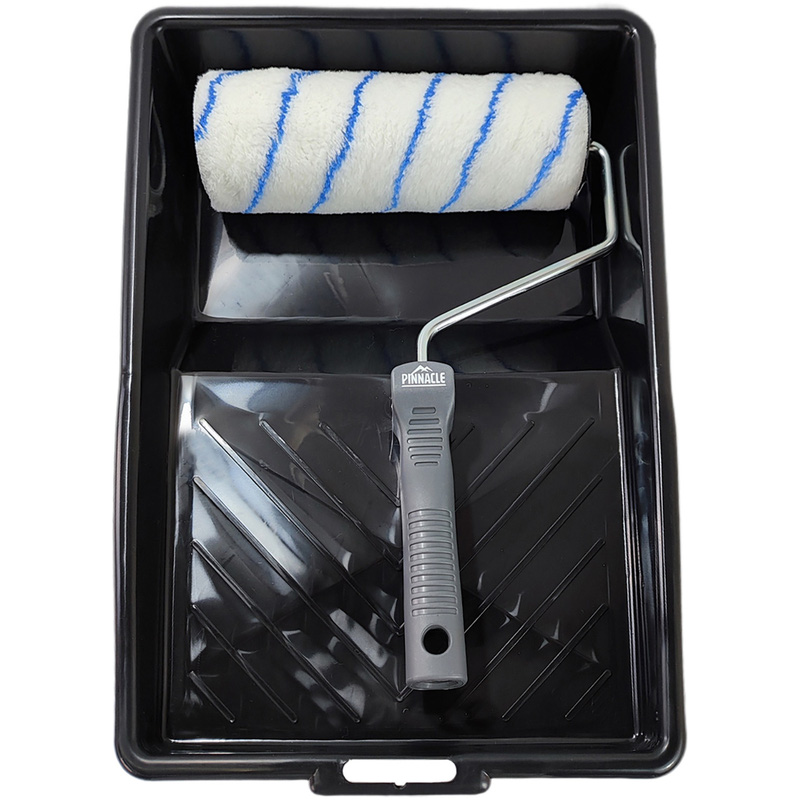
To make applying your mist coat a bit less messy, it's a good idea to pour some of the mixture into a paint tray before you start. Don't forget to throw down a few dust sheets to protect your floor and any furniture. Mist coat is watery so a few drips of paint here and there are inevitable!
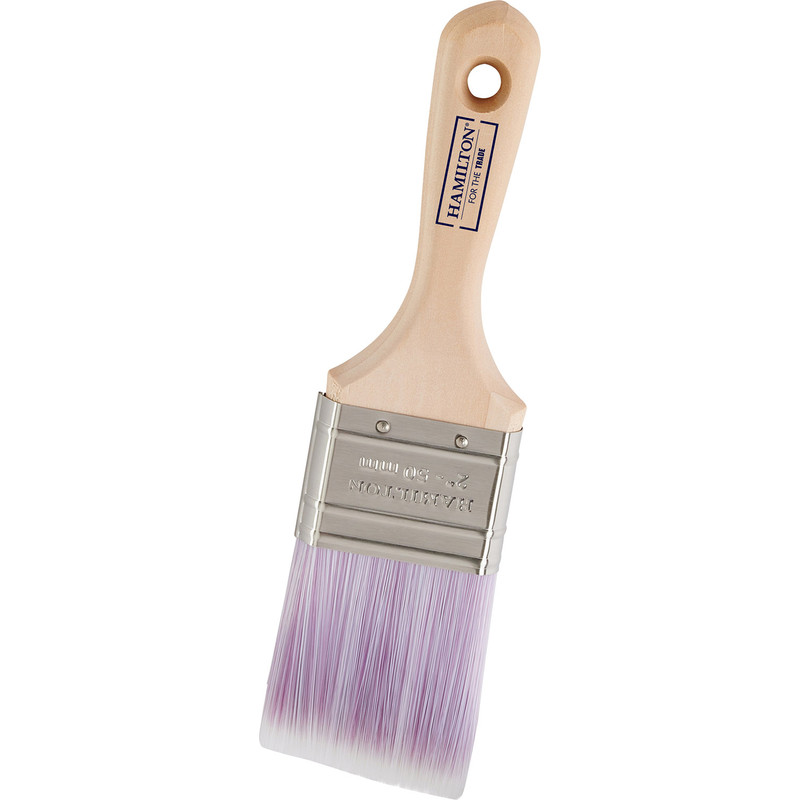
- Load your brush up with paint and start by applying your mist coat along edges and around covings and other fixtures.
- You might notice that the new plaster quickly absorbs the paint. This is normal and is a good indication that the mist coat is doing it's job to seal the plaster.
Step 6: Apply Mist Coat To Main Surface Area
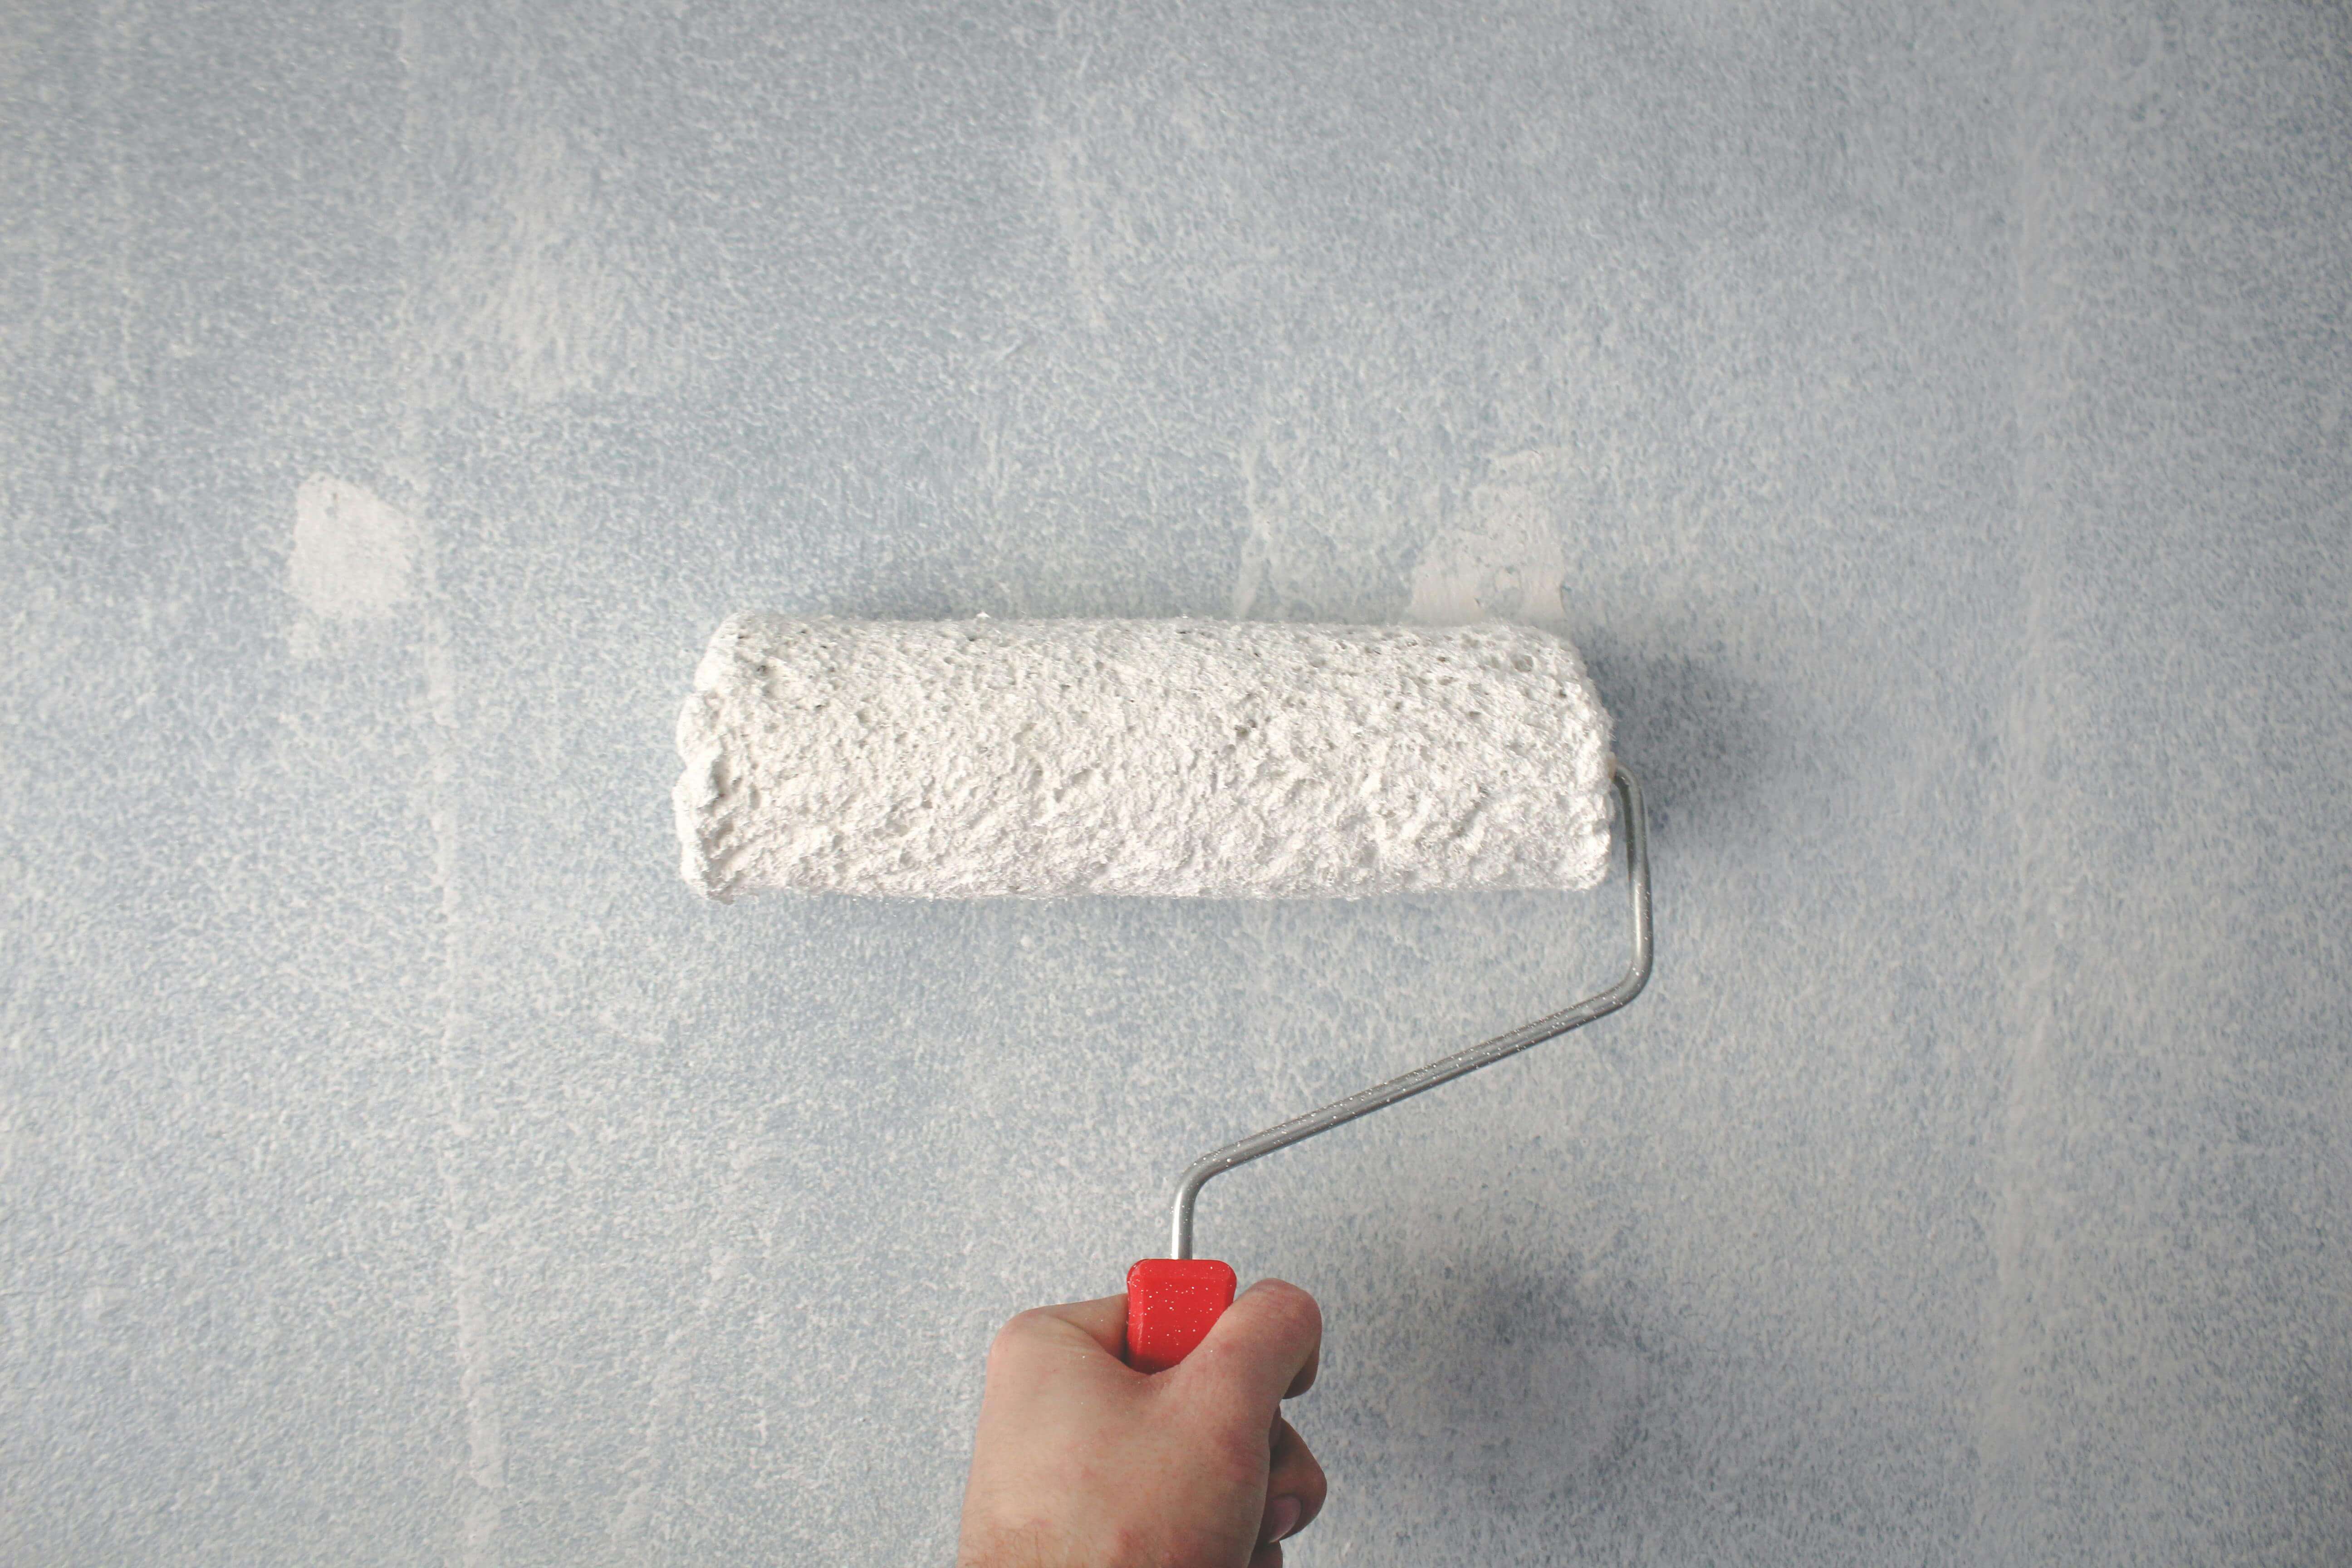
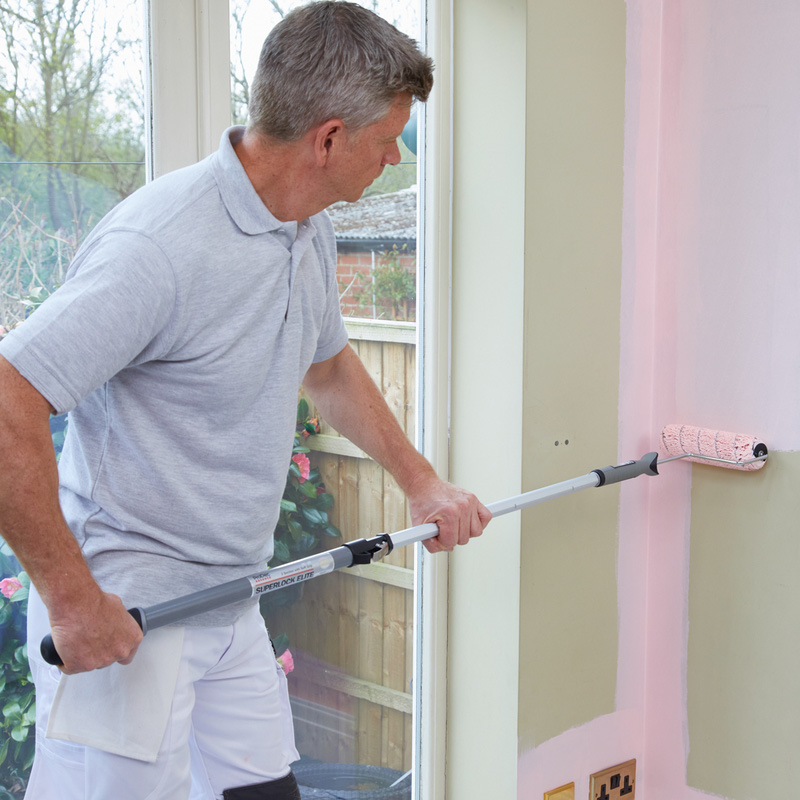
Now that the edges are done, use a paint roller to apply the mist coat over the larger areas of your wall or ceiling. A roller pole can make quick and easy work of this.
- Be sure to load the roller with plenty of paint, and work methodically to cover the entire surface area evenly.
- Move in alternating directions, using long strokes.
Once you're done, you'll want to leave the paint to soak in and dry completely. With your base coat complete, you're now ready to apply a couple of coats of your favourite colour.

