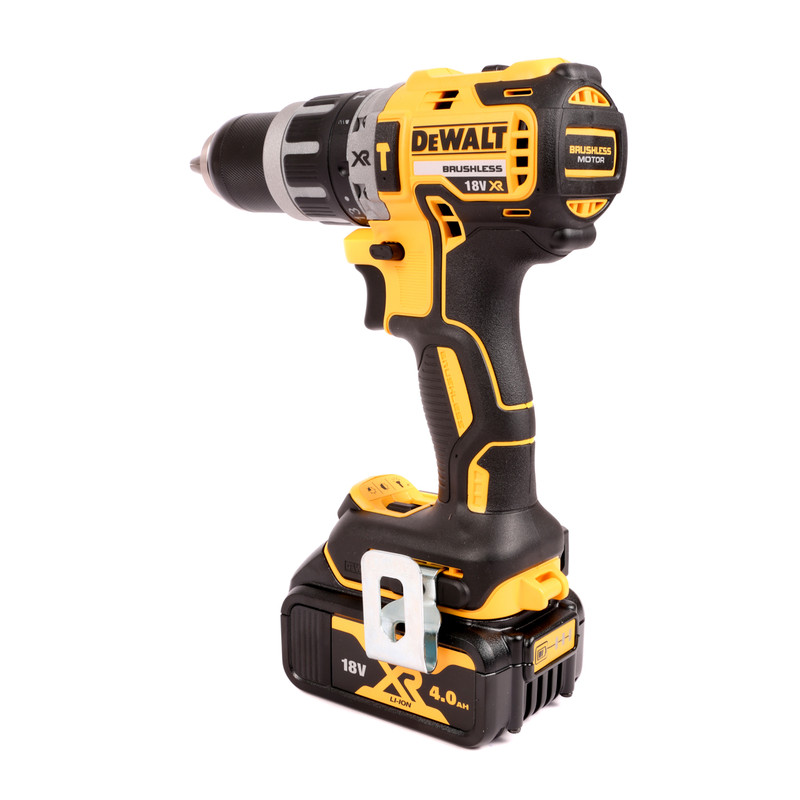
Drilling through tiles can be a daunting task – if you make a mistake, you risk cracking them and needing to replace the whole tile. However, with the right technique and tools, you can drill through tiles with confidence and precision. In this guide, we'll walk you through the steps to drill through tiles without causing any damage, ensuring a professional finish.
Essential Tools & Equipment
Step 1: Safety First
-
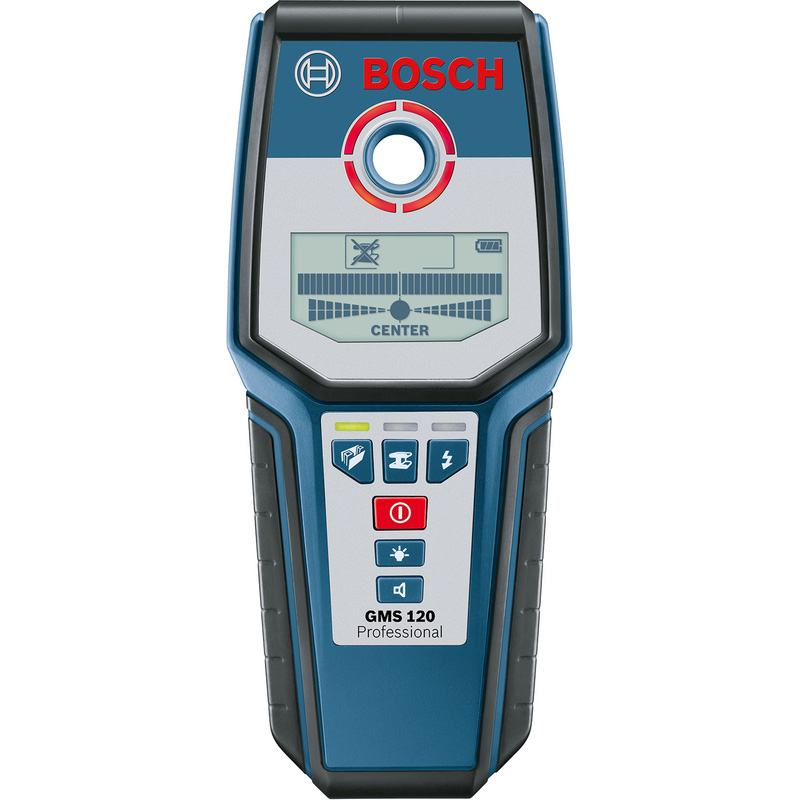
Before you begin, use a multi-detector to check the area for any hidden pipes and wires.
-
This ensures that you don't accidentally drill into something that could cause harm or damage.
Step 2: Measure and Mark
-
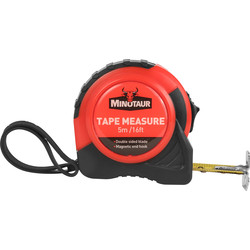
Measure the exact point where you want to drill the hole and mark it clearly.
-
This will serve as your guide throughout the process.
Step 3: Choose The Right Drill Bit
-
Depending on the purpose of the hole, you might need to insert a wall plug.
-
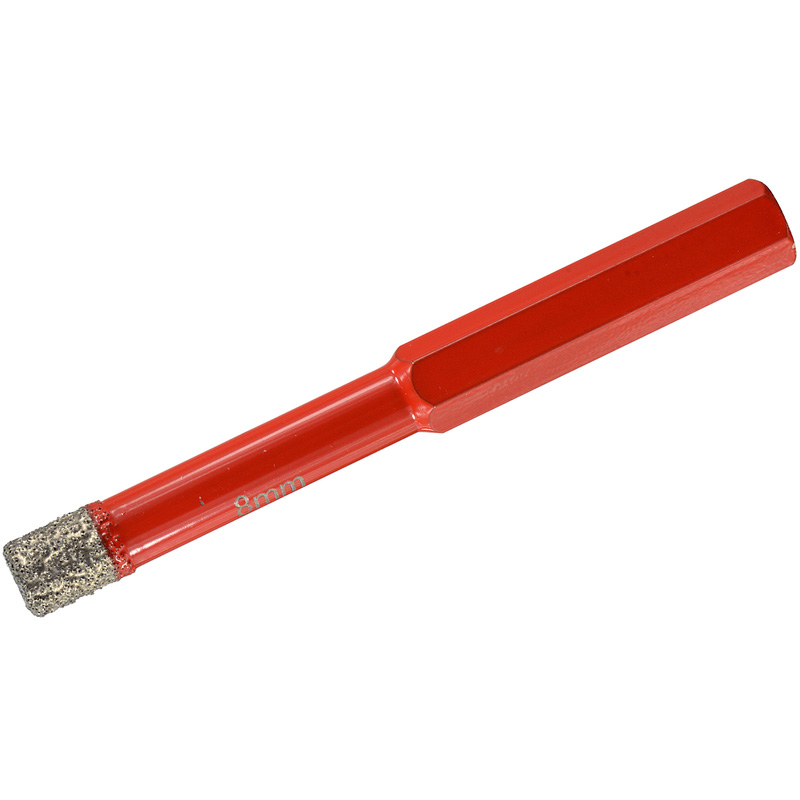
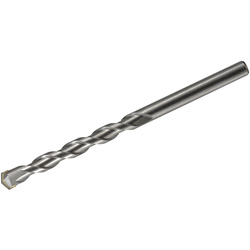
Ensure you select a tile drill bit that matches the size of your plug.
Step 4: Set The Drill
-
Adjust your drill to the regular drill setting.
-
Don’t use the hammer action as it can risk cracking the tile.
Step 5: Prevent Slipping With Tape
-
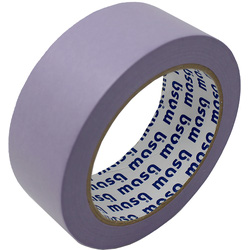
Place a piece of tape over the marked point.
-
This helps in preventing the drill from slipping and provides additional grip.
Step 6: Start Drilling
-
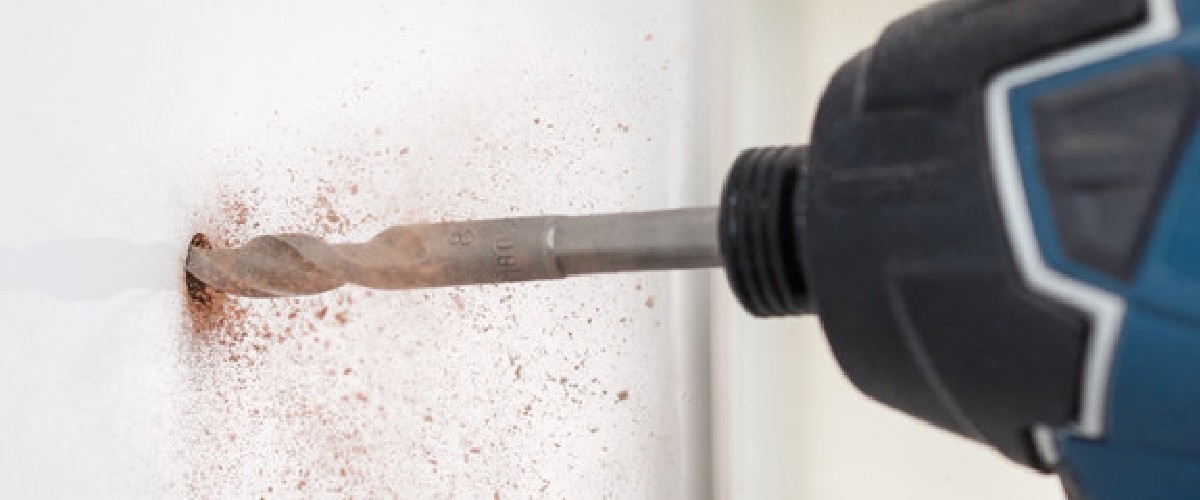
Wearing the appropriate safety gear, begin drilling.
-
Press the trigger lightly and take your time.
-
Use both hands to support the drill for better control.
Step 7: Be Gentle With The Tile
-
If you exert too much pressure on the tile, you risk damaging its surface.
-
Be gentle and patient.
Step 8: Switch To Masonry Drill Bit
-
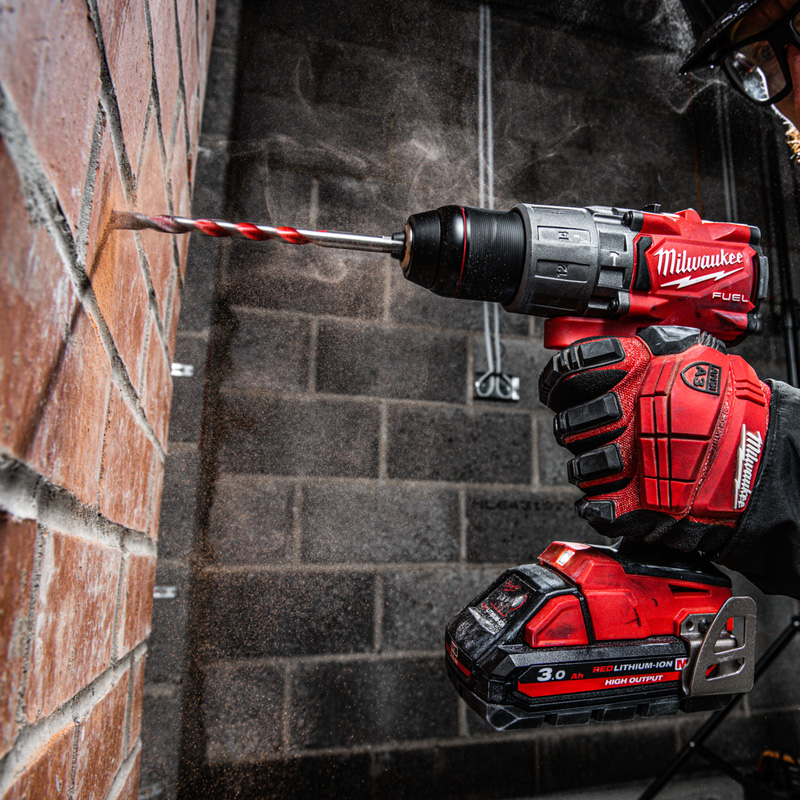
Once you've drilled through the tile, switch to a masonry drill bit to drill into the wall.
-
While the hammer function can assist, ensure the drill bit remains straight to avoid knocking and cracking the surrounding tile.

