How To Fix A Dripping Tap
A dripping tap is not only an annoyance - it can also lead to wasted water and higher bills. Fixing a leaky tap is a straightforward task that can be accomplished with a few basic tools and a little know-how. In this guide, we'll walk you through the steps to fix a dripping tap, ensuring you can enjoy a peaceful and efficient home.
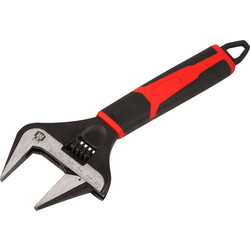
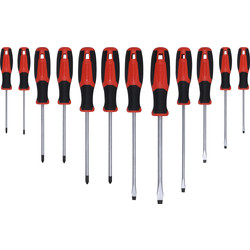
Essential Tools & Equipment


Step 1: Turn Off The Water Supply
-
Before starting any plumbing work, turn off the water supply to prevent any unwanted spills.
-
Locate your stop tap, usually found under the kitchen sink, by the front door, or under the stairs.
-
If your unit is modern, you might have an isolation valve underneath each sink.
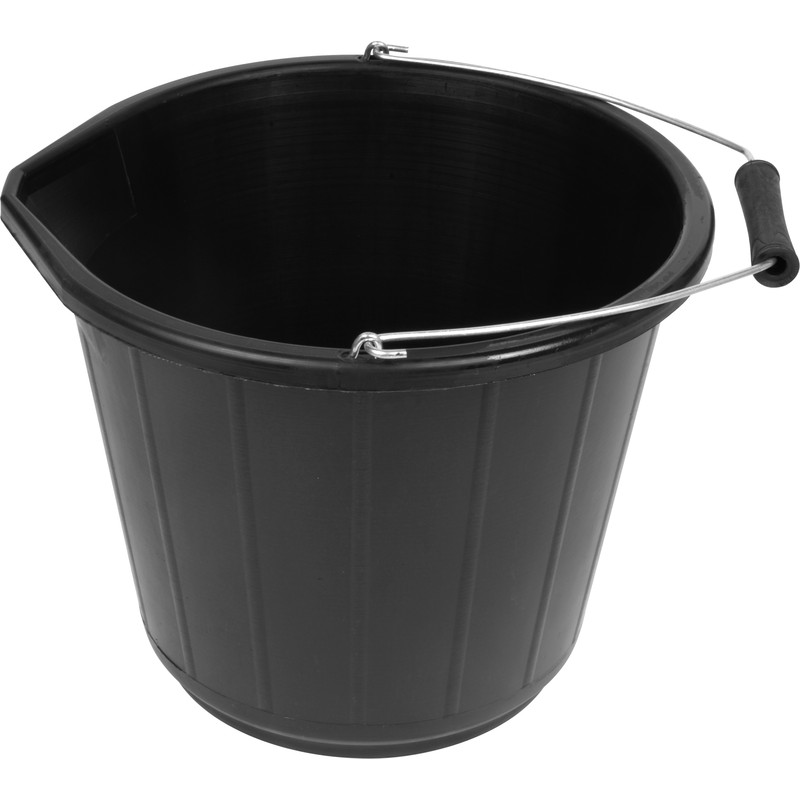
Step 2: Prepare The Work Area
-
Place a bucket under the tap to catch any residual water.
-
As a precaution, put the plug in the sink to prevent any small parts, like screws, from going down the drain.
Step 3: Dismantling The Tap
-
Gently pop off the top of the tap.
-
Loosen and unscrew the top part to reveal the mechanism inside.
Step 4: Accessing The Tap Mechanism
-
Using a pozi headed screwdriver, unscrew the mechanism.
Step 5: Identifying The Faulty Washer
-
The primary cause of a dripping tap is usually a degraded rubber washer.
-
Using the wrench and adjustable spanner, remove the old washer.
-
Ensure you protect the tap with an old cloth to prevent any scratches.
Step 6: Installing a New Washer
-
Replace the old, degraded washer with a new one.
-
Tighten the washer in place using the adjustable spanner.
Step 7: Reassembling The Tap
-
Once the new washer is in place, reassemble the tap by following the dismantling steps in reverse order.
Step 8: Ensuring a Drip-Free Tap
-
Turn the water supply back on and test the tap.
-
There should be no more dripping.