How To Fix A Toilet Flush
Toilets can face a variety of common issues, whether it's a toilet blockage that needs unclogging, water running continuously, or a weak flush. One thing’s for sure, when your toilet isn’t working right, it’s a major inconvenience.
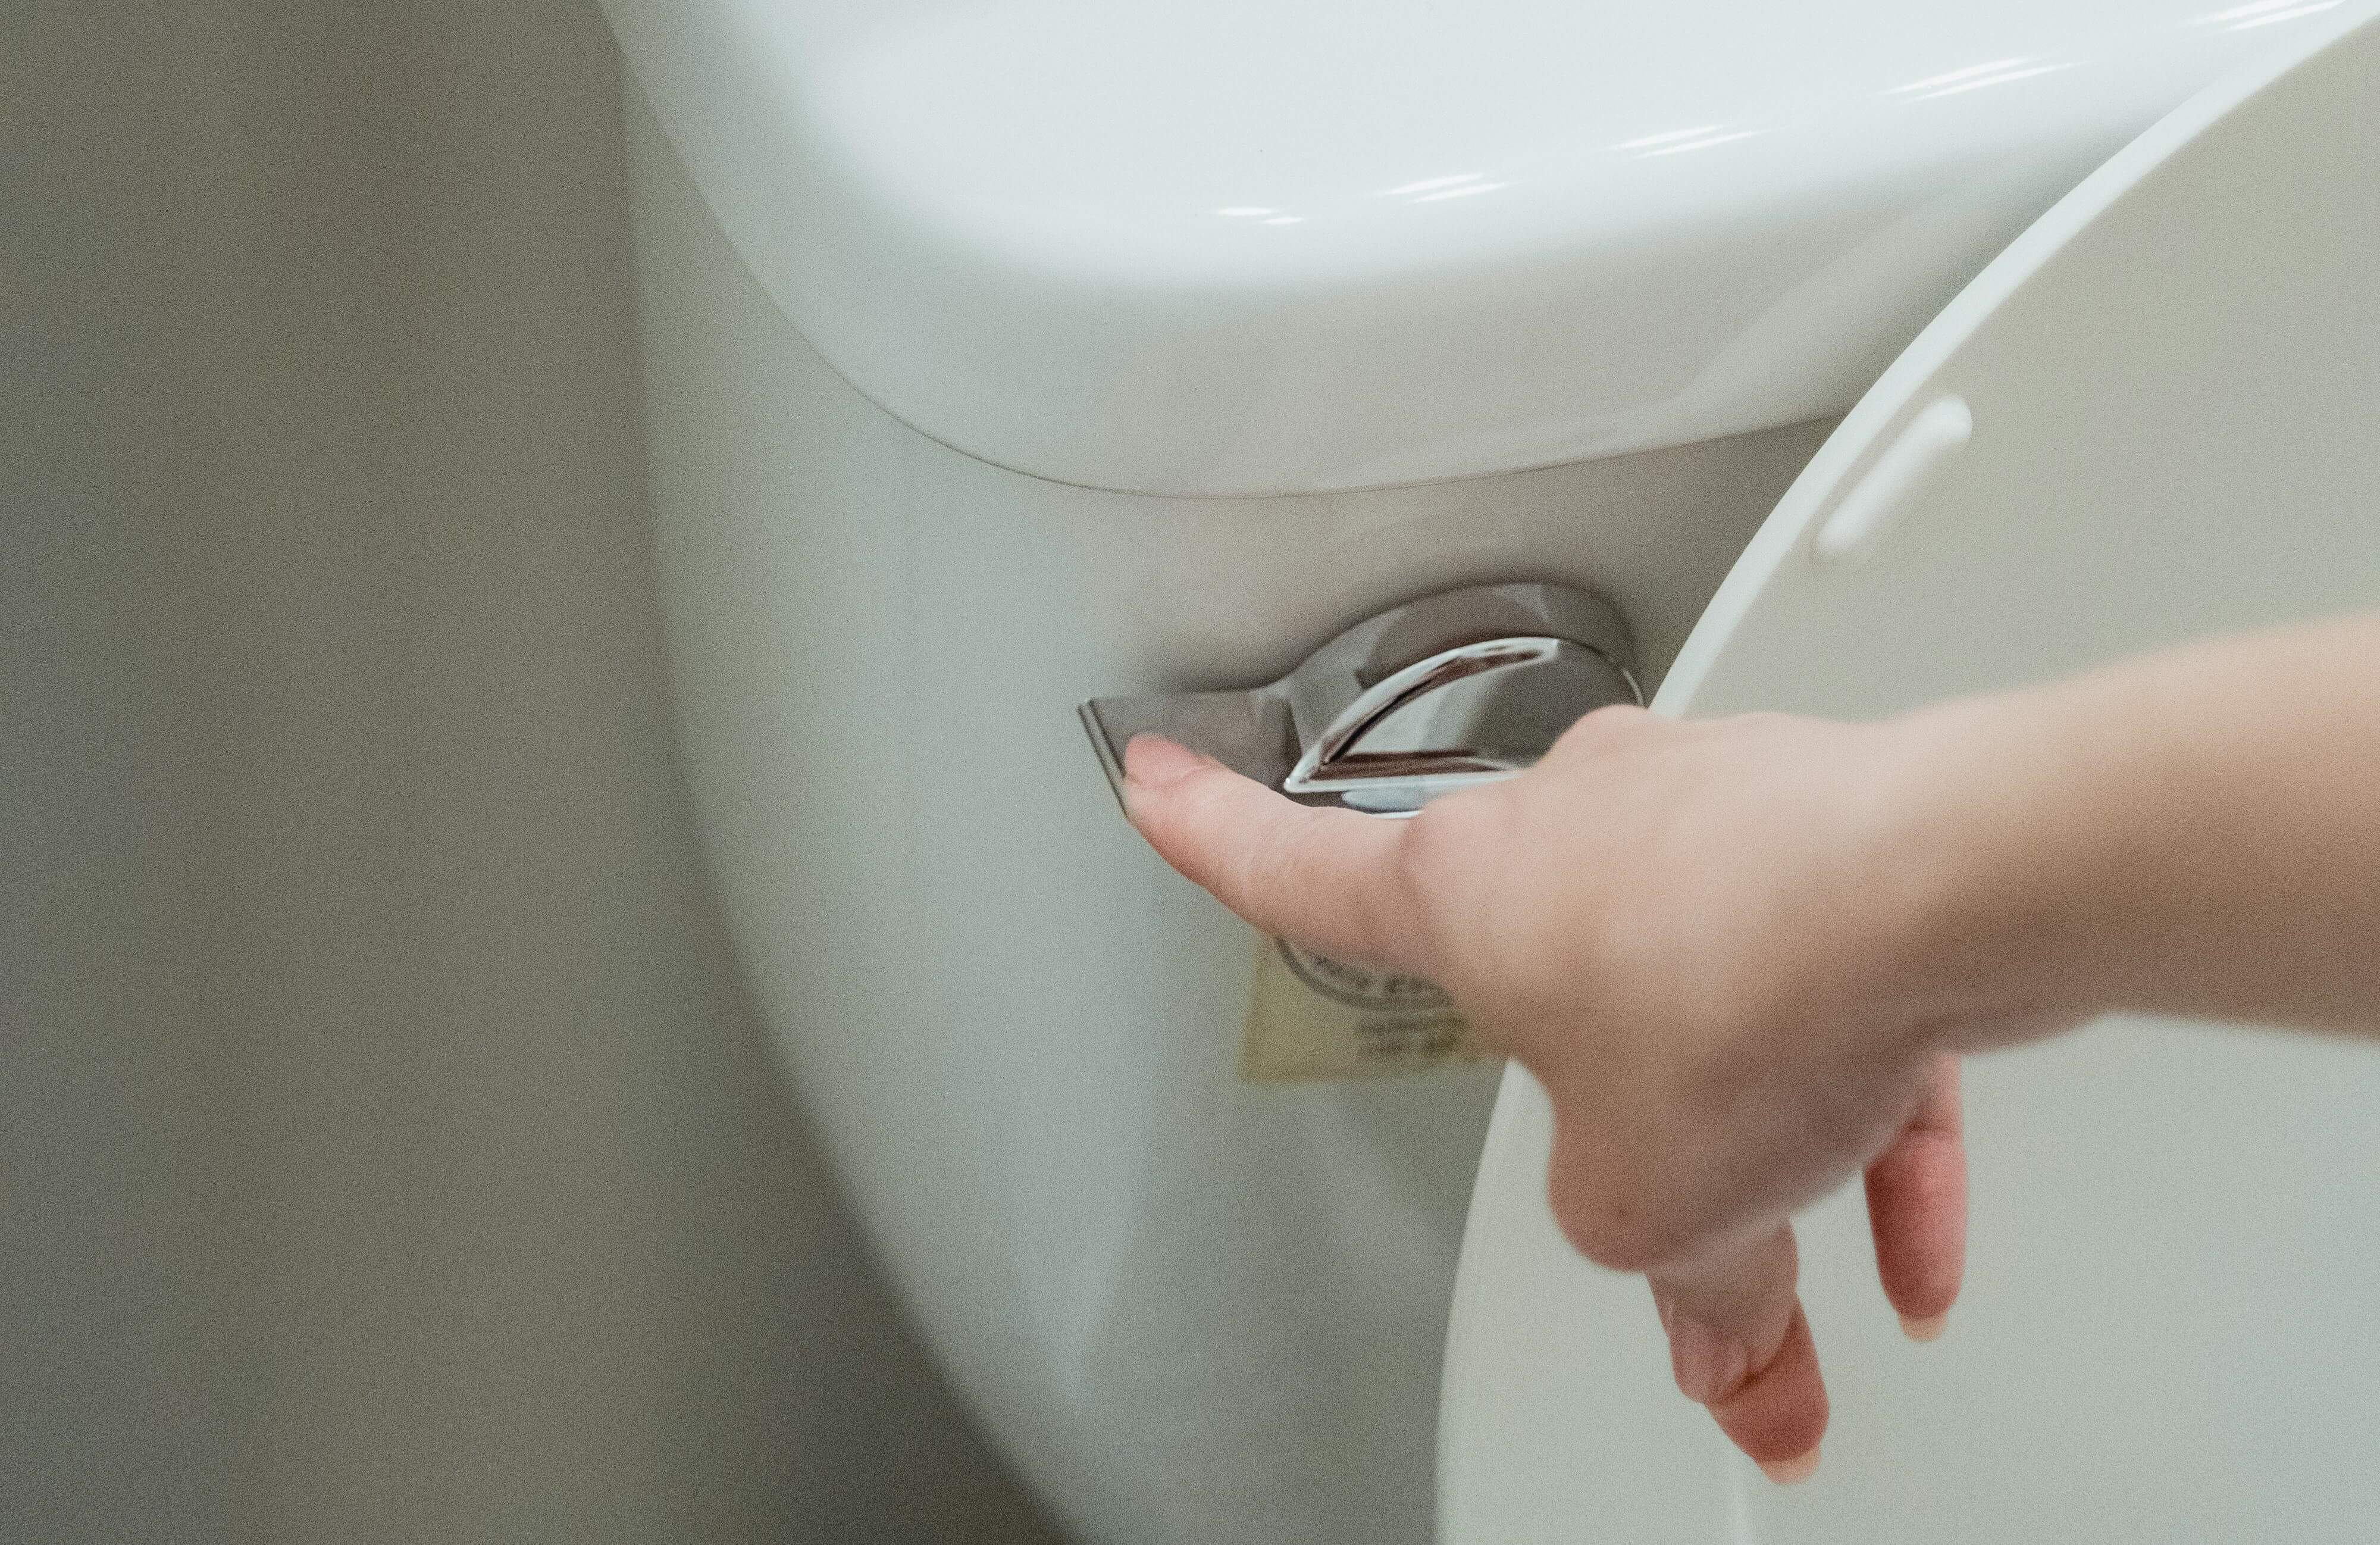
If pressing the flush button or pumping the handle does nothing, and your toilet refuses to flush, it can be frustrating. But the good news is, fixing a broken flush is something almost anyone can tackle.
We’ve put together this simple how-to guide on fixing your toilet flush so you can get it working properly again in no time at all.
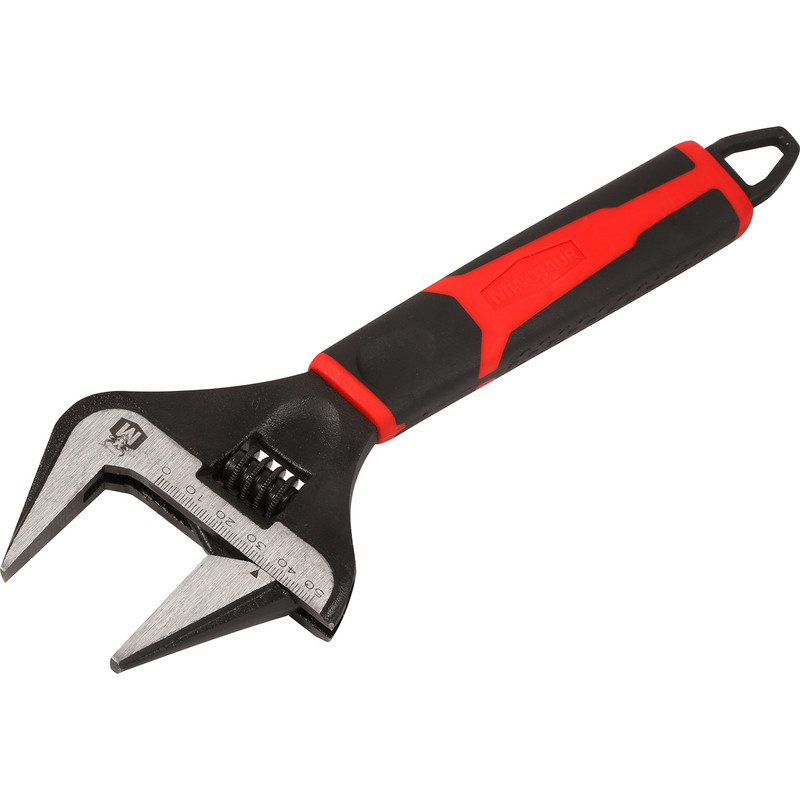
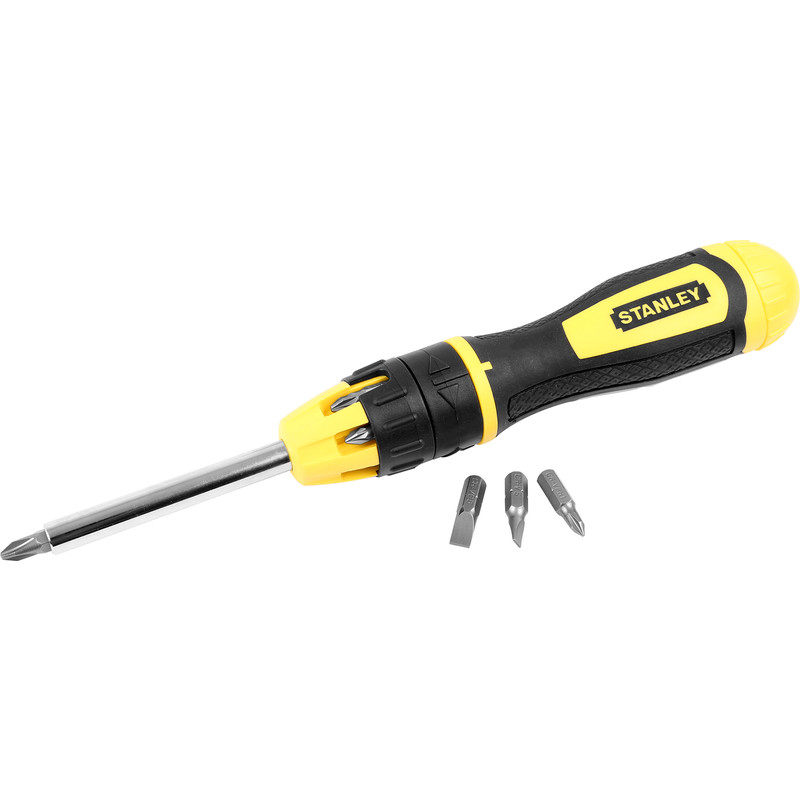
Essential Tools & Equipment
Step 1: Turn Off the Water Supply to the Toilet
The first thing to do is turn off the water that’s being supplied to your toilet, this stops any water from overflowing and creating a real mess that you’ll have to clear up afterwards. To do this, first locate the shut off valve which can be found either on the water supply pipe itself which is behind the toilet, or directly beneath the water tank. While isolating valves typically come in different shapes and sizes, turning the water off should be pretty straightforward and simply involves turning the valve clockwise. If it’s difficult to turn, try using a small spanner.
Step 2: Remove the Toilet Tank Lid
You’ll need to drain the toilet tank of water so carefully remove the lid from the tank and set it to one side. Most cistern lids are made from ceramic so try and keep it away from where you’re working to prevent any accidental damage.
Step 3: Check the Water Level in the Tank
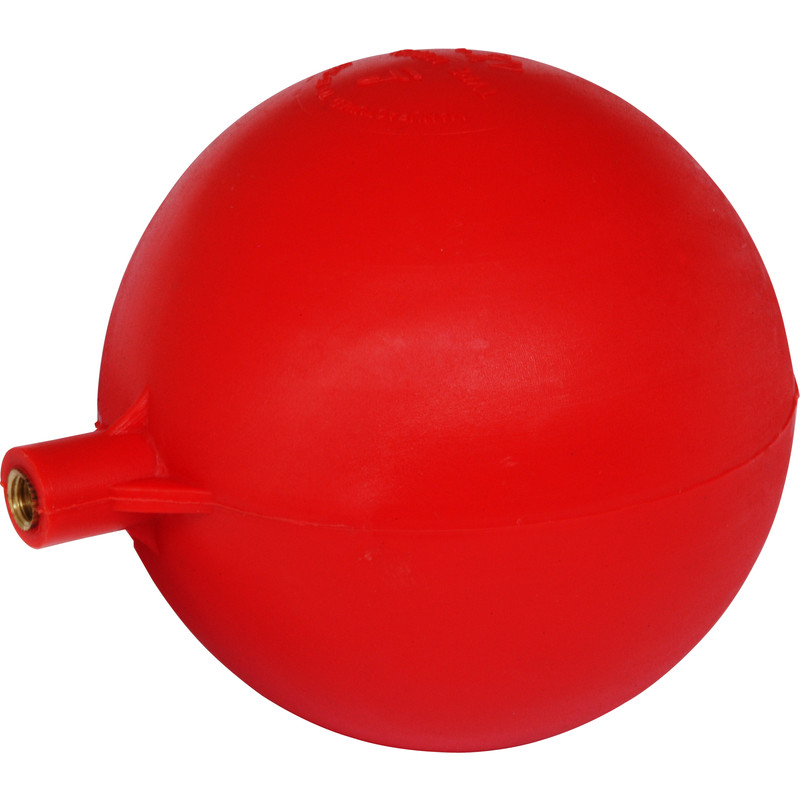
The water in the tank should sit around half an inch below the overflow pipe. If it’s any lower than one inch this could be the cause of your weak flushing problem. In which case, you’ll need to make a couple of adjustments so more water can enter the cistern. To do this, set the arm of the ball float a little higher. Now try flushing to see if this fixes the issue. If not, move on to the next step.
Step 4: Drain the Toilet Cistern to Remove the Water
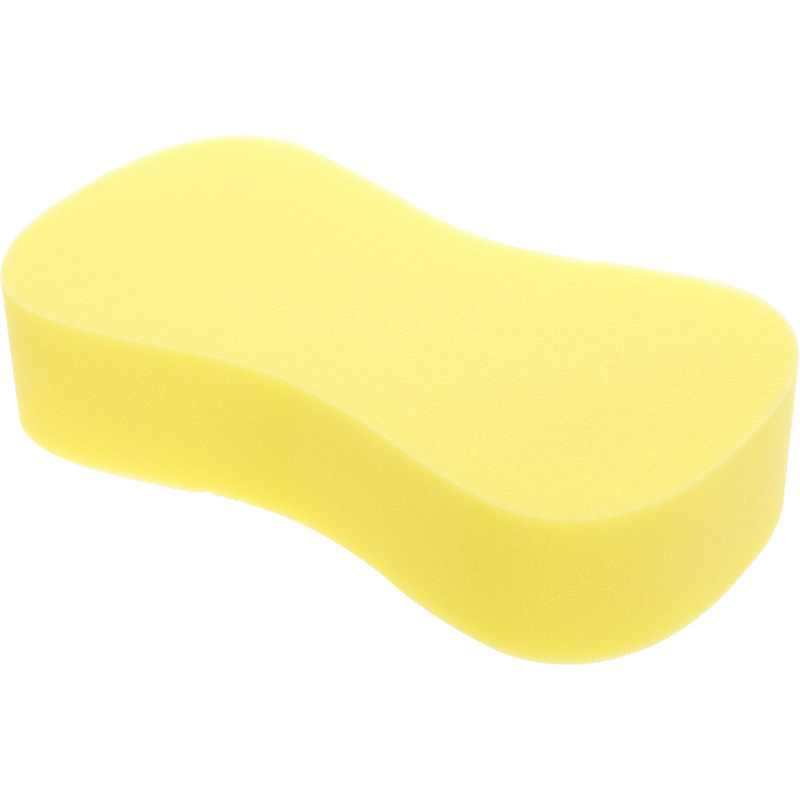
There’s a few different ways of getting the water out of the cistern. The important thing is doing it properly to prevent water from going everywhere! The easiest and quickest way is to use a siphon hose to drain away the water into a suitable container or, ideally, a nearby sink. Mop up any remaining water using a sponge or towel.
Step 5: Check the Flapper Valve
A flapper valve is typically made of rubber or plastic and can be found at the base of the toilet cistern. It works to provide a seal for the flush valve and prevents water from flowing into the toilet bowl until the flush has been triggered. If it’s not seated properly, this could prevent water from filling into the bowl. Check to ensure that it’s firmly attached and properly aligned. Now’s a good time to check it for wear and tear. If it’s looking a little worn, replace it with a new one.
Step 6: Inspect the Lift Chain or Lift Rod
When the toilet flush is activated this should pull the lift chain or rod which then lifts the flapper valve allowing water to fill into the toilet bowl. Inspect it to make sure that it’s not become disconnected from either the flapper or the flush valve. Also check for signs of damage as it may need replacing.
Step 7: Turn the Water Supply Back On
Go back to the shut off valve and turn it counterclockwise to turn the water supply back on. As soon as you’ve done this, water should automatically begin to fill into the water cistern. Once finished, try out your toilet flush to check that it’s working as it should.