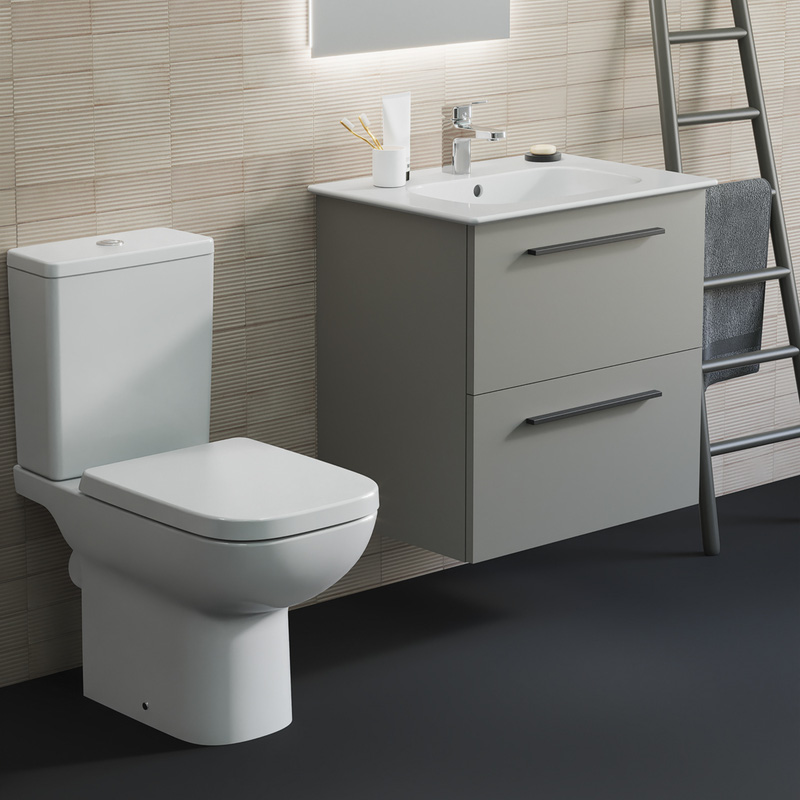
How To Increase Water Flow In A Toilet Cistern
If you notice that your toilet is lacking flushing power and there's little to no pressure when you try and flush the toilet, this could be a sign of decreased water levels in the cistern.
A slow-filling toilet is a common problem that's most often caused by a build-up of debris obstructing the water flow. Thankfully, in the majority of cases, increasing the water flow in your toilet cistern can be easily rectified.
Before calling out the plumbers, have a read of our guide which explains how you can fix your toilet to improve water flow, and flushing power!
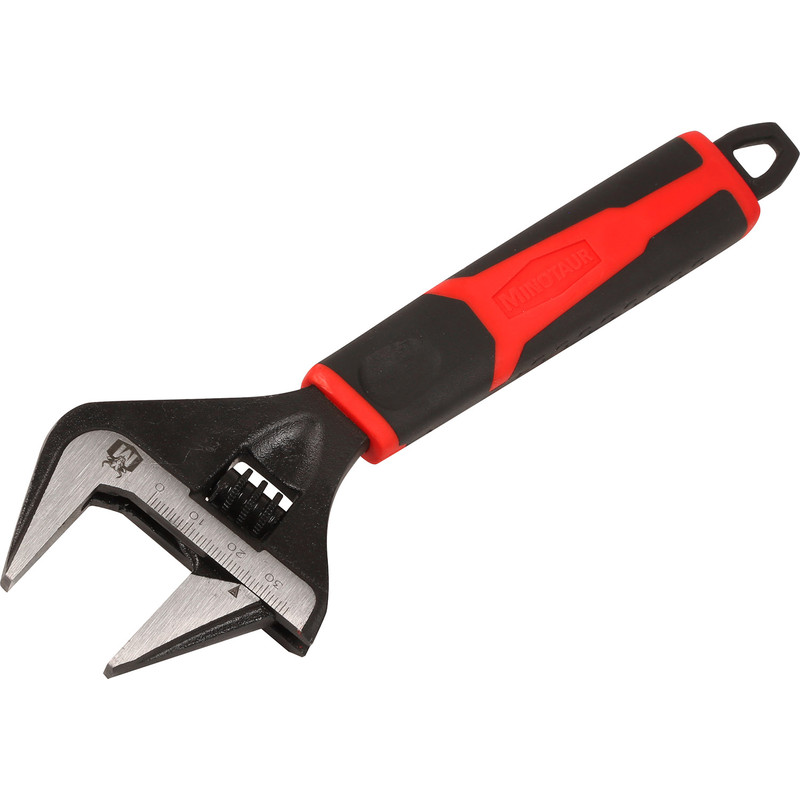
Essential Tools & Equipment

Step 1: Isolate the Water Supply
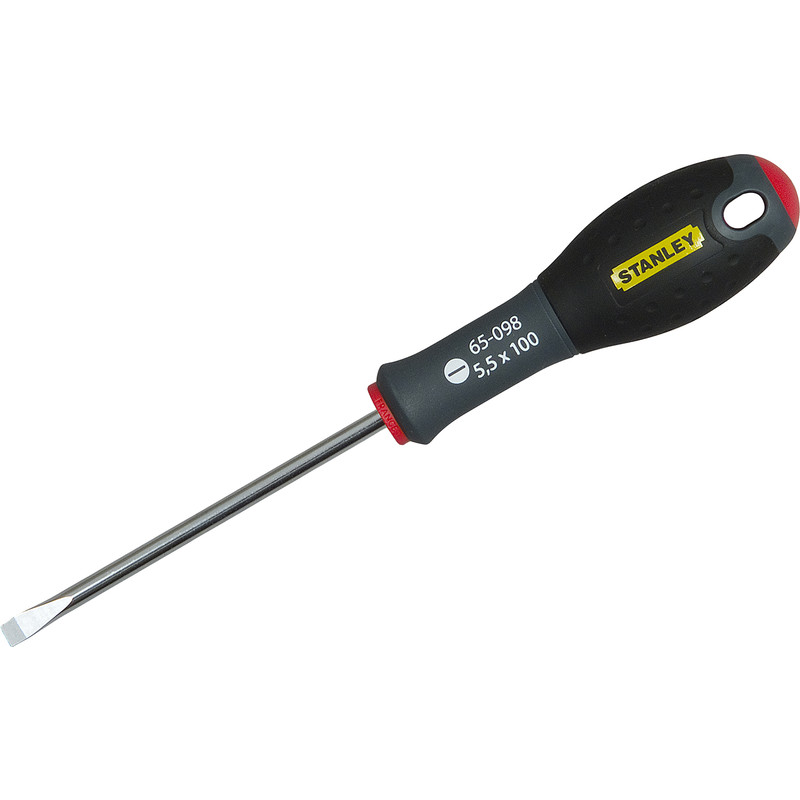
Whether you have a push-button toilet or a lever handle toilet, you need to begin by turning off the water supply so that no water can flow into the cistern. You can usually do this by using a flat head screwdriver and turning the small valve located near the base of the toilet. Make sure that the water is fully turned off before proceeding to the next step.
Step 2: Remove the Toilet Cistern Lid
Next, you need to remove the cistern lid. On a lever handle you can do this by simply lifting it away from the base. Take care though, as breaking the lid could result in needing a new toilet.
If you have a push-button toilet, you may need to unscrew the flush button mechanism in order to be able to remove the lid.
Step 3: Inspect the Fill Valve for Debris
The buildup of sediment is one of the most common causes of a toilet cistern not filling properly so it's important to check the fill valves.
- Do this by unscrewing the top of the fill valve. If you notice any blockage, clear it out using a clean cloth or small brush. It's a good idea to check the underside of the cap too.
- Secondly, place an up-ended glass over the top of the fill valve and turn the water supply back on. The glass will catch the water which should flush through any sediment build-up in harder to reach areas.
Step 4: Check the Diaphragm Washer for Wear & Tear
Now you've checked the fill valve for any blockages, it's time to inspect the diaphragm washer for wear and tear. As these washers are consumable items, they will wear out overtime meaning that replacement is necessary to keep your toilet in good working order.
- As you've unscrewed the top of the fill valve, carefully remove the rubber seal that sits just inside the top. Use a screwdriver to help prise it out.
- If the seal looks worn or distorted, it's time to replace it. While it's only a small component part, it's key for helping to regulate water flow into the tank.
If you prefer you could replace the entire filler unit, especially if the problem persists. Be sure to follow the manufacturer’s instructions when fitting the new filler to ensure proper installation.
Step 5: Reassemble the Fill Valve
Once you've replaced the rubber seal, you can now reassemble the fill valve, double check that everything is securely in place. Tighten any screws by hand to avoid damaging the parts.
Step 6: Turn the Water Supply Back On
With the valve reassembled, slowly turn the water supply back, letting the cistern fill up. Check for leaks and ensure the toilet fills at the proper rate and that it flushes effectively. Adjust the float if necessary to control the water level inside the tank.
Step 7: Test the Flush
Once the tank is full, and you've replaced the cistern lid, test the flush. If the problem persists and your cistern continues to fill too slowly, there could be other issues, such as low water pressure, that may need the help of a plumber.