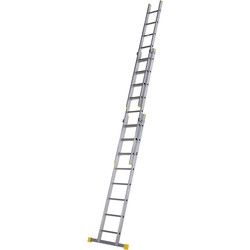
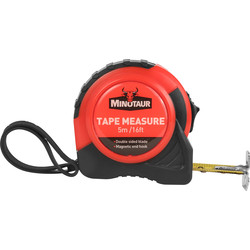
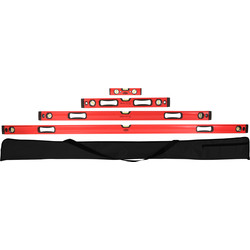
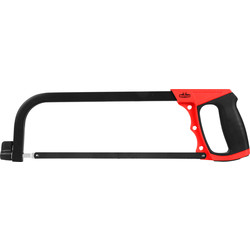
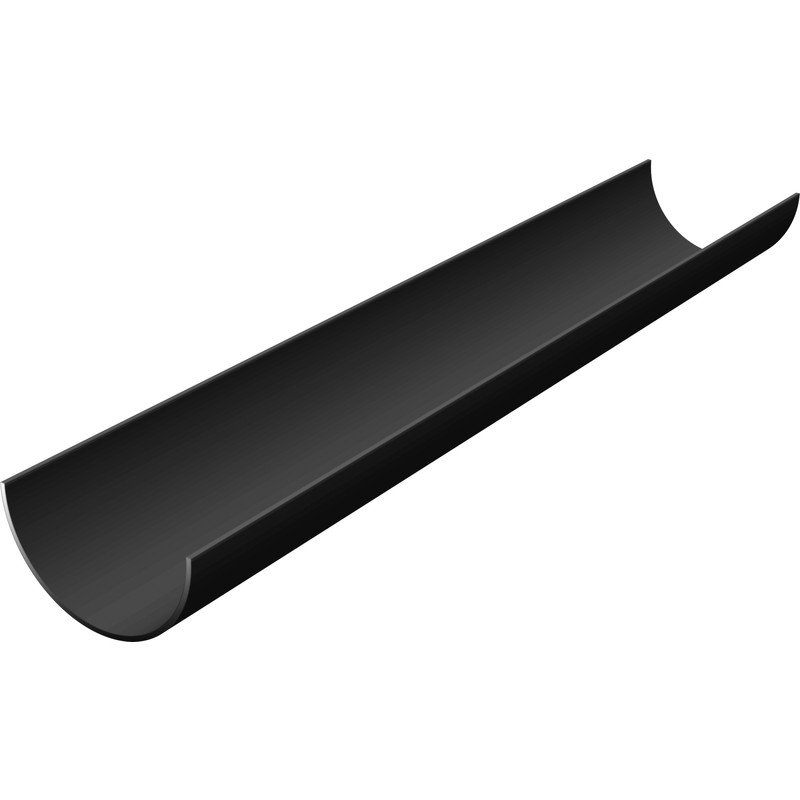
Guttering helps to prevent damage to your house by collecting rainwater then draining it away from the roof and foundations of your home. Over time, wear and tear could mean you need to replace your roof gutters. But don't worry! With the right help, installing new guttering can be quick and easy.
In this guide you can find out how to fit guttering with step-by-step instructions along with some essentials tools you'll need to get the job done.
Essential Tools & Equipment
For more information on the types of gutters and gutter fittings, why not check out our Gutter Buying Guide.
Step 1: Planning and Preparation
-
Using a tape measure, start by measuring the roof edge from one end to the other so you can determine the length of guttering and the number of brackets you'll need. Typically, brackets should be positioned around 1m apart and along the entire length of the guttering.
- Ensure you have a clear understanding of the water flow and where you want the downpipes to direct the water.
Step 2: Setting Up Brackets
- In order for gutters to drain water effectively, they should be fitted on a very slight angle. Ideally, sloping downwards approximately 1cm for every 3.5 metres in length.
-
Using a spirit level, mark out the slight decline needed for the guttering to allow for proper water discharge.
- Attach the brackets, equally spacing them at around 1 metre apart, or as set by the manufacturer's guidelines. Make sure they're aligned properly to hold the guttering securely in place.
Step 3: Cutting and Fitting Gutters
- Measure and cut the gutter sections to fit the lengths of your roof edge.
- Attach end caps where necessary and fit the gutter sections into the brackets, ensuring a tight fit.
- It's important that the guttering sits as closely as possible to the roof's edge so it can capture rainwater run-off.
Step 4: Installing Downpipes
- Attach the downpipe to the gutter outlet, making sure that it's securely fastened and directs water away from the foundation of your home.
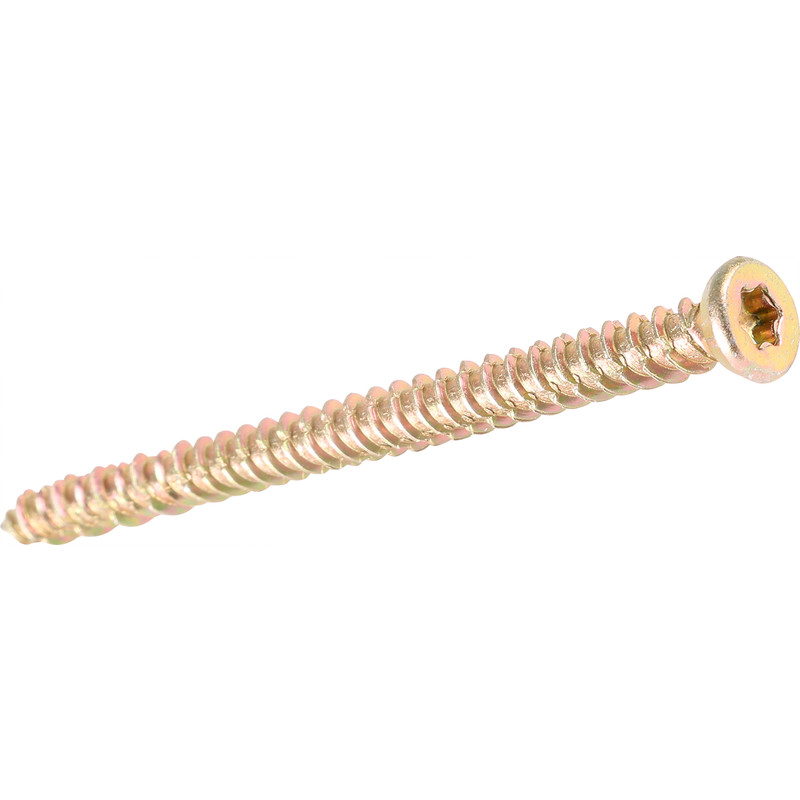
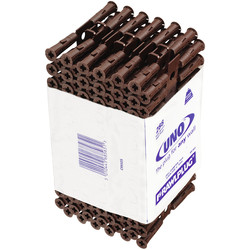
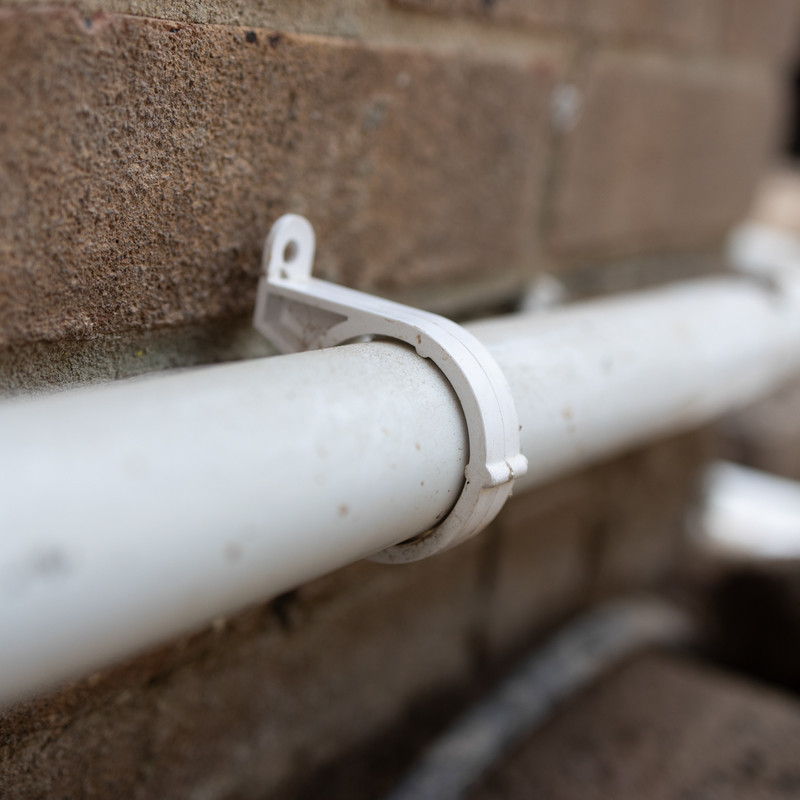
- Use brackets to fix the downpipe against the wall and fasten them to the wall using wall plugs and heavy-duty masonry screws.
Step 5: Final Checks and Sealing
- Inspect the entire gutter system for any gaps or misalignments.
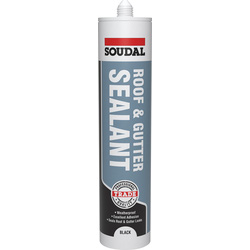
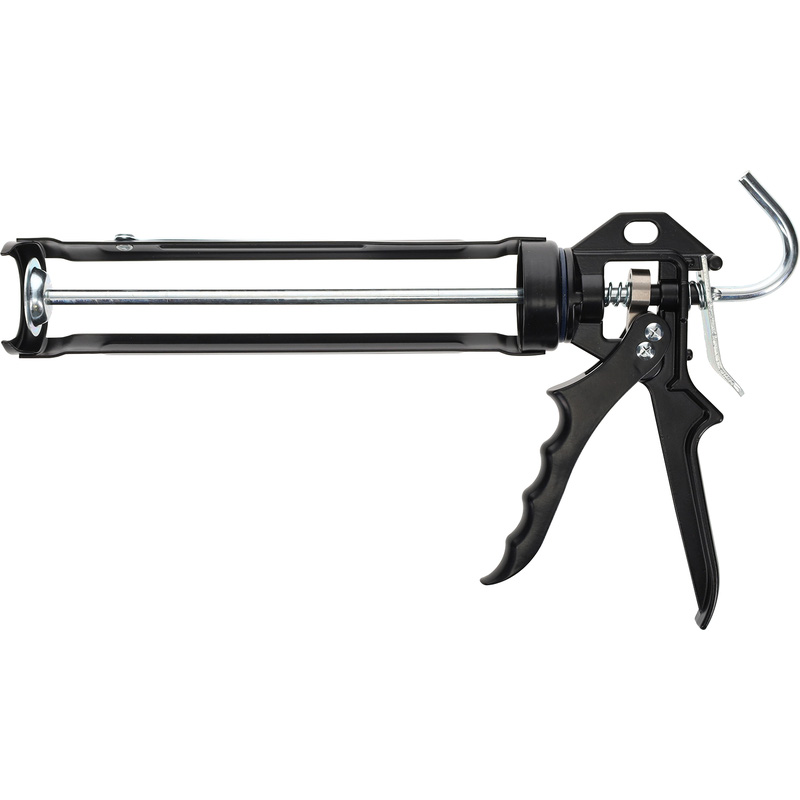
- Once you’re happy with the installation, apply sealant at any joints and end caps to prevent leaks, ensuring a watertight installation – don’t skip this step, or your gutter installation won’t be as effective.


