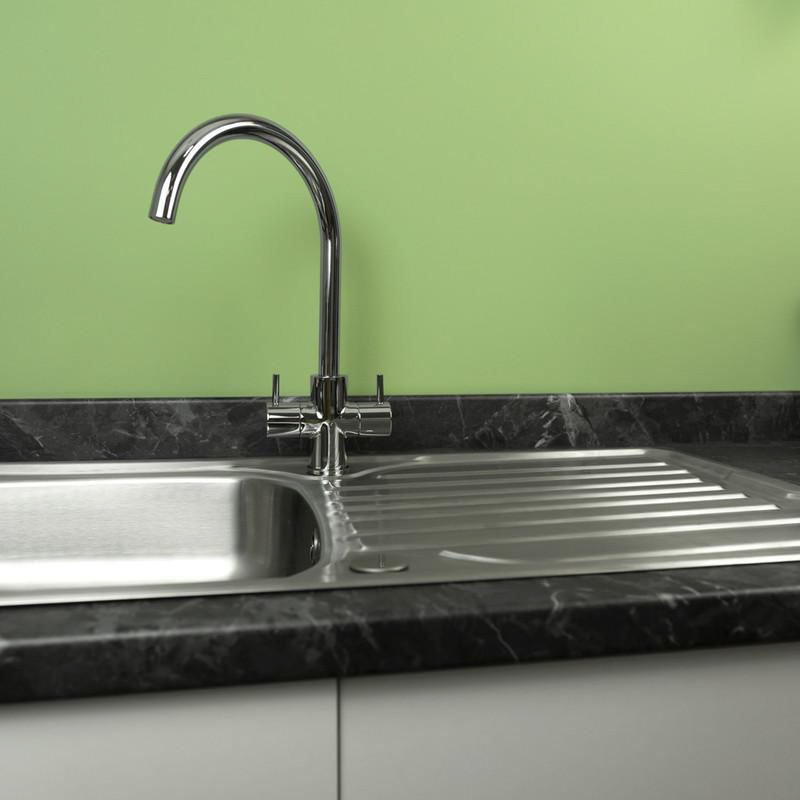
Whether it's due to wear or you're looking to upgrade your kitchen, installing a kitchen sink can be a straightforward process. This how-to guide offers all the necessary information so you can get the job done quickly and efficiently.
Essential Tools & Equipment
Step 1: Turn off the Water Supply
-
The first thing to do when installing a new kitchen sink is to turn off the water supply. This can be done via the isolation valve or stopcock, usually found under the sink.
-
Next, turn on the kitchen tap to release any remaining water and pressure in the pipes.
Step 2: Disconnect the Plumbing
-
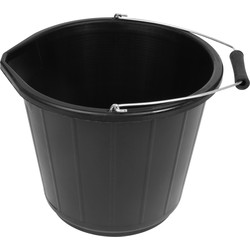
Place a bucket directly underneath the sink to catch any residual water.
-
Use an adjustable wrench to disconnect the hot and cold water supply lines.
-
If your sink has a waste disposal unit or dishwasher connections, these should also be disconnected at this stage.
Step 3: Remove the Old Sink
-
Most sinks are held in place by clips underneath the worktop. Loosen and remove these clips using a screwdriver.
-
Carefully cut through the sealant around the sink with a utility knife. Take care not to damage the worktop when doing this.
-
Once you’ve cut the sealant free, pry the sink up from the worktop and dispose of it safely and responsibly.
Step 4: Install the New Sink
-
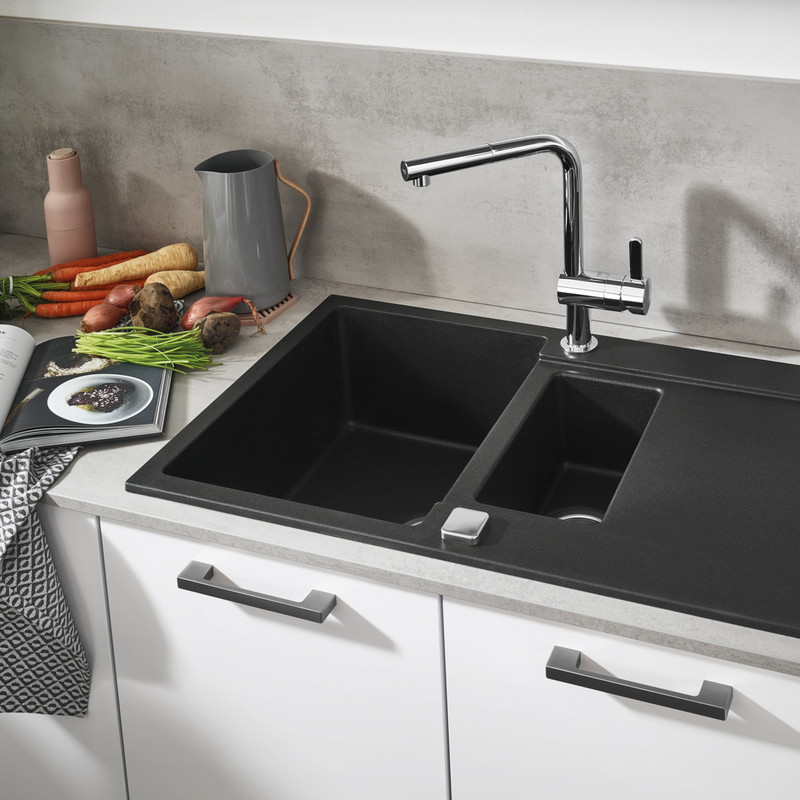
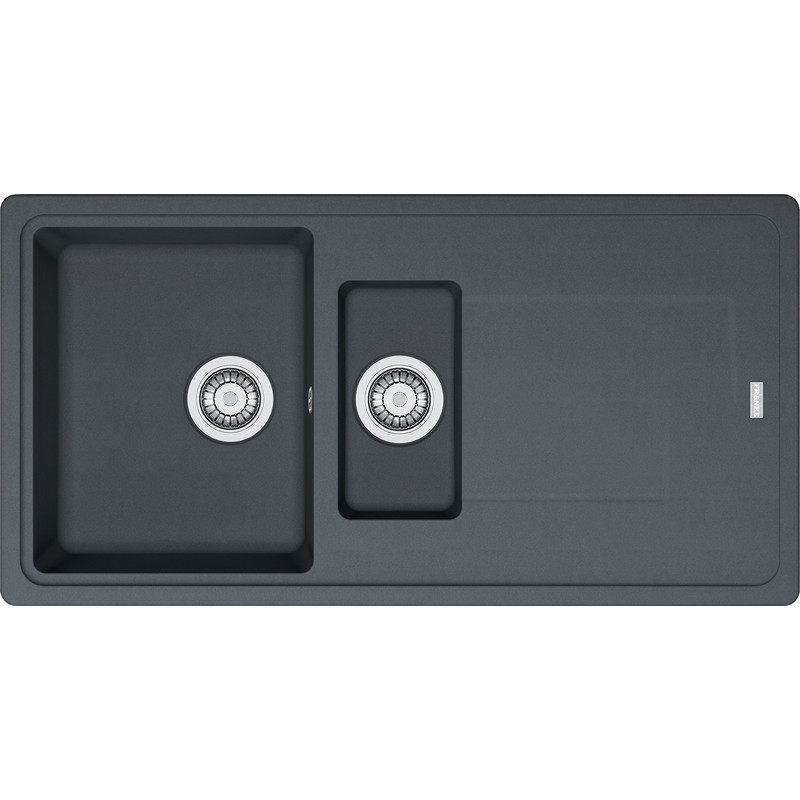
Test fit the new sink into the opening to ensure it fits properly.
-
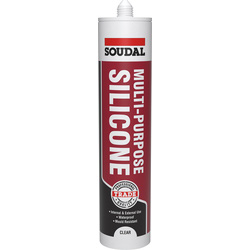
Apply plumber's putty or silicone sealant around the edge of the sink's underside, then position the new sink into the hole.
-
Secure the sink in place by tightening the clips from underneath.
-
If your new sink has a different configuration (e.g., additional bowls or different plug hole locations), you may need to adjust the plumbing accordingly.
Step 5: Reconnect the Plumbing
-
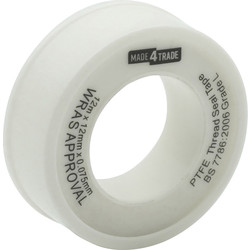
Reconnect the hot and cold water supply lines using thread seal tape on the threads for a watertight seal.
-
Reattach the waste pipe and any other connections for waste disposal units or dishwashers.
-
Refix the tap, ensuring that all connections are tight and secure.
Step 6: Test for Leaks
- Turn the water supply back on and check all connections for leaks.
- Tighten up any fittings if necessary.
- Finally, apply a bead of silicone around the edge of the sink and worktop to seal any gaps. This will help to prevent water ingress.

