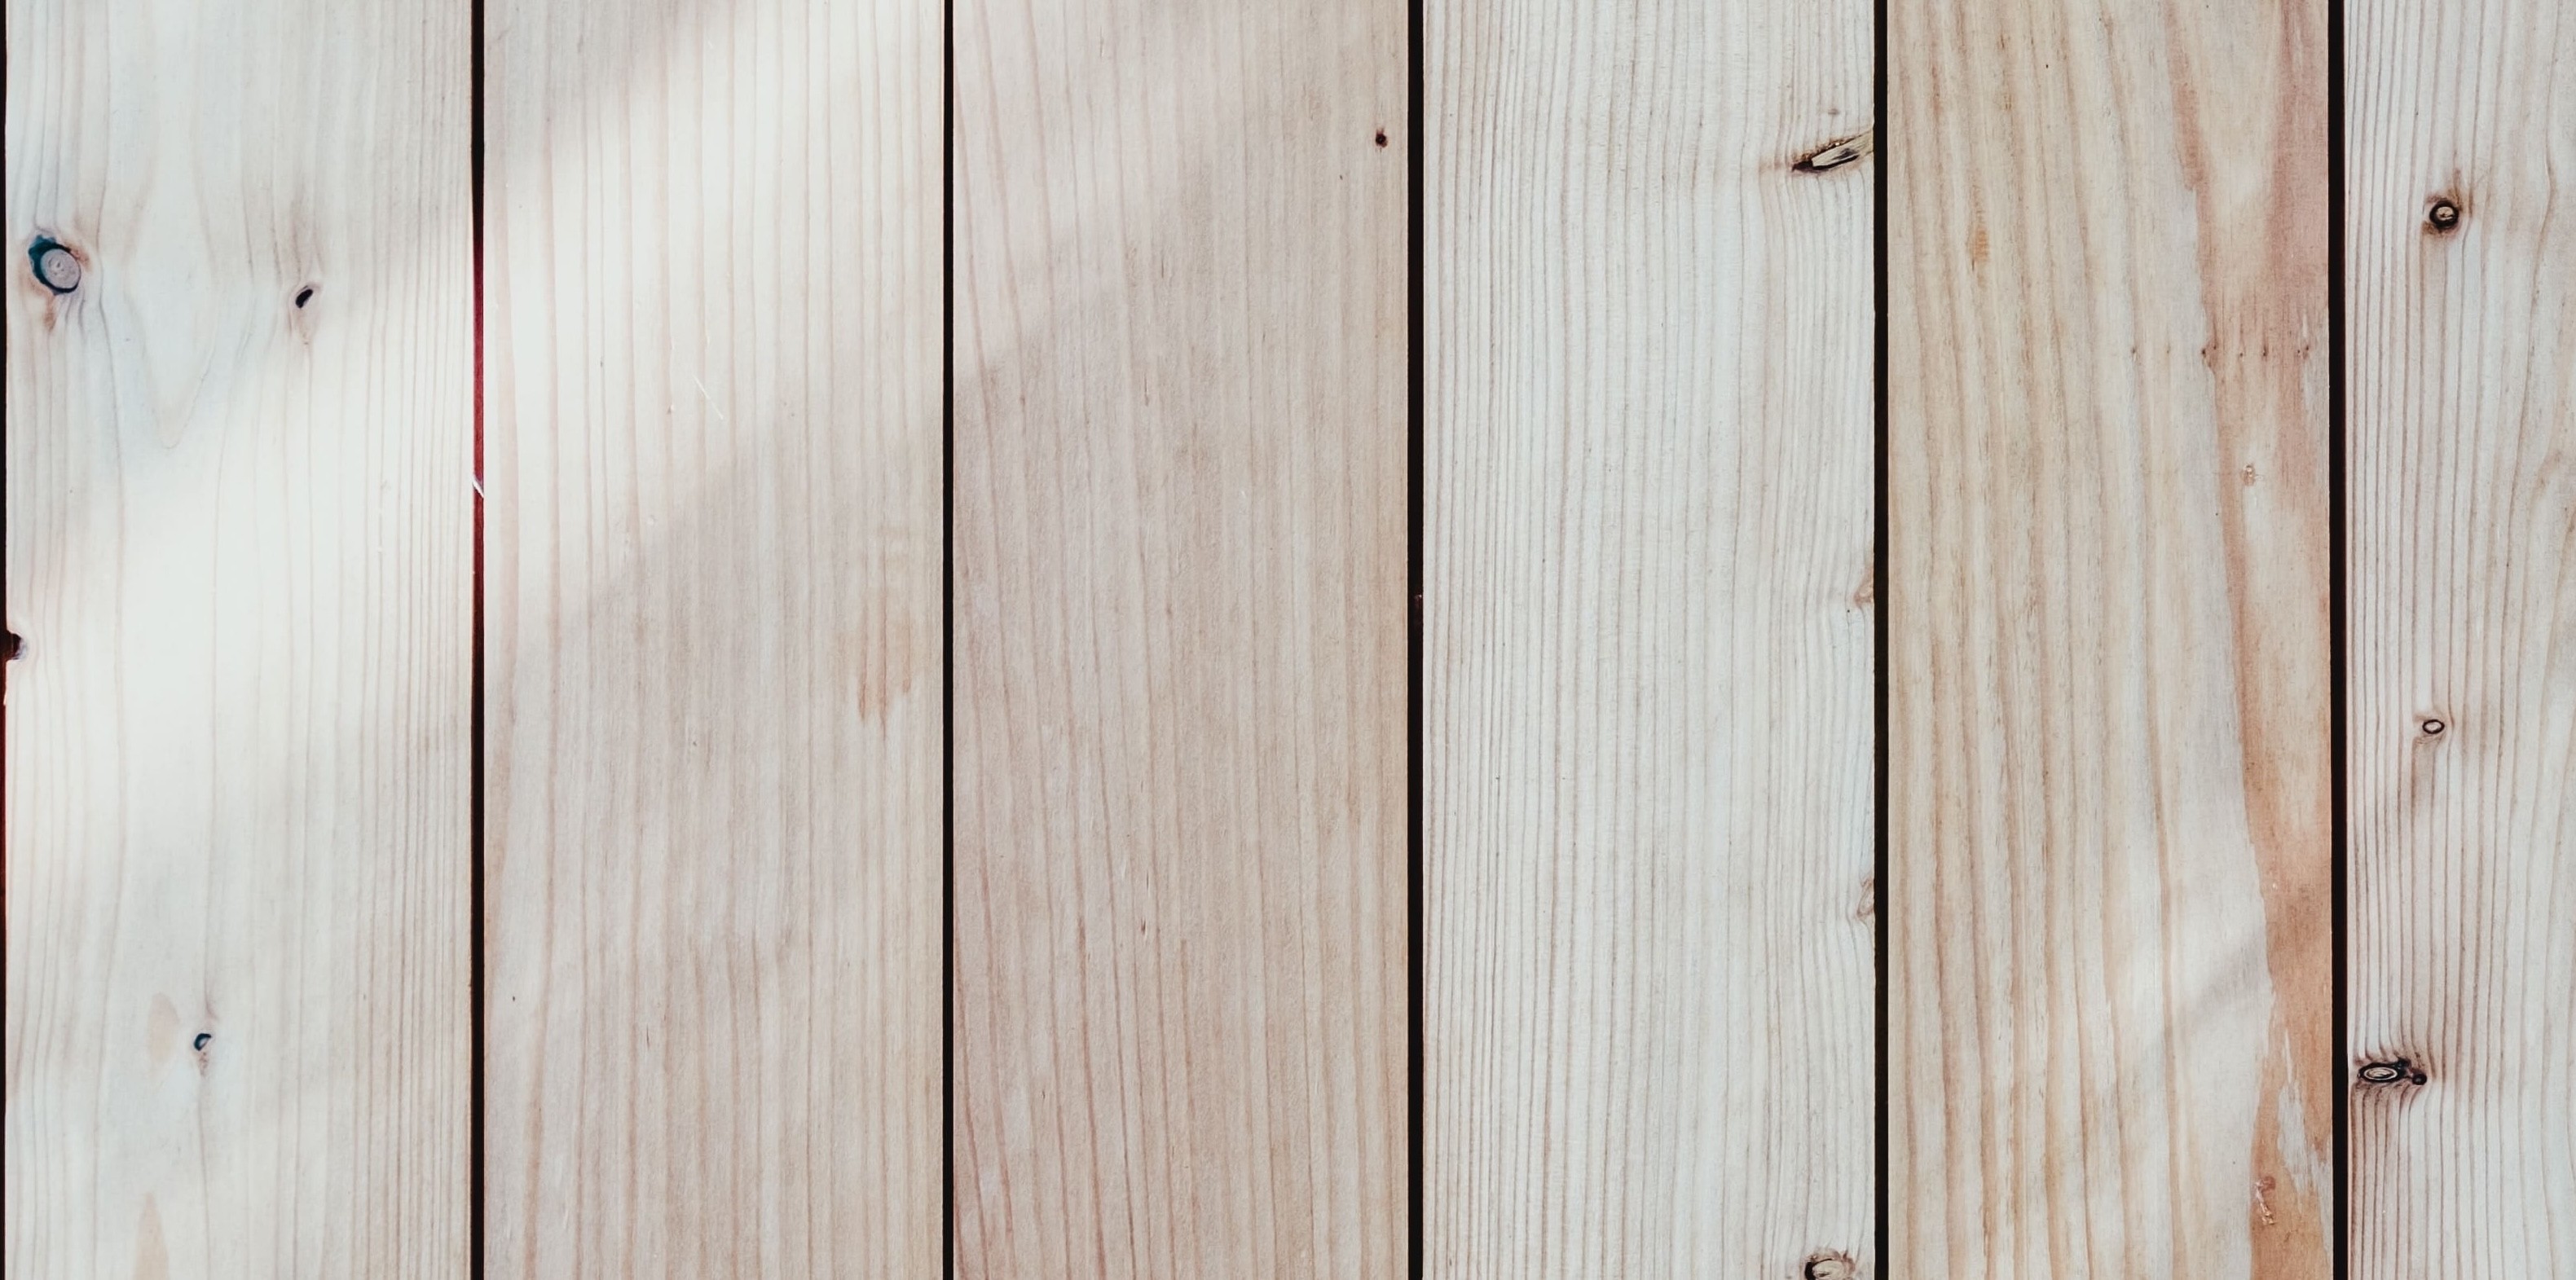
Newly painted floorboards can offer a fresh, modern look that breathes new life into your space. Whether you're looking to revamp a tired room or inject a touch of elegance, painting your wooden floorboards is an affordable DIY project that can make a huge difference.
This guide will explain how to paint your floorboards, ensuring a high quality finish that will enhance the beauty of your home.
Essential Tools & Equipment
Step 1: Clean the floorboards
-
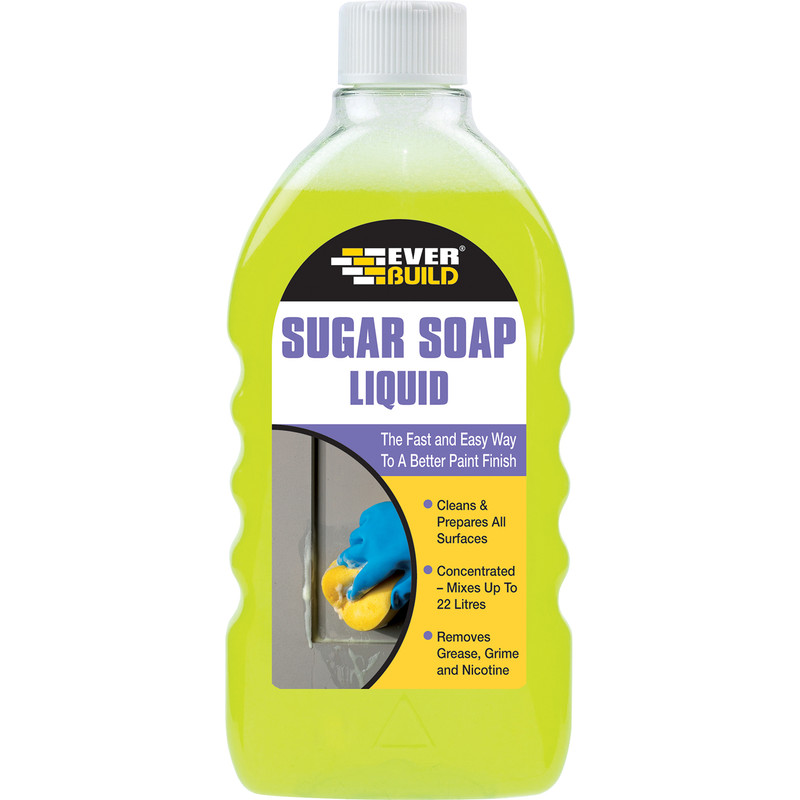
Start by thoroughly cleaning the floorboards with sugar soap mixed with hot water.
-
This step ensures the removal of dirt, grease, and any other contaminants that might affect paint adhesion.
Step 2: Sand the floorboards
-
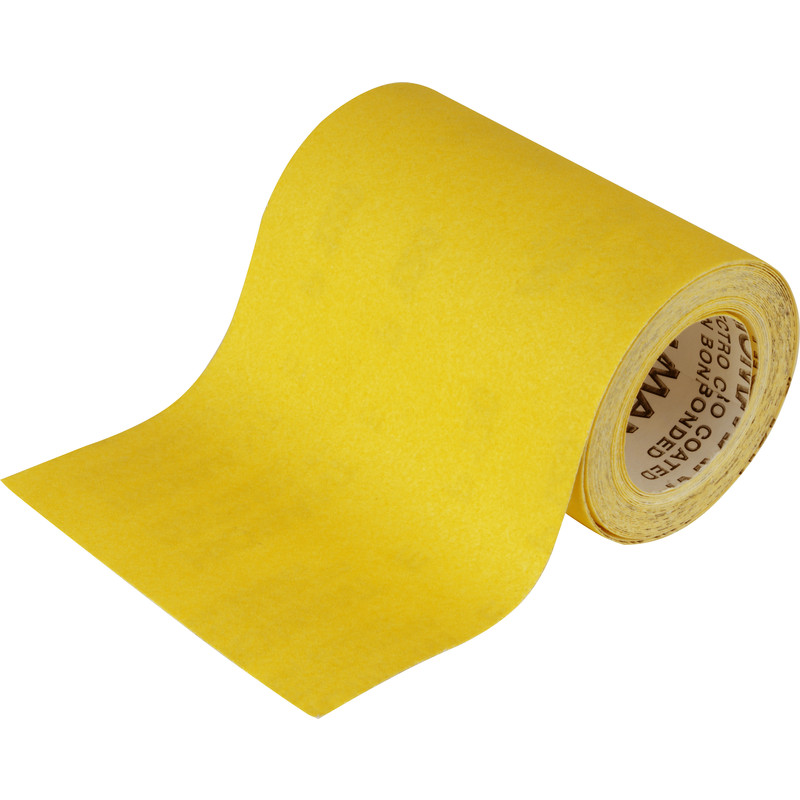
Once the floorboards are dry, use sandpaper to lightly sand the surface to create a smooth base ready for painting.
-
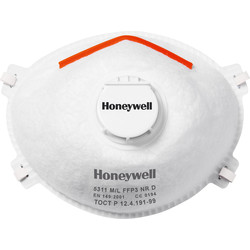
Be sure to wear a protective mask as this will prevent you from inhaling dust particles.
-
Finish up by vacuuming or wiping away the dust then apply masking tape to any areas you want to avoid getting paint on, such as skirting boards.
Step 3: Apply the first coat
-
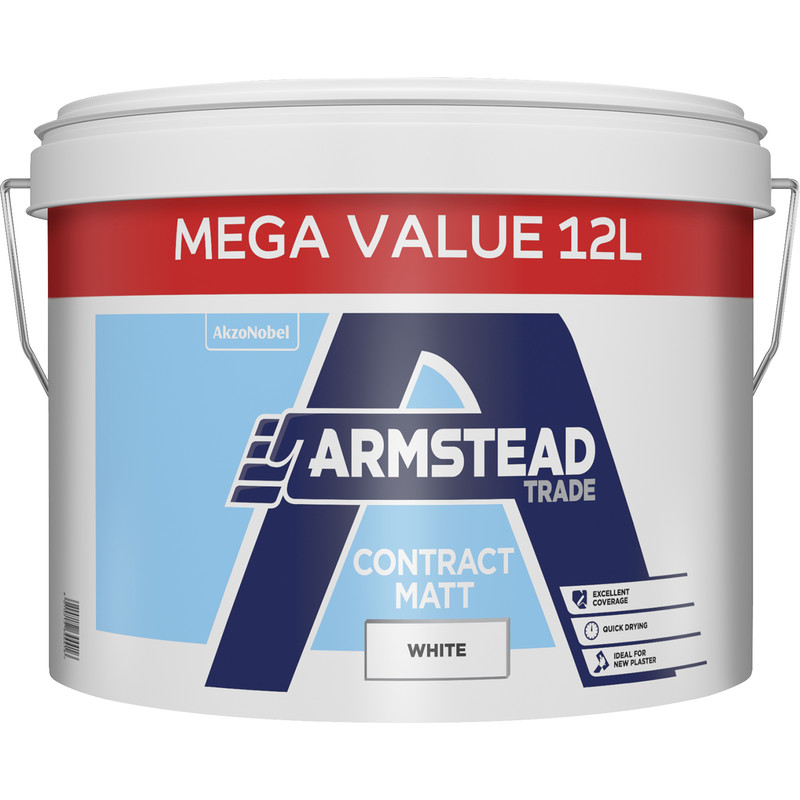
For your first coat, dilute your paint by approximately 10% with clean water to achieve better adhesion to the wooden surface.
-
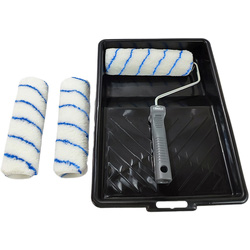
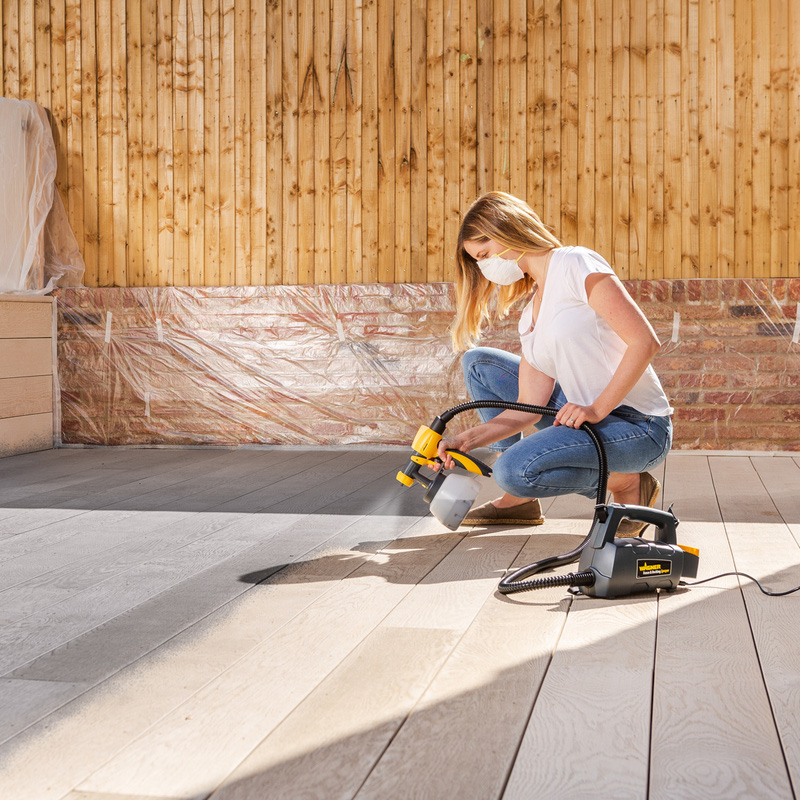
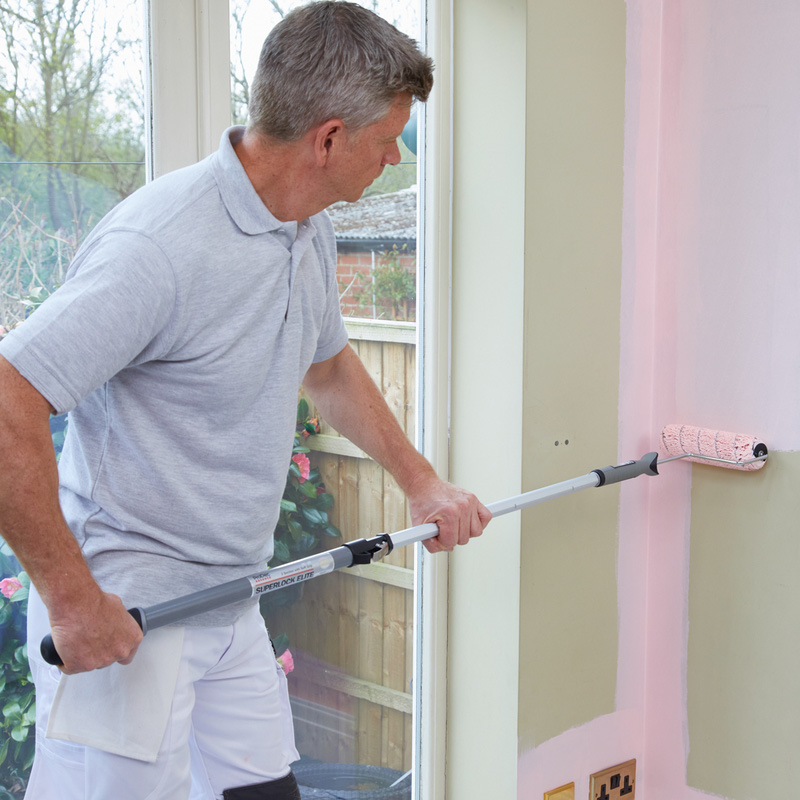
Use a paint roller and apply a thin, even coat to your floorboards.
Step 4: Apply the second coat
-
Once the first coat is completely dry, apply a second coat to increase the durability.
-
Remember to allow sufficient drying time as recommended by the paint manufacturer.

