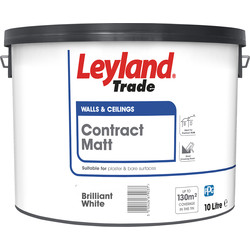
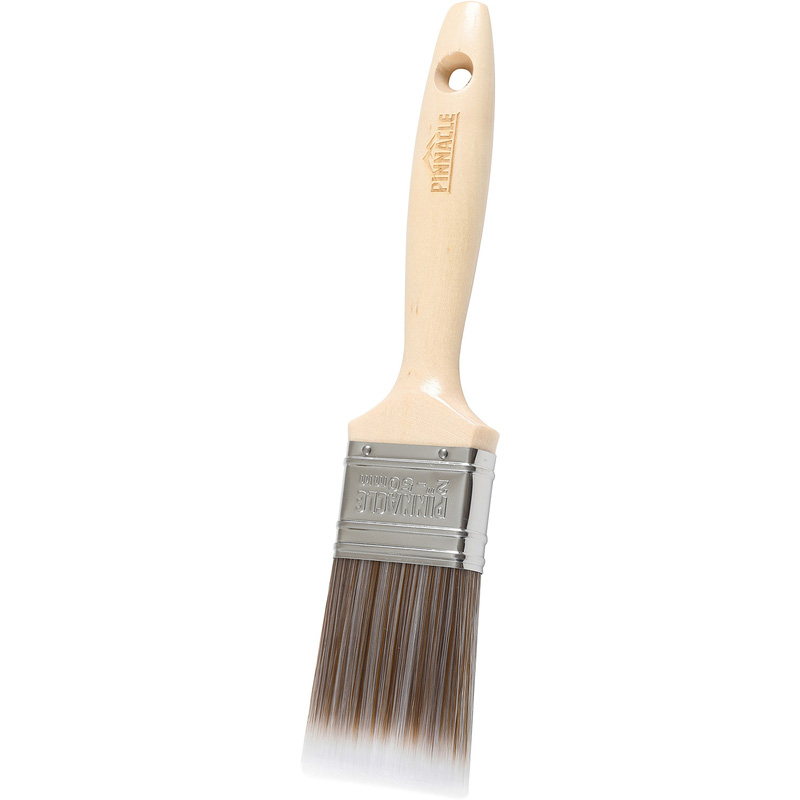
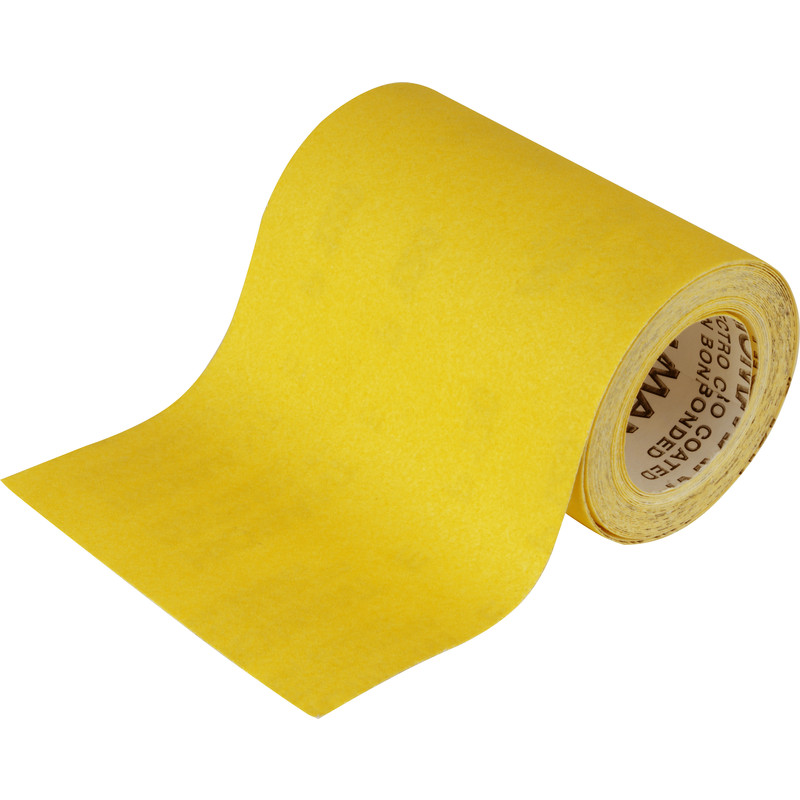
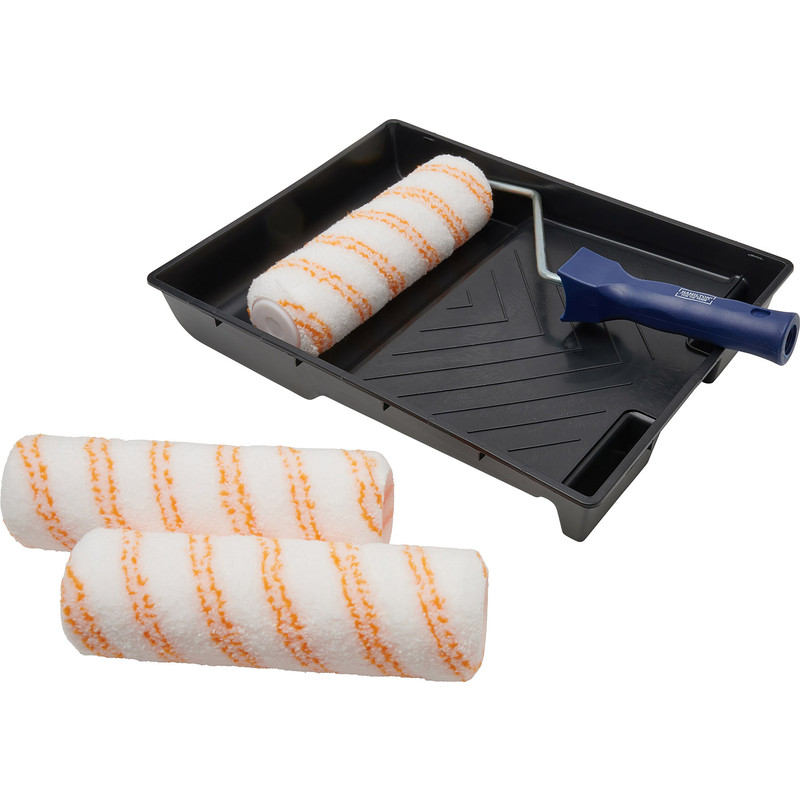
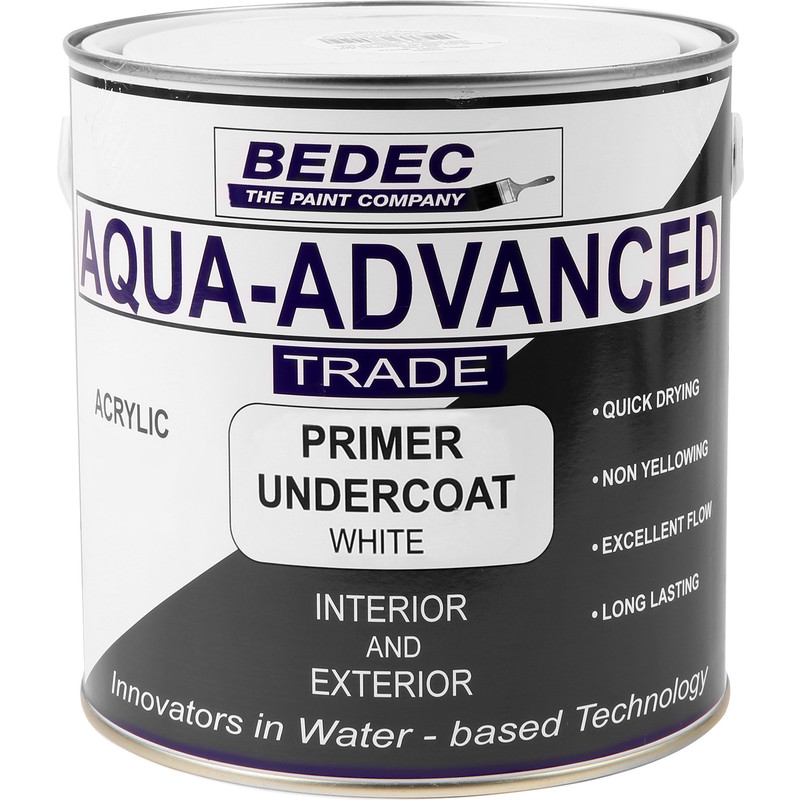
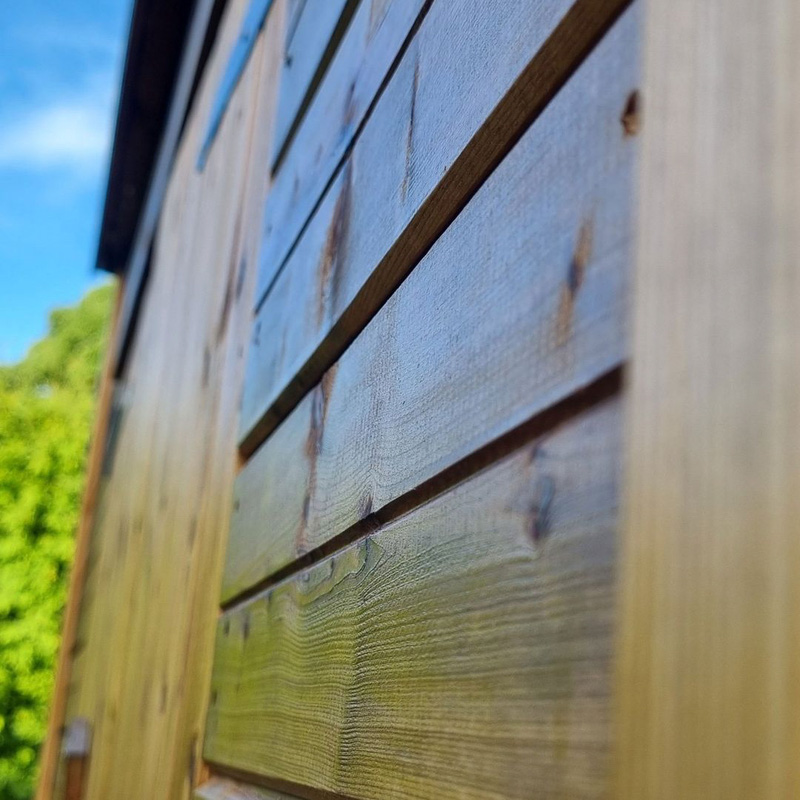
If your next DIY project involves sprucing up varnished woodwork, whether it's a door, skirting boards or other wooden furniture, why not save yourself some time.
By painting over varnished wood with a water-based primer, you can skip the time-consuming task of sanding. Follow the steps in this how-to guide for best results when painting over varnished wood, leaving you with a professional and durable finish.
Essential Tools & Equipment
Step 1: Clean the Wood
- Begin by cleaning the wood to remove any dust and dirt so that it's ready for the first coat of primer.
-
Then, use masking tape to cover any areas you want to protect from the primer and paint.
Step 2: Apply the First Coat of Primer
-
Open your can of water-based primer and give it a thorough stir to ensure it’s well mixed.
-
Using a paintbrush, apply an even coat of primer to the clean, varnished surface. Make sure you pay special attention to edges and corners.
-
Now allow the primer to dry for at least one hour, or according to the manufacturer's instructions.
Step 3: Assess and Apply the Second Coat of Primer
-
After the first coat has dried, check the surface for any unevenness or areas where the original varnish shows through.
-
Apply a second coat of primer to achieve a uniform finish.
-
Wait another hour or until the surface is dry to the touch.
Step 4: Lightly Sand for a Smooth Base
-
Once the second coat of primer is dry, lightly sand the surface with fine or extra fine grit sandpaper.
-
The goal is to smooth out any bumps and imperfections before painting.
-
Wipe the surface clean of any dust before moving on to the next step.
Step 5: Apply the Topcoat for a Professional Finish
-
Apply the first thin coat of paint using a paint roller, this will give you an even finish.
-
Allow the first coat to dry completely and add a second coat if you'd prefer a deeper finish.

