How To Panel A Wall
Wall panelling continues to be one of the most popular interior DIY trends, with #wallpanelling now having 16,000 posts and 418 million views across TikTok.
Essential Tools & Equipment
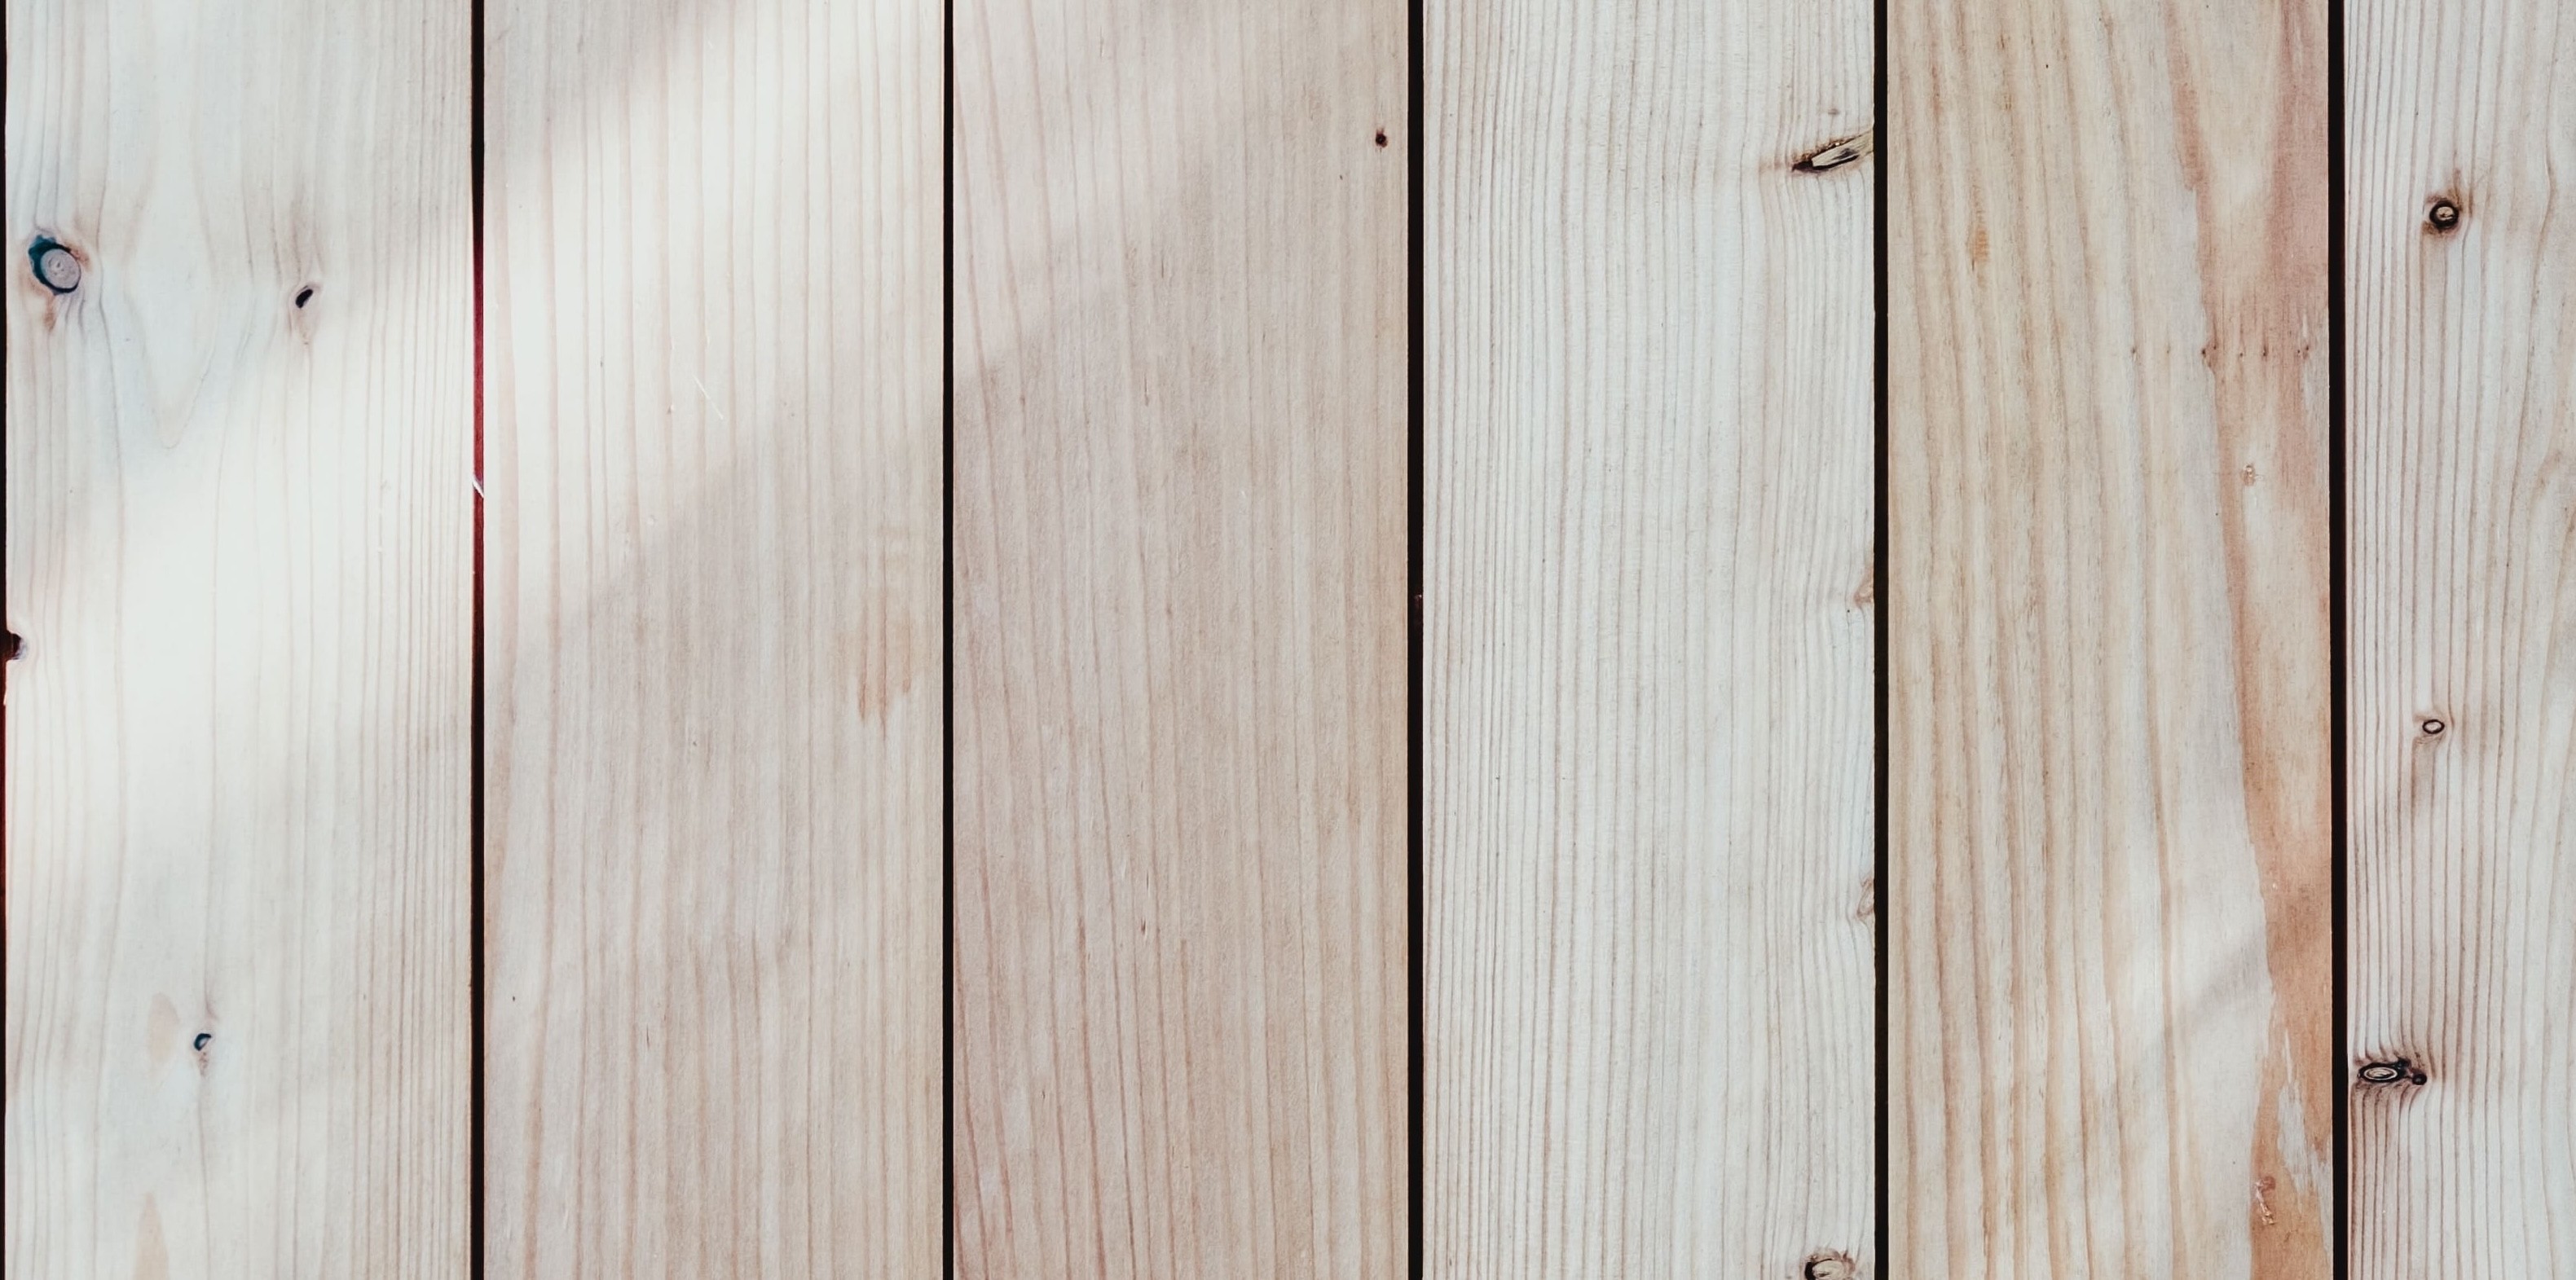
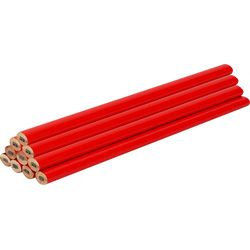
You will also need wooden planks. If they are not in your desired colour, wood stain or paint can transform them.

Step 1: Choose Your Panelling Style
-
Determine the style of panelling you want.
-
Shiplap panelling has long, thin wooden planks arranged horizontally and tightly together.
-
Slatted panelling is similar to shiplap panelling, but has clear gaps between each plank.
-
Wainscotting panelling is when just the lower half of the wall is panelled, usually vertically.
-
Beadboard panelling looks similar to wainscotting panelling but has larger grooves between each plank.
-
Board and batten panelling, also known as shaker panelling, has planks arranged in a square or rectangle to adds a visual texture to a wall. It is one of the most popular DIY panelling styles.
Step 2: Measure The Wall
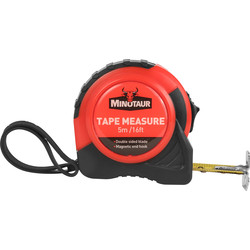
- Before installing the panel, you need to measure the wall to determine how many panels you need as well as the height and length of each panel.
-
To find the total area of the wall, multiple the height by the width.
-
Do the same with each panel and calculate how many you will need to cover the area.
-
Make sure to take any light switches and fixtures into account, as you will need to panel around them.
-
Adding 10% to your measurements can help if you make a mistake.
Step 3: Cut The Panels
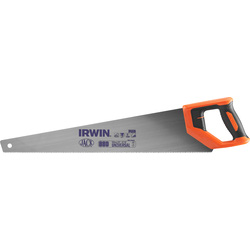
- Mark the panels where they need to be cut.
- Trim the panels using a hand saw or mitre saw.
- Cut into the panel in clean, straight lines
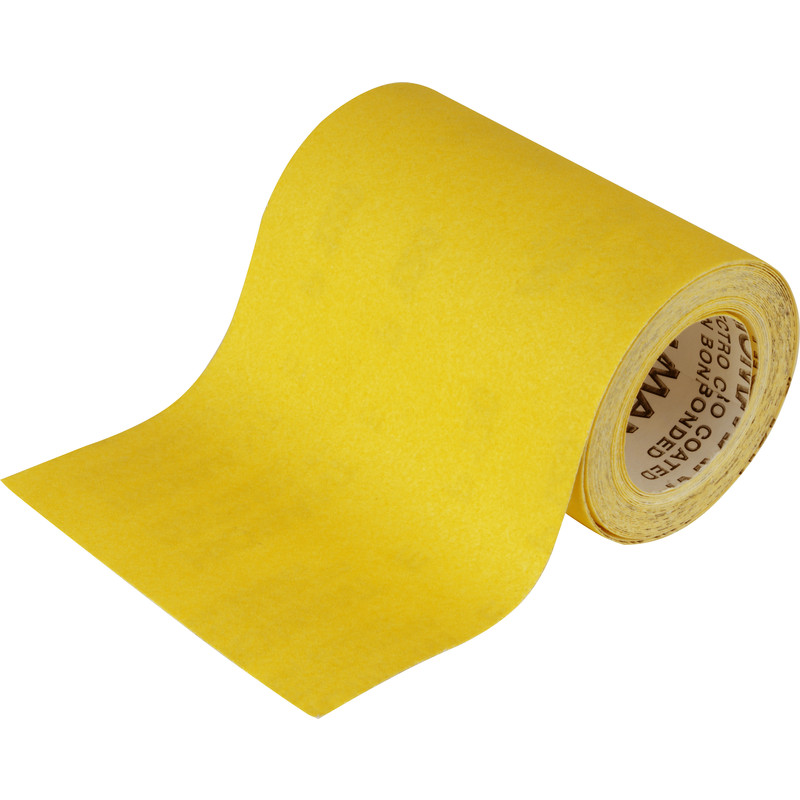
- Sand the panel edges so that they seamlessly integrate with each other onto the wall and look neat.
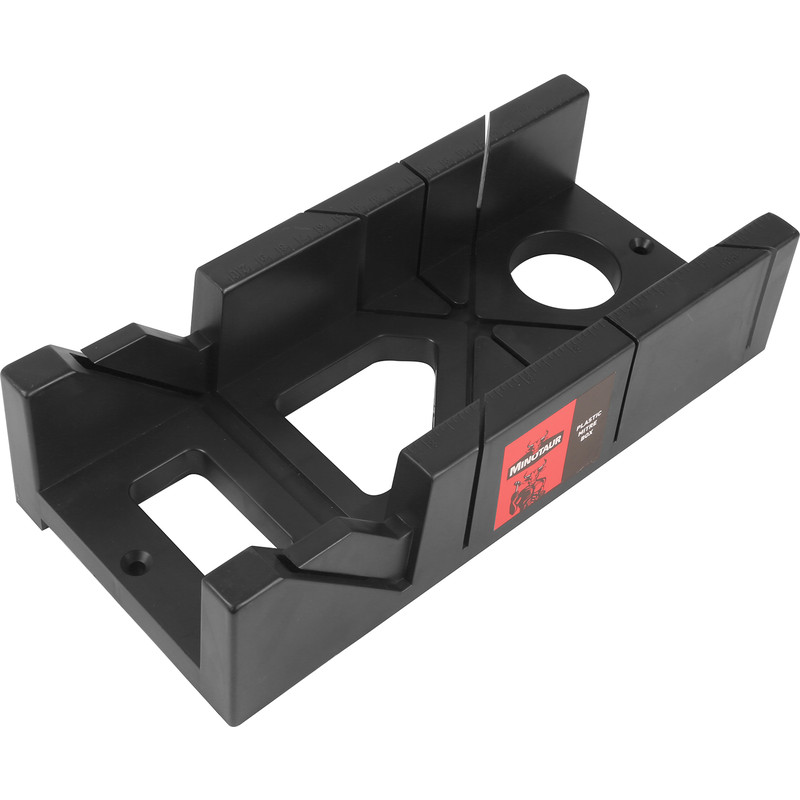
- To get straight lines, a mitre box will help to guide the saw.
Step 4: Prepare The Wall
-
Make sure the wall is free from any residue, dirt or debris by wiping the walls down with warm, soapy water.
-
If the surface has blemishes, sand them down.
-
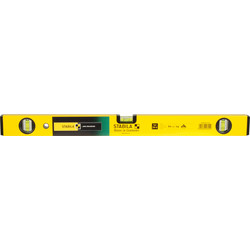
If the wall isn't even, use a spirit level to guide where the panels should be trimmed.
-
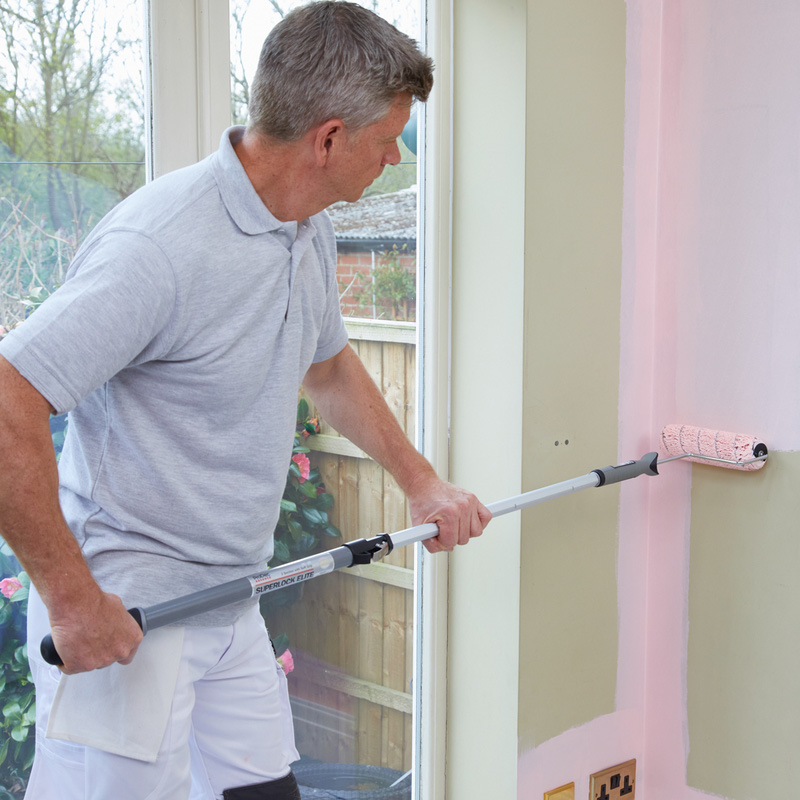
If you want to paint the wall behind the panelling, now is the time.
Step 5: Apply Panels To The Wall
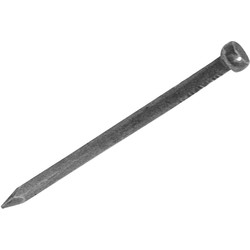
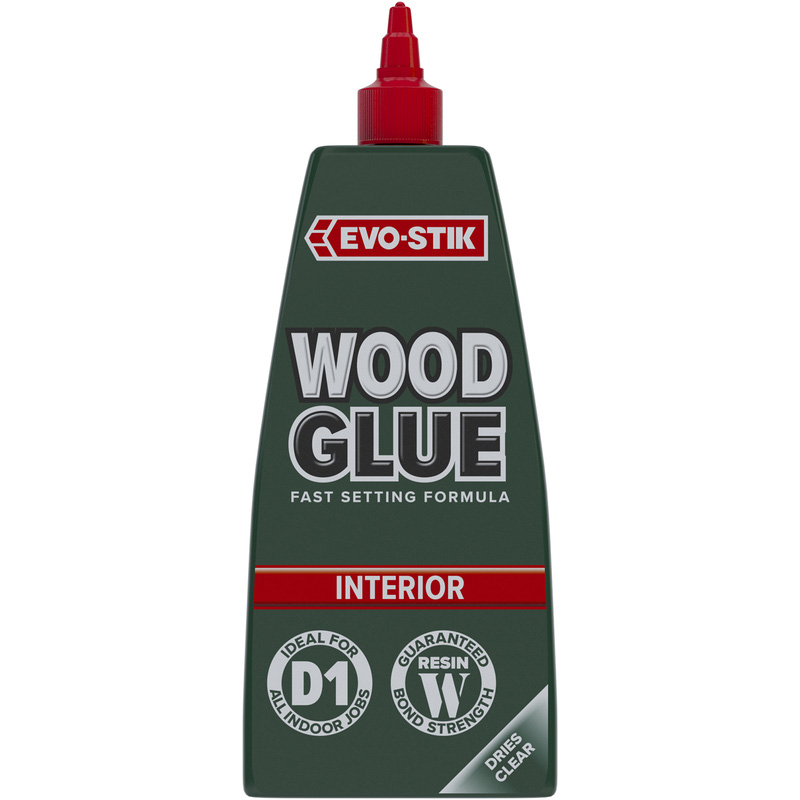
- You can attach the panels to the wall using glue or nails.
- For extra hold use both.
- Apply adhesive in a zigzag pattern on the back of each panel.
- Drill a small pilot hole into the panel before hammering a nail in to avoid splitting the wood.
- Make sure to use a detector to check for any wires or water pipes when securing the panel to the wall.
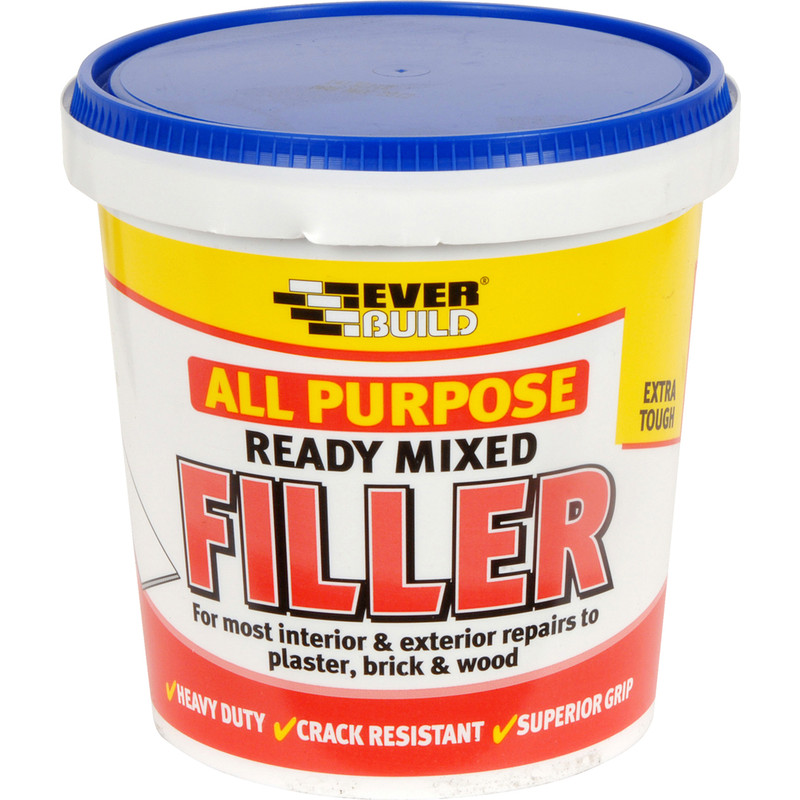
Step 6: Fill In Gaps
- For a seamless result, fill the gaps between the individual panels with an interior filler.
- Once the filler is dry sand it down with fine sandpaper, you could use a decorator's caulk around the edges of the panel centres.
- Once it has set, it is ready to paint.
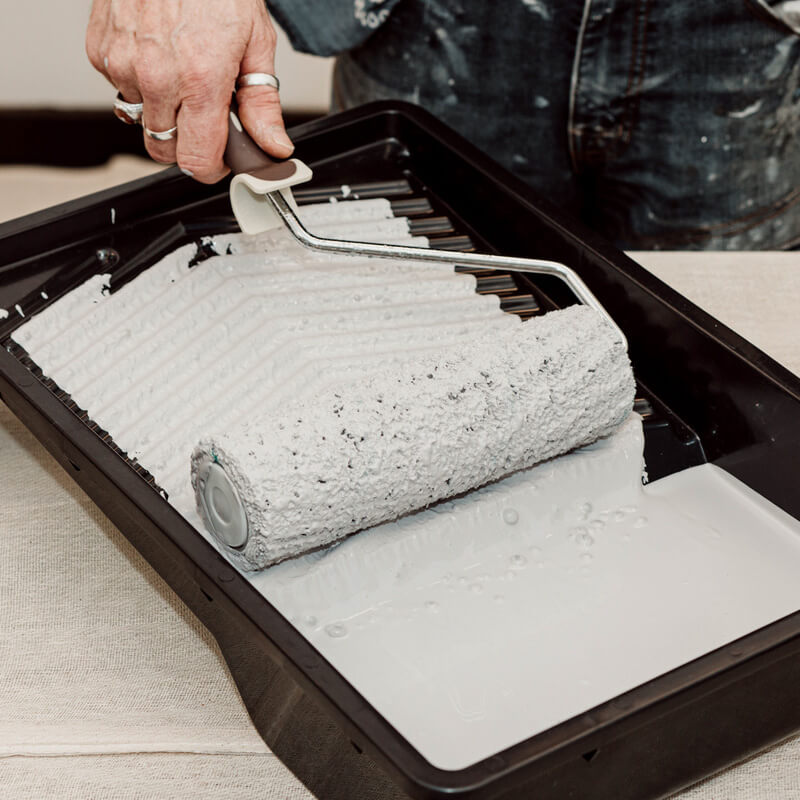
Step 7: Paint And Treat
- Once your panels are secured to the wall and the adhesive and fillers are completely dry, give each panel a protective coat before painting them.
- Apply 1-2 coats of wood-based primer before leaving it to dry.
- Once dry you can now paint your panels with 1-2 coats of paint in your chosen desired colour.