How To Plaster A Wall
Plastering a wall can seem like a daunting task. Aside from making sure you're left with a smooth finish for painting, it's important that it's level and bump-free. With the right advice, and proper tools at your disposal, you can get a great finish that even a professional plasterer would be envious of.
Check out this guide where we provide step-by-step instructions on how to plaster a wall.
Tools For Plastering A Wall
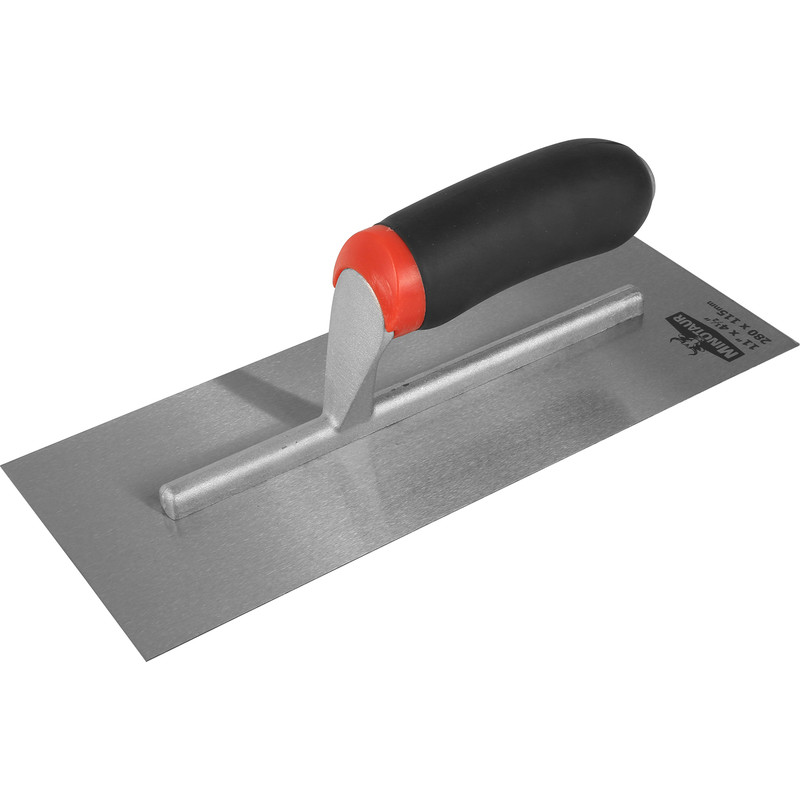
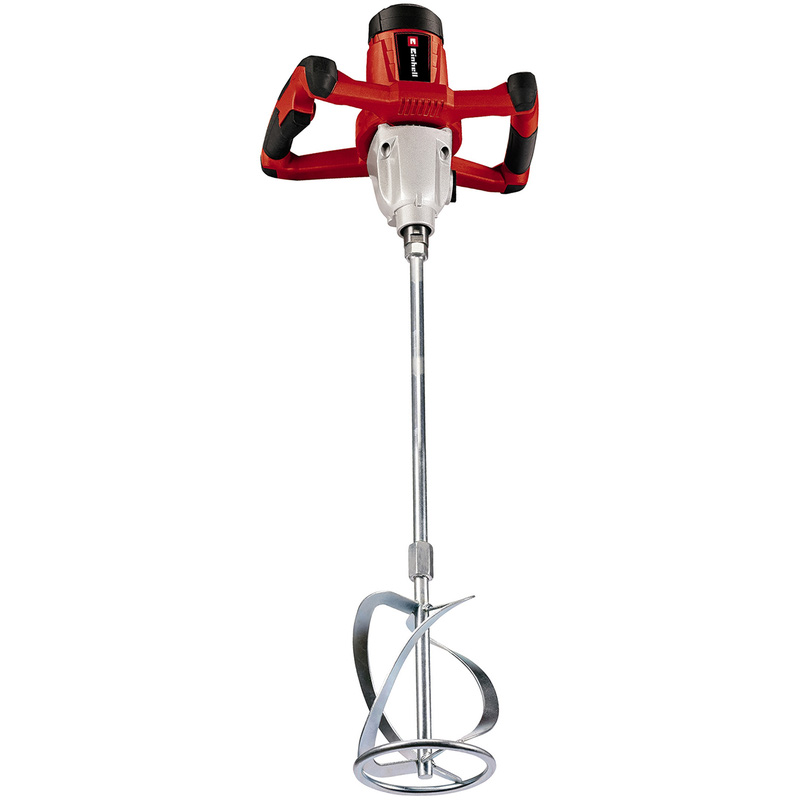
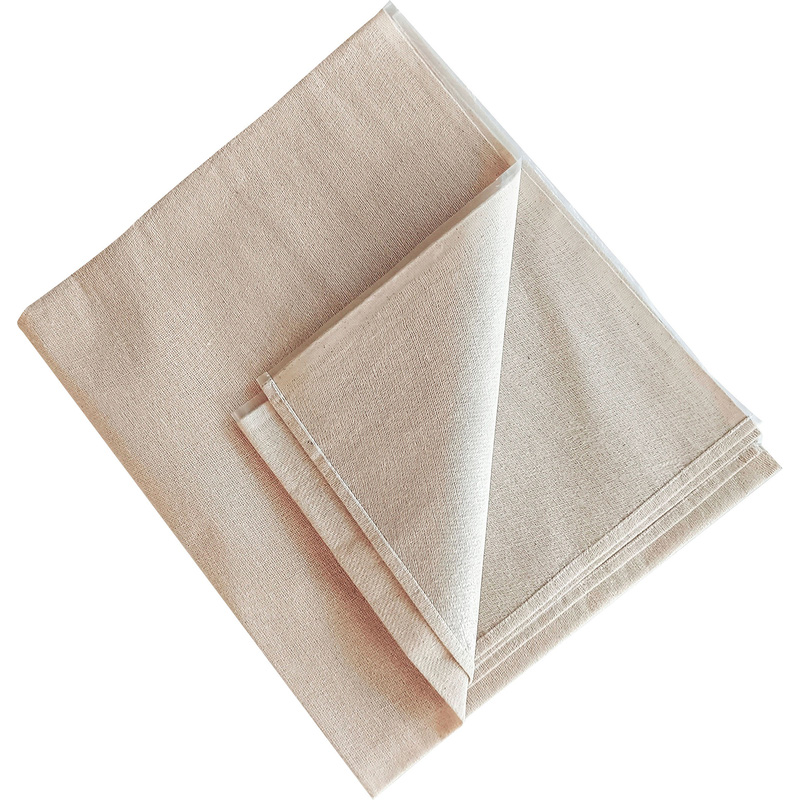
Aside from plaster mix, the main tools needed for plastering a wall are a hawk, mixer, plastering trowel and a bucket. Also, don't forget dust sheets as this will make clean-up much easier!


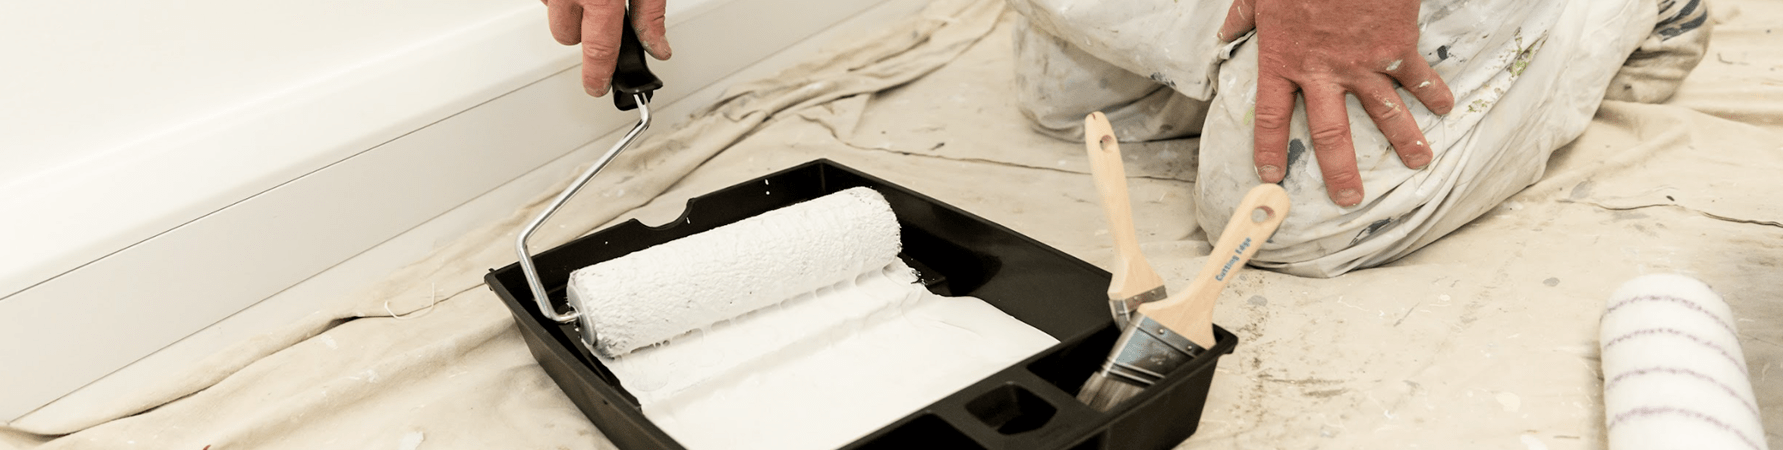
Step 1: Cover Carpets and Furniture
Before you start you'll want to make sure the floors and furniture are well protected, as cleaning up plaster mix can be a messy and arduous job!
Grab some dust sheets and lay them down making sure that everything is well covered, this will keep mess to a minimum. Now you're ready to move on to the next step.
Step 2: Prep and Prime the Wall
Making sure your wall is well prepped and ready for its first coat is really important before you start. Failure to do so could mean a poor finish and may even result in plaster not adhering to the wall properly.
-
First things first, strip away any wallpaper and paint.
- Now carefully check for any cracks or dents. If you spot any, apply some filler to get rid of them.
-
Once the filler is dry, give it a good sand to smooth everything down. You can use sandpaper, but a sander will get the job done quicker.
- Sanding has probably left you with a lot of dust so it's a good idea to wash the wall. A simple water and soap mixture will do the job. Then wait for it to dry.
- Now it's time to prime the wall, this will ensure that the newly-applied plaster will stick properly. Using a roller, apply a thin, even coat of watered-down PVA glue.
Step 3: Mix The Plaster
The aim with plaster mix is to get it as smooth and lump-free as possible, as this will result in a nice, smooth finish on your walls, perfect for painting.
-
Grab your plasterers bucket and pour in some clean water.
- Slowly add some plaster mix.
-
Use your mixer to blend the mix until it's smooth and free of lumps.
- Continue adding more plaster mix and blending until the consistency is similar to thick cream. Too thick and it'll be hard to work with, and too runny could result in it sliding off the walls.
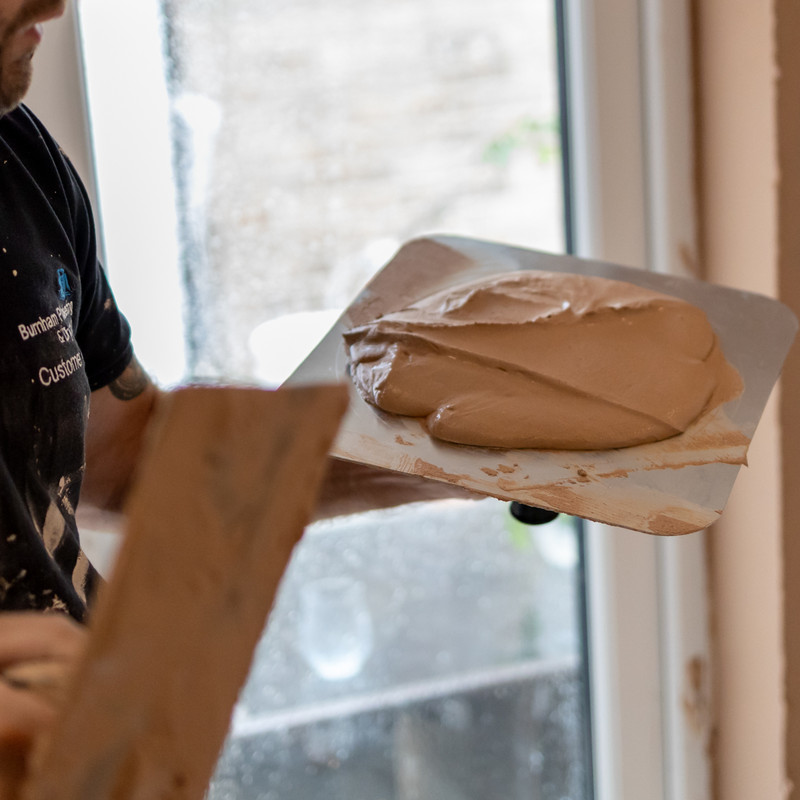
Step 4: Load the Plaster onto Your Plastic Hawk
Holding your plastic hawk in one hand, grab your bucket trowel and scoop some plaster from the mixing bucket and load it onto the hawk. This keeps the plaster on hand when you apply the first coat, helping to speed up the process.
Step 5: Apply the First Coat
With one hand holding the hawk, and the other holding your trowel, scoop up a small amount of plaster so that it's loaded onto the trowel.
-
Start from the bottom corner of the wall, and hold the trowel at a slight angle so the bottom edge of the trowel is resting against the wall.
- Working in an upwards, sweeping motion apply firm and even pressure and smooth a thin layer of plaster across the wall.
- Repeat this process again but slightly overlap the previous layer, this ensures you're not left with any gaps.
- Keep going until you've covered the entire wall. Don't worry if you notice any uneven marks or lines as we'll get to those next.
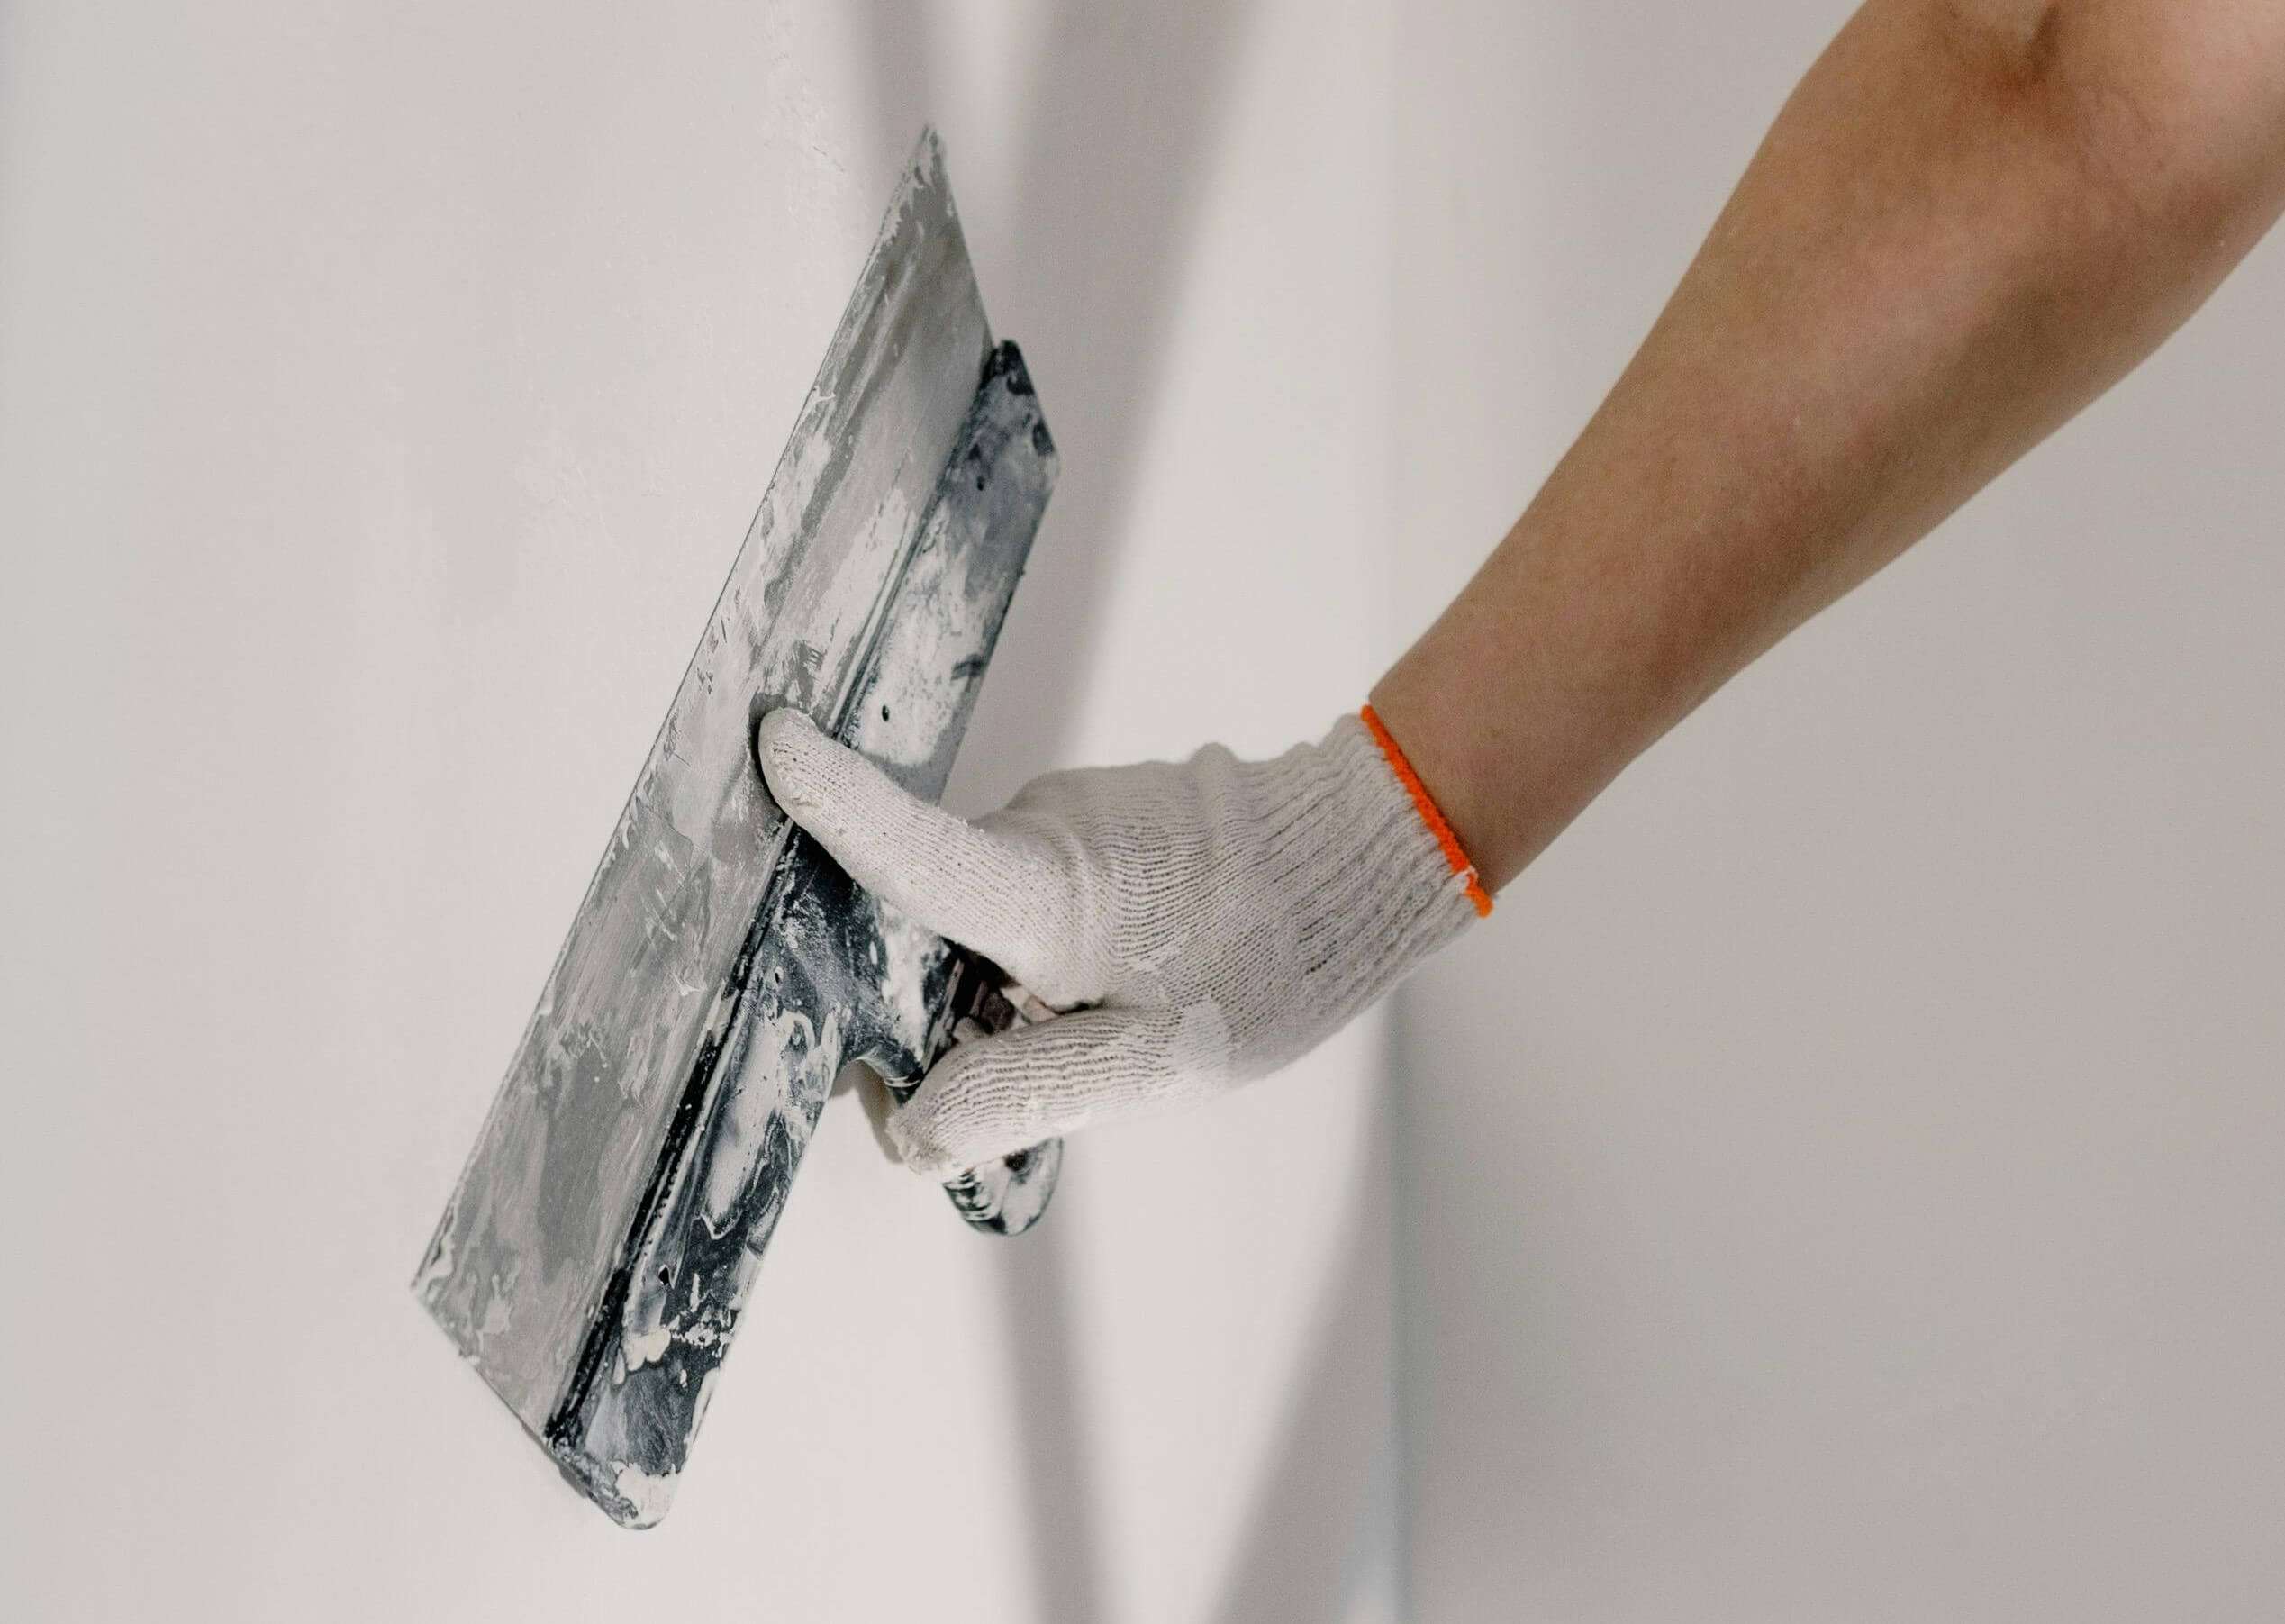
Step 6: Smooth the Surface
Once the plaster is applied, smooth the surface using your plastering trowel. It's a good idea to rinse the trowel with some clean water to remove any grit or debris that could cause further marks.
- Work out any lines or ripples in the plaster by gently pressing the trowel flat against the wall and moving in long and controlled, sweeping motions.
- Check the wall from different angles so you don't miss anything.
- For corners, smooth out any imperfections with a damp paint brush.
Step 7: Allow the Plaster to Set
Give the plaster enough time to set before applying a second coat. You’ll notice it starts to firm up but should still be workable, this is usually around 20 to 30 minutes. This setting time allows the plaster to bond properly to the wall.
Step 8: Apply the Second Coat
Now it's time to apply a second coat of plaster. Before you start, you'll need to add a little water to the plaster mix for a thinner consistency. If you're not sure, check the instructions on the plaster mix for guidance. The thinner plaster mix helps to fill in any imperfections and gives you an even smoother finish.
- Apply a second, thinner coat of plaster using the same sweeping motions.
- This layer should be applied more smoothly and carefully to ensure an even finish. Aim for a thickness of about 2mm.
Step 9. Tidy Up the Edges
Use the edge of your trowel to clean up any excess plaster from the corners and around any sockets or fittings. A wall brush can also help smooth the edges and create crisp lines. If it helps, use a spray bottle to lightly mist the walls making it easier to level out the plaster.
Step 10. Final Polish
This final step isn't always needed. However, if you notice any imperfections in the plaster wait until it's completely dry before sanding away any marks.