Removing old silicone sealant is a crucial task when you want your bathroom and kitchen features looking fresh. Over time, sealant can become mouldy or peel away, so you may need to remove and replace it to ensure a watertight seal and seamless appearance.
Essential Tools & Equipment
Step 1: Prepare The Area
-
Begin by using a knife to gently score along the edges of the existing sealant.
-
This helps to separate the sealant from the surface without damaging the bathtub or tiles.
-
Be cautious to avoid scratching the surfaces.
Step 2: Apply Silicone Remover
-
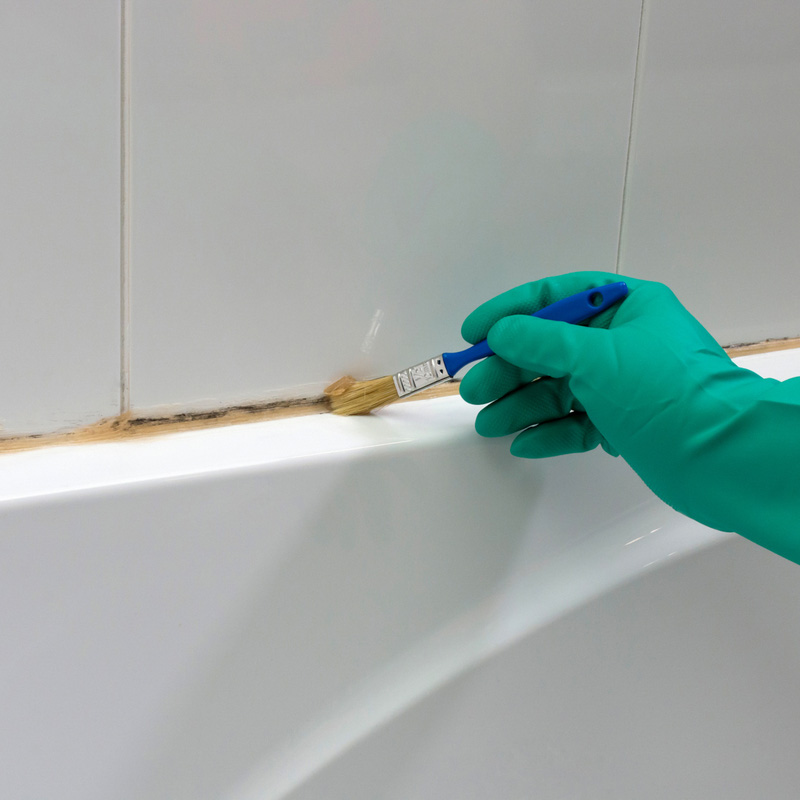
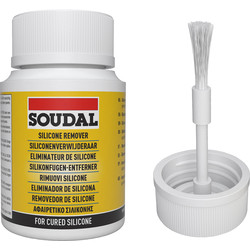
Apply a generous amount of sealant remover onto the old silicone.
-
Use the product's applicator brush for an even application, covering all the old sealant thoroughly.
-
Leave the remover to work for at least 15-30 minutes or according to the manufacturer’s instructions, allowing it to penetrate and soften the silicone.
Step 3: Remove The Old Sealant
-
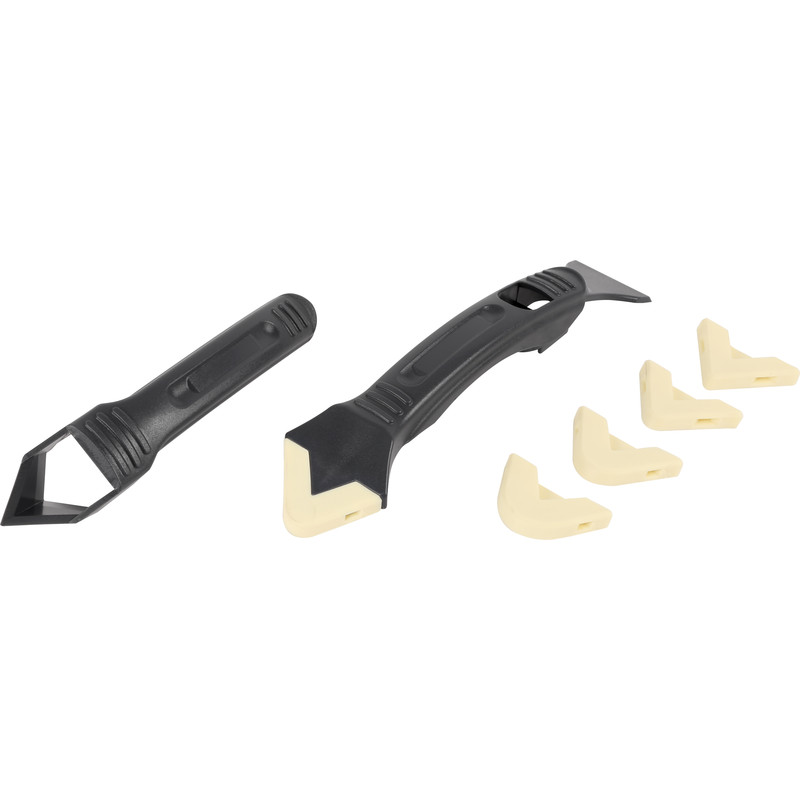
After the remover has set, use the sealant removal tool to scrape away the old silicone.
-
Work carefully to remove as much sealant as possible without damaging the surface underneath.
Step 4: Clean The Surface
-
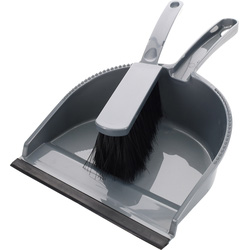
Once the majority of the sealant is removed, clean the area with a dustpan and brush to remove loose pieces.
-
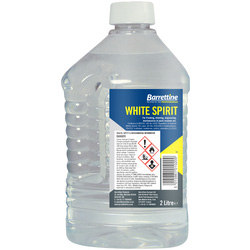
Then, use white spirit applied to a rag to clean off any remaining residue. This ensures a clean surface that's ready for new sealant application.
Step 5: Final Preparations
-
Ensure the area is completely dry and free of any residue or dust.
-
The surface should be smooth to the touch, with no remnants of the old sealant.
-
This is crucial for the new sealant to adhere properly and form a watertight seal.
-
Read our guide to How To Seal A Bath (suitable for all surfaces) for your next steps.

