A good piece of woodwork can easily elevate your home's aesthetic, but when it's damaged, it can really dampen the overall look.
Whether you're dealing with a chipped set of drawers or an old, rotten window frame, knowing how to repair damaged wood is a skill that can save the day. We'll walk you through the steps to restore your woodwork to its former glory.
Essential Tools & Equipment
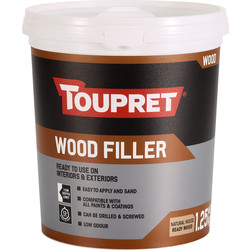
Depending on the level of damage, you may want to consider a heavy duty wood filler. You should also get a damp cloth to help prepare the surface.
Step 1: Choose the Right Filler
- First, decide which filler is suitable for your job.
- A multi-purpose wood filler is suitable for most jobs, but if there is more damage then you may want a heavy duty wood filler.
Step 2: Prepare the Area
- Test the filler color on the wood.
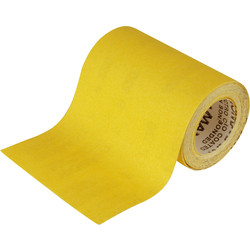
- Lightly sand the area and clean it with a damp cloth to remove any loose particles.
-
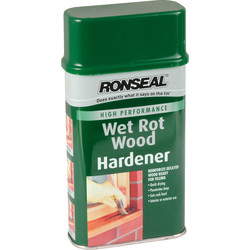
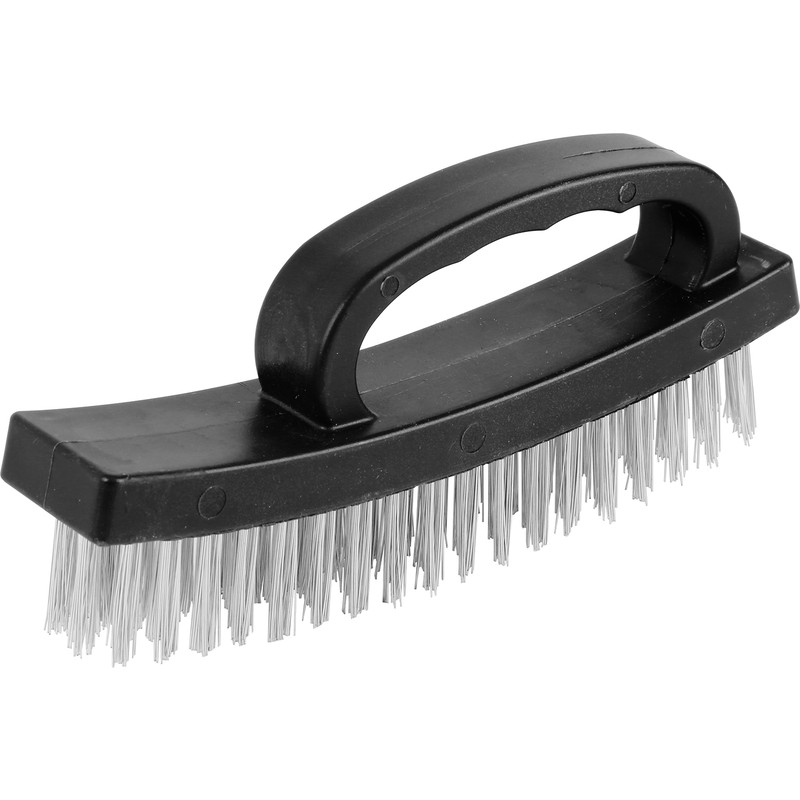
If the surface has wet rot, remove loose wood and drill small holes for deeper hardener penetration. Apply a wet rot hardener with a brush, wait two hours, and remove excess with a wire brush.
Step 3: Mix the Filler
- If you're using a heavy duty filler, you may need to mix the filler with a hardener.
- Mix a pea-sized amount of hardener with a golf ball-sized amount of filler until uniform in color - read the manufacturer's instructions, as the amounts can vary.
Step 4: Apply the Filler
- Firmly pack the filler into the hole or crack, slightly overfilling it.
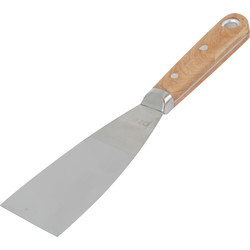
- Smooth it with a wet decorator's knife before it dries.
Step 5: Allow to Dry and Sand
- Wait for two hours for the filler to dry.
- If the hole is deep, apply in 5mm layers, allowing two hours between each layer.
- Sand down for a smooth finish.

