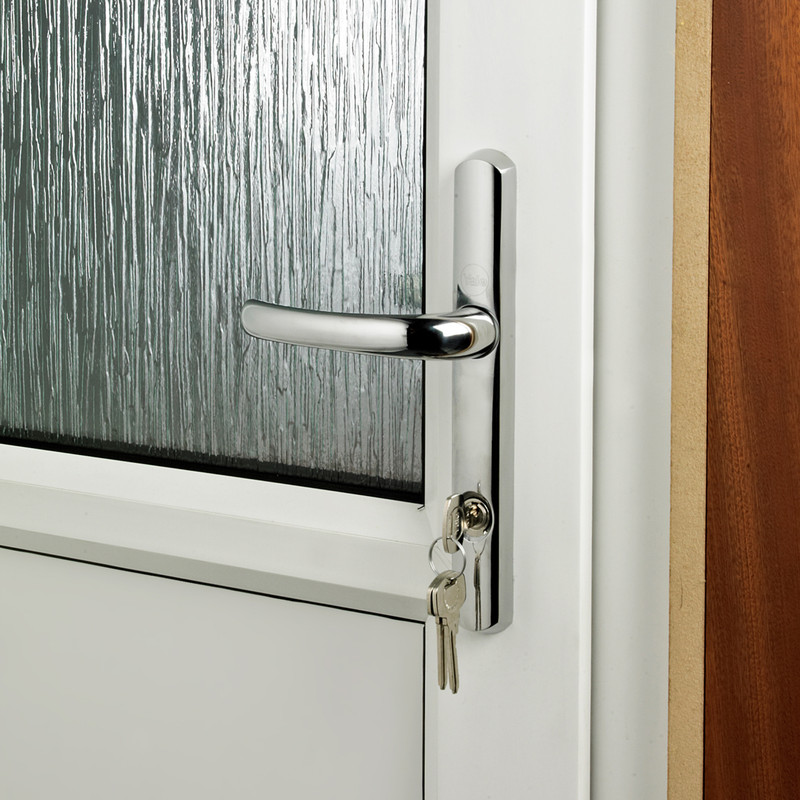
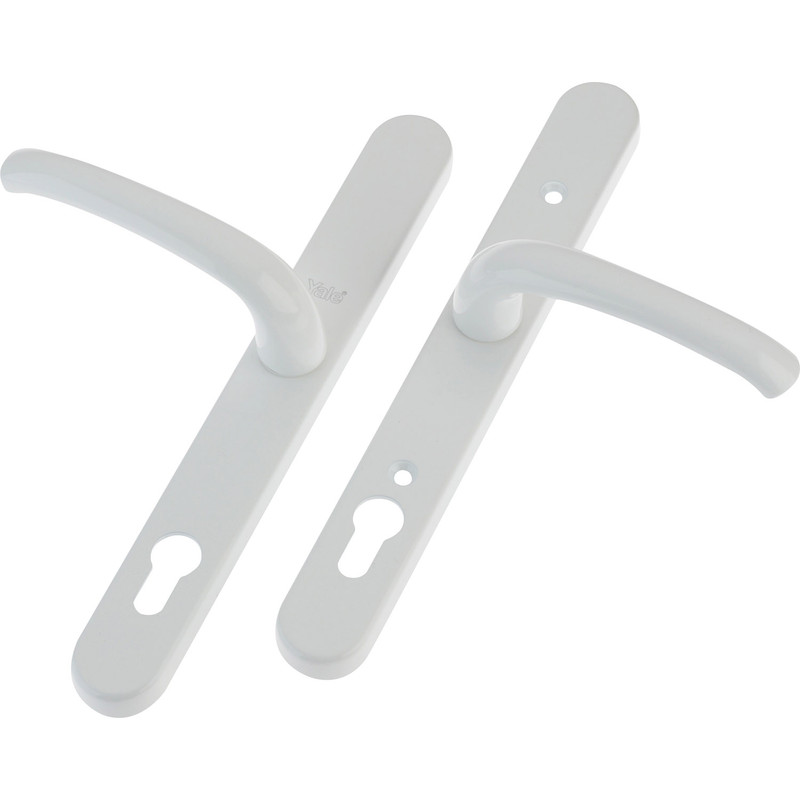
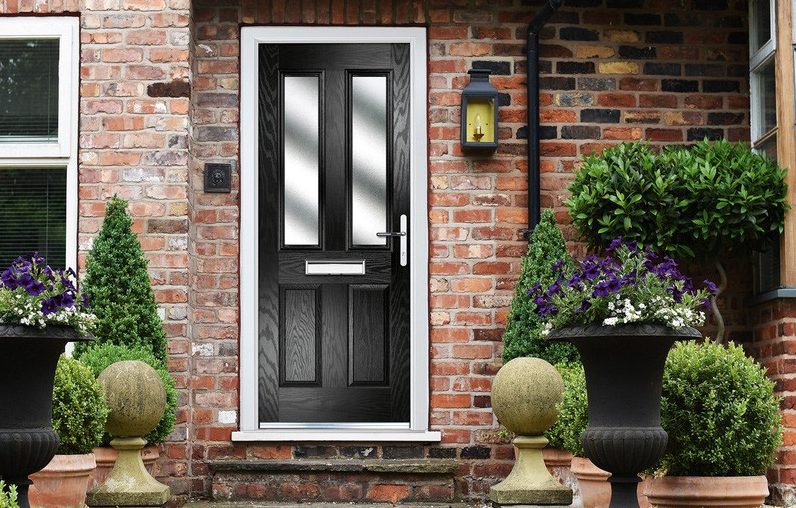
Looking to replace your outdated or worn uPVC door handle? If so, you've come to the right place. Replacing a uPVC door handle is a super-simple DIY job that pretty much anyone can do with the right tools and know-how.
Follow our instructions to get the job done quickly and efficiently. But before you start, you'll want to make sure your new replacement handle will fit properly.
Essential Tools You Need To Replace A uPVC Door Handle
Step 1: Measure Your Existing Door Handle
Before purchasing a new handle, you'll want to take a few key measurements so you know it's going to fit properly.
-
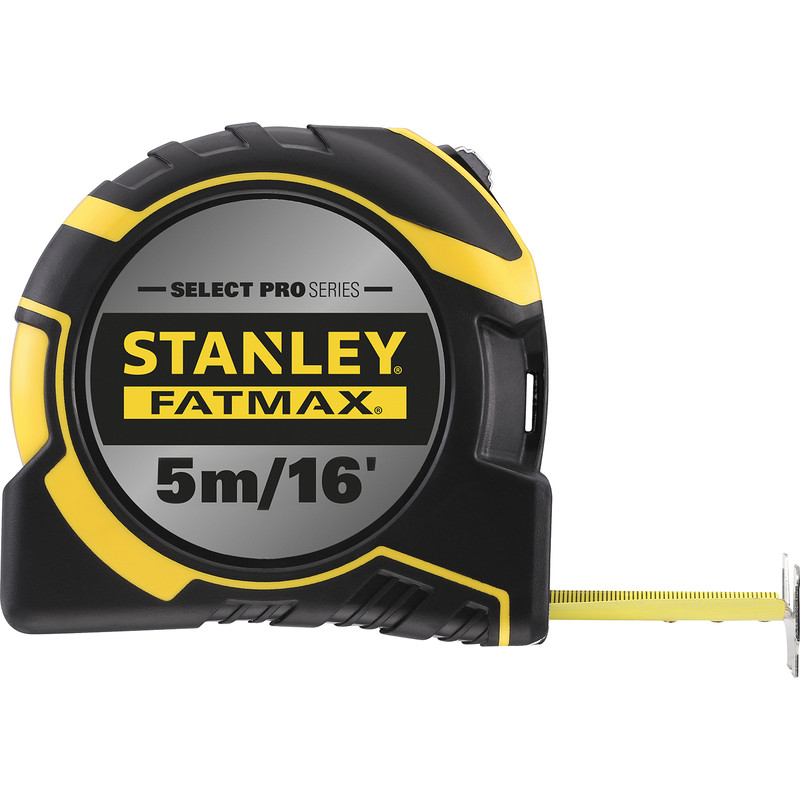
Using a tape measure, measure the distance between the screws, the keyhole and the handle lever.
Step 2: Remove the Existing Handle
To remove the existing door handle you'll need to start by opening the door so you can access both sides of the handle.
-
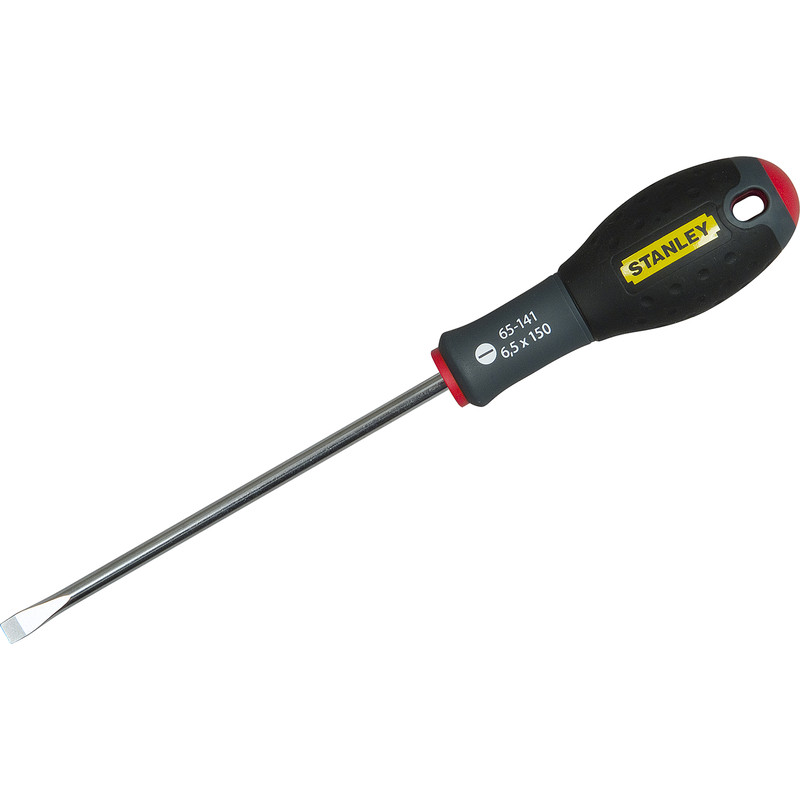
Locate the screws and, while holding the door, unscrew them both using either a screwdriver or impact driver.
- Carefully pull apart the handles to remove both sides.
- If the door has a barrel lock or spindle you can leave them in place if you prefer. Most replacement uPVC door handles are supplied with a new spindle.
Step 3: Install the New Handle
With the old handle removed, it's now time to replace it with the new one.
- Take the side of the handle with the screw holes and slide this over the spindle and barrel lock.
- Now take the other handle and slide this on the other side of the door.
- Ensure both sides fit snugly and flush with the door.
- Secure the handle in place with the screws provided.
Step 4: Check the Mechanism
Now the handle is secured, you'll want to test its operation. Lift the handle to ensure it engages the lock correctly. If it feels wobble, tighten up the screws and try again. Your newly fitted door handle is now ready for use!

