How To Stop Condensate Pipe From Freezing
When outside temperatures drop, a common issue faced by homeowners is the freezing of condensate pipes. The job of condensate pipe is to carry away excess waste water which is produced by certain appliances around your home, like boilers or air conditioning units. However, given that condensate pipes are located externally this means they’re particularly prone to freezing, especially in very cold weather. While a quick fix could be pouring hot (not boiling) water over the pipes, it’s by no means a long term solution.
In this guide, we'll walk you through practical steps to prevent your condensate pipe from freezing in the first place so you can protect your home from the disruptions caused by frozen pipes while keeping your heating system running smoothly all year round.
What Causes Condensate Pipe To Freeze?
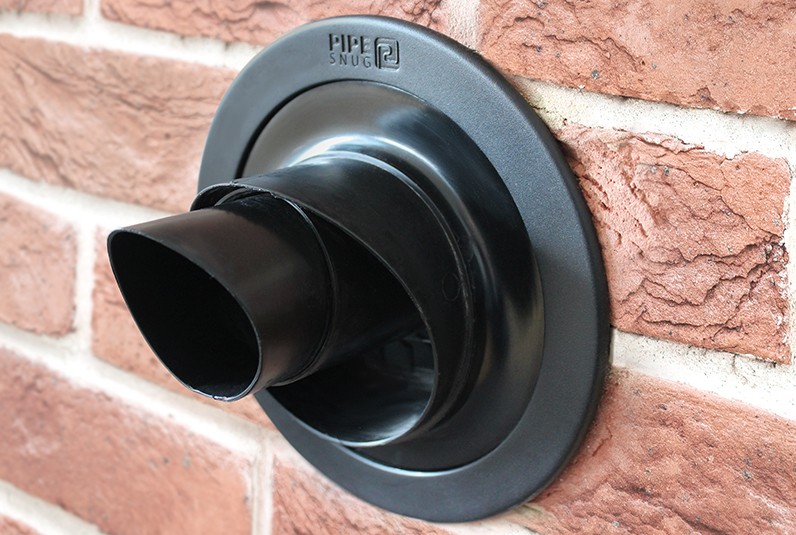
Condensate pipes can be found outside homes that have condensing boilers - a combi boiler is one type of boiler that uses condensing technology. The pipes are usually fixed to the wall and travel from your boiler to an external drain. In order for the pipework to be efficient at carrying away any waste water, it should be fixed at an angle great enough to do so.
A common cause of condensate pipe freezing is improper installation of the pipework, where it's laid too horizontally, preventing proper drainage of wastewater. Since the water from the boiler flows in very slowly, a horizontally installed pipe causes the water to take longer to reach the drain increasing the likelihood of the water freezing in extremely cold temperatures. If the cold weather persists, ice builds up over time, eventually leading to a blockage.

Essential Tools To Insulate Your Condensate Pipe

Step 1: Increase the Space Between the Pipe and the Wall
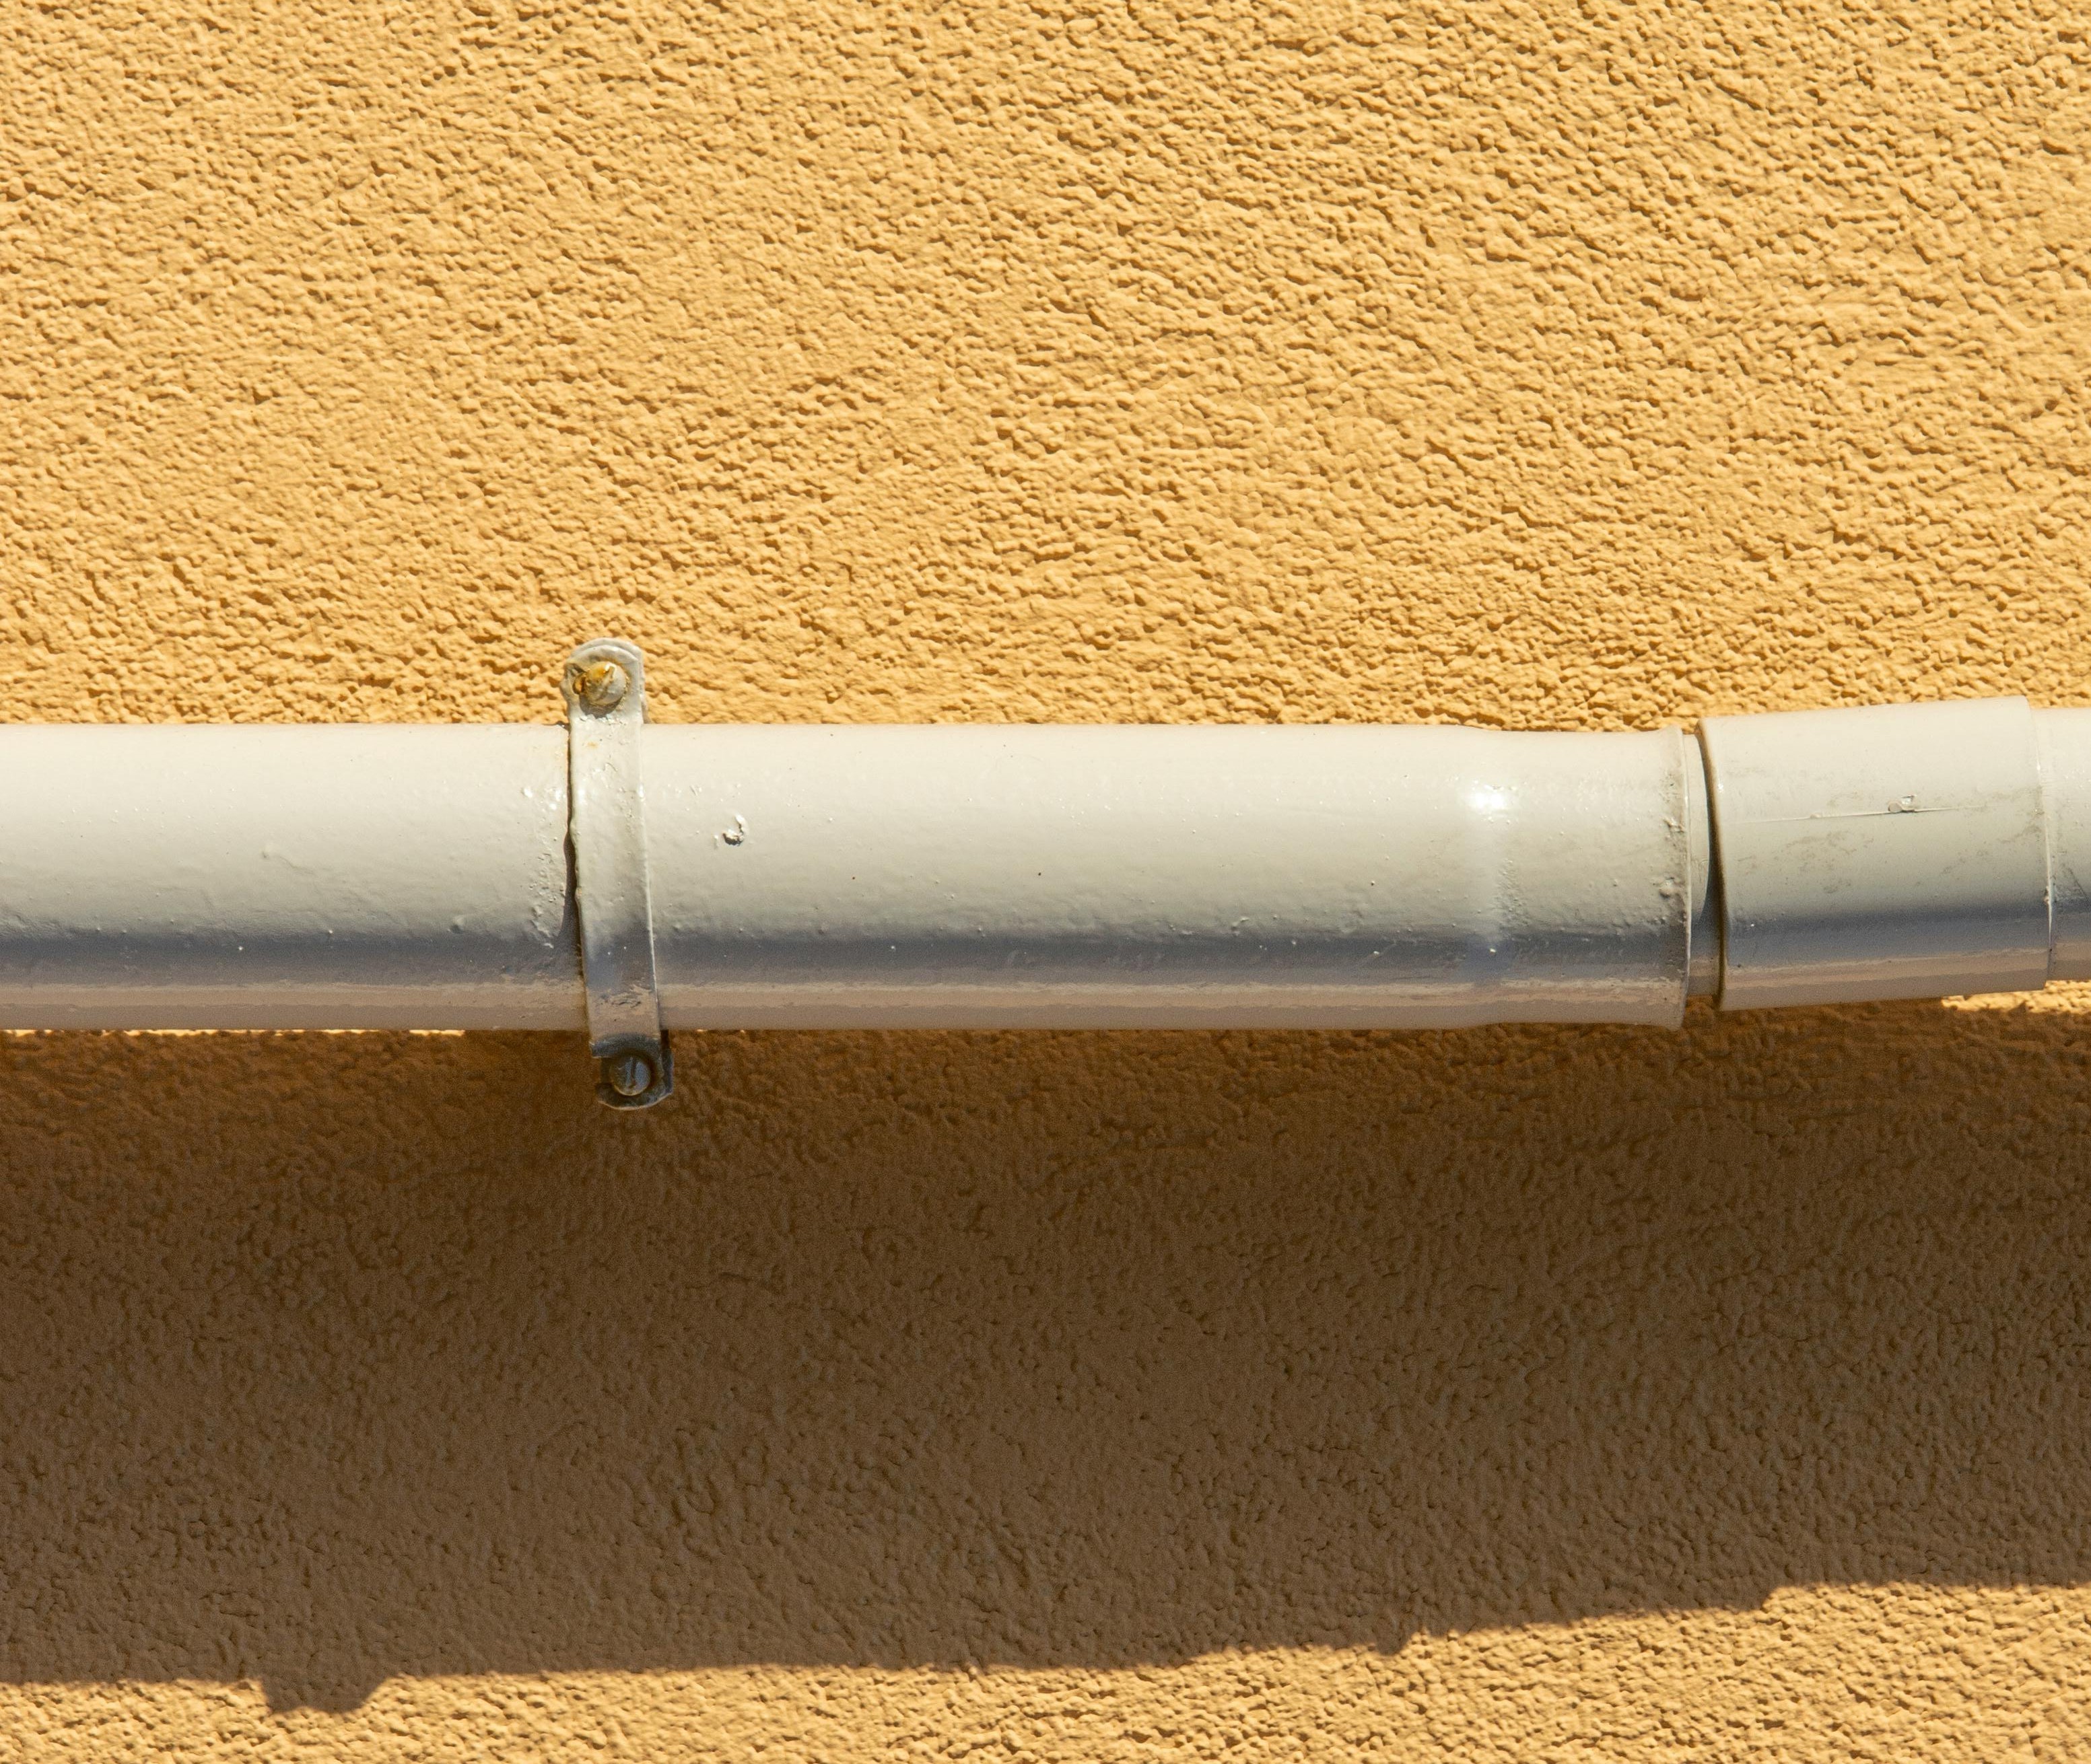
Before starting, check the pipe to see if you have enough space to properly fit the insulation. You need to be certain it can fit snugly all the way around the pipe. If any gaps are left directly between the wall and the pipework, it’s still exposed enough which leaves it at risk of freezing. If there’s enough room, you can move onto step 2. If not, get your hands on some pipe clamps with spacers and swap them out.
-
Use a screwdriver to remove the pipe clips that keep the condensate pipe in place.
-
Replace each of these pipe clips with clamps that feature spacers - this should create the room needed for the insulation. Use longer screws in the same pre-drilled holes.
Step 2: Measure the Pipework
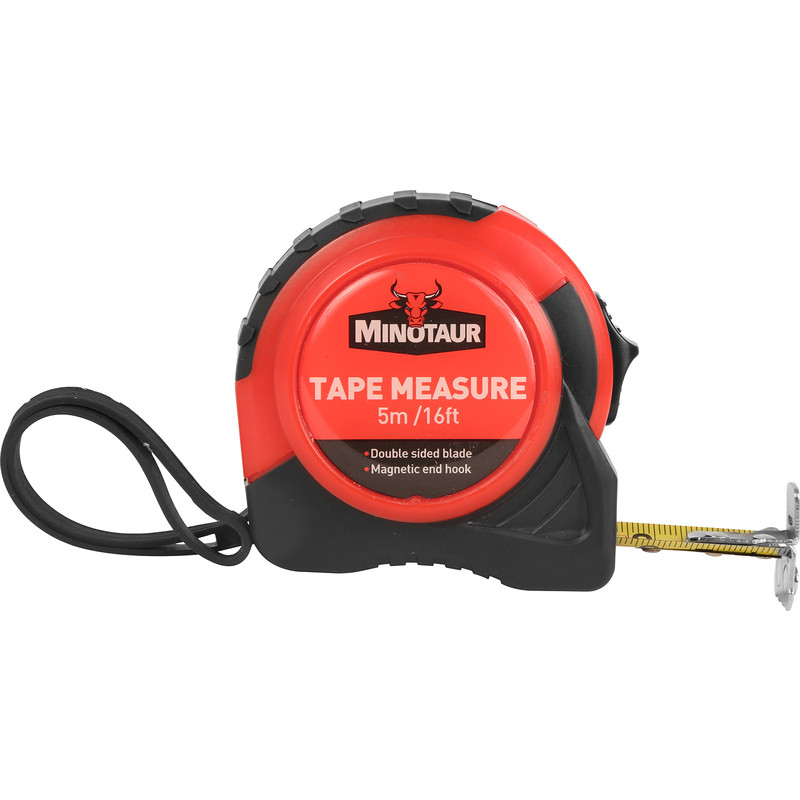
Take your tape measure and measure the entire length of the pipe that needs insulating. Make sure to account for any bends or sections that you also want to insulate.
Step 3: Cut the Insulation to Size
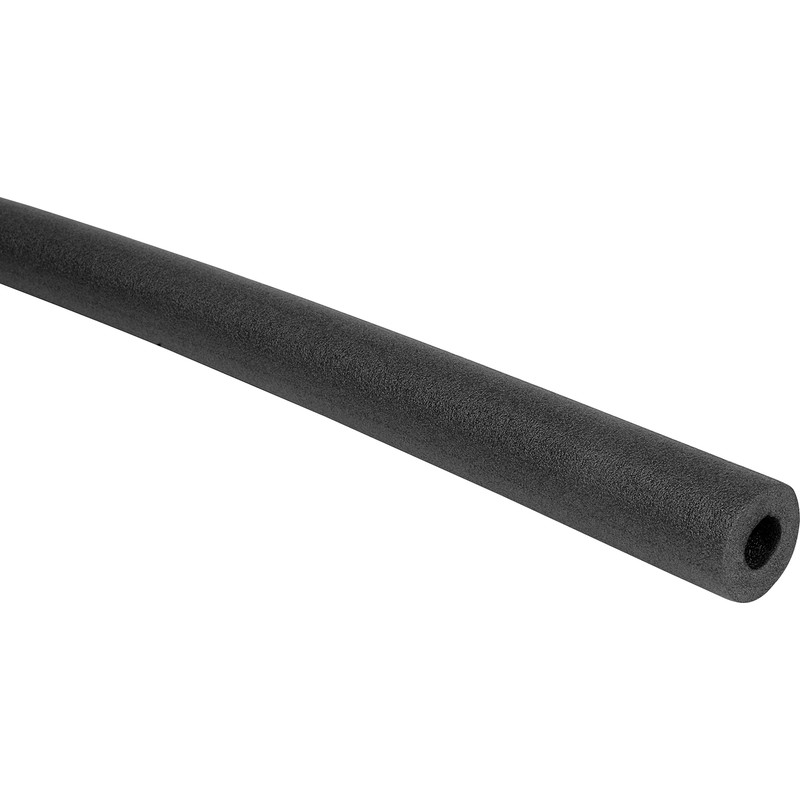
If you’re using foam pipe insulation, use a utility knife or scissors to cut the insulation to the appropriate lengths to fit the sections of your condensate pipe. If you’re using spiral pipe wrap, cut into manageable lengths.
Step 4: Fit the Insulation Over the Pipe
If you're using foam insulation, you’ll notice it’s partially split along its length, so you can simply slide the foam sleeve over the pipe. Ensure it covers the full length of the pipe and fits snugly. If you're using spiral pipe wrap, wrap it tightly around the pipe, overlap it by around 15mm as you go.
Step 5: Secure the Insulation
Once the insulation is in place, secure it by using cable ties. You can use duct tape if you prefer, but keep in mind that you may need to replace this more often. Be sure the insulation is firmly attached, especially around corners or bends.
Step 6: Check for Gaps or Exposed Areas
Take a bit of time to properly inspect the entire length of the pipe ensuring that no gaps remain uncovered. Once you're happy that no exposed areas remain, your condensate pipework is now well insulated against the effects of cold weather and freezing temperatures.