Over time, the roof of your garden shed can become worn, leading to leaks and damage. Refelting your shed roof is a crucial maintenance task that not only protects your shed and everything inside it, but it also extends the lifespan.
This how-to guide walks you through the process of re-felting your shed roof, ensuring you have all the knowledge and tools needed to complete the job effectively.
Essential Tools & Equipment
Step 1: Inspect and Prepare the Roof
- Begin by inspecting the interior and exterior of your shed roof.
- Look for any signs of rot or damage to the wooden structure. Any issues should be addressed before you refelt the roof.
Step 2: Remove Old Felt and Trims
-
Carefully strip away the old shed felt and any wooden trims from the edges of the roof.
-
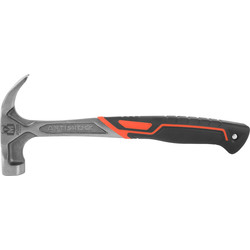
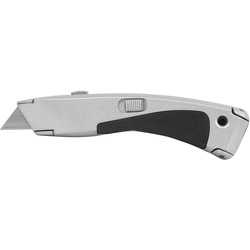
Use a claw hammer to remove nails and a utility knife for cutting away the old felt material.
-
Ensuring a clean and smooth surface is crucial for the new felt to adhere properly.
Step 3: Apply Adhesive and Lay New Felt
-
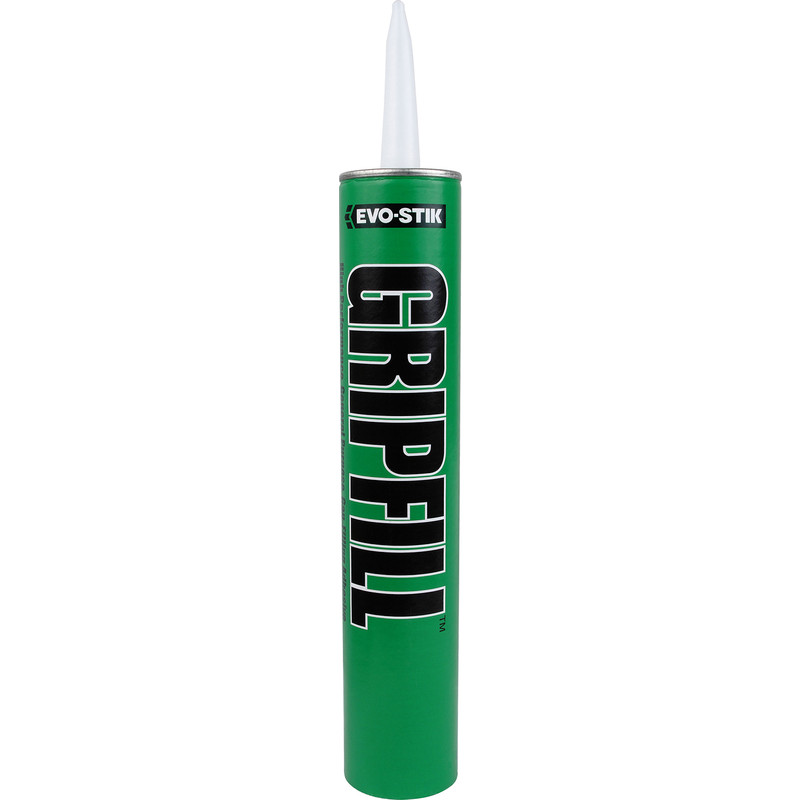
Apply a generous amount of solvent-based adhesive to the roof surface. Do this in sections to avoid the glue from drying as you lay the new felt.
-
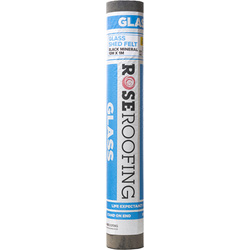
Carefully lay the new roofing felt, starting from the bottom edge and working your way up. Be sure to apply pressure to ensure proper adhesion.
-
Move on to the next section and make sure that each layer overlaps the previous one to create a watertight seal.
Step 4: Secure the Felt and Add Finishing Touches
-
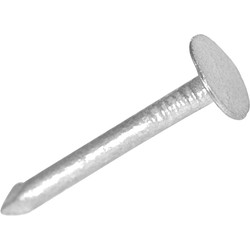
Use galvanised nails to secure the felt, particularly along the edges and overlapped sections.
-
Replace any rotten wooden trims with new trims, securing them in place with nails and adhesive to provide additional protection and a tidy finish.


