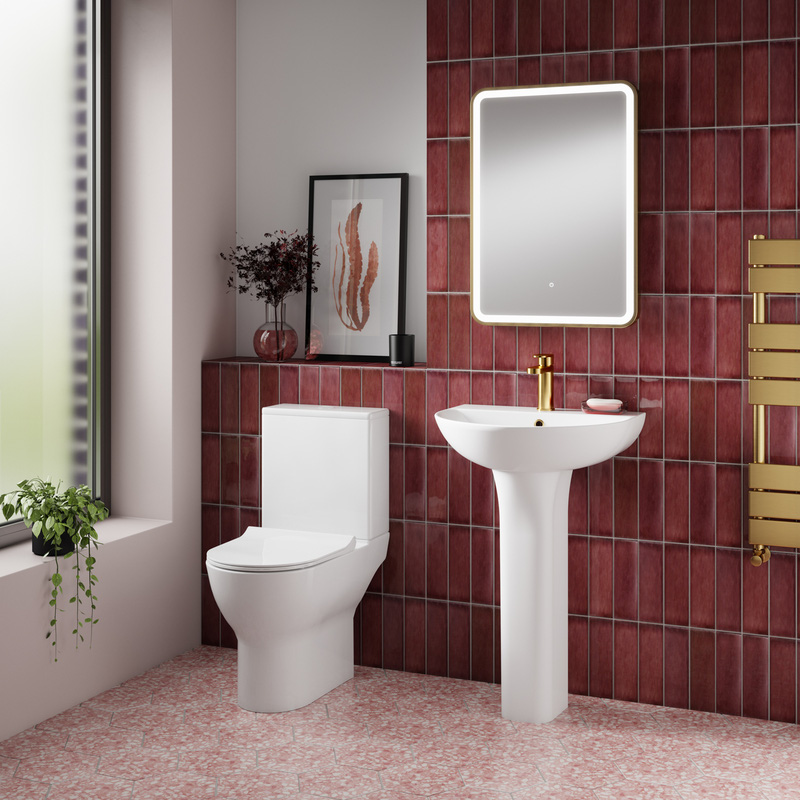
How To Fit A Toilet
Fitting a new toilet doesn’t have to be a tricky job, and with the right tools, a bit of preparation, and a step-by-step guide, it’s a job many confident DIYers can take on themselves.
So, whether you're upgrading to a more stylish toilet, or simply replacing a faulty unit, our how-to will take you through the process, from removing your old close-coupled toilet to securing the new one in place. You’ll have your new toilet installed and working in no time.
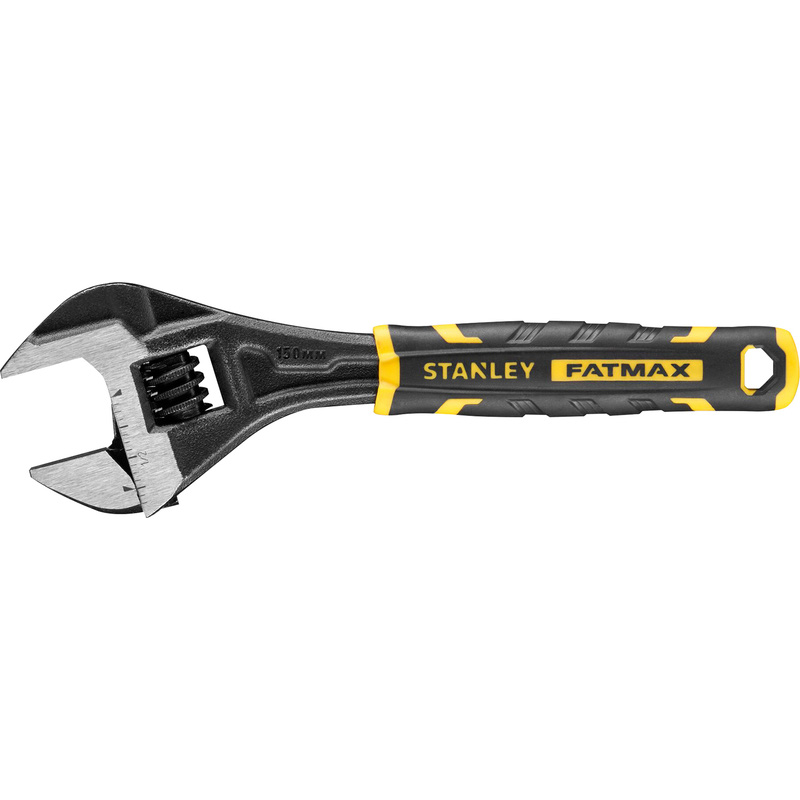
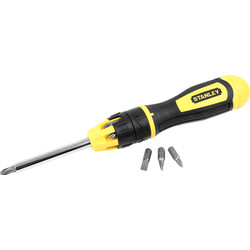
Essential Tools For Fitting A New Toilet

Step 1: Turn Off the Mains Water
Before you do anything with the toilet, you’ll want to turn off the mains water. This is really important so don’t skip this step, else you could be faced with flooding and potential water damage! Find the stopcock - usually under the kitchen sink - and turn it clockwise.
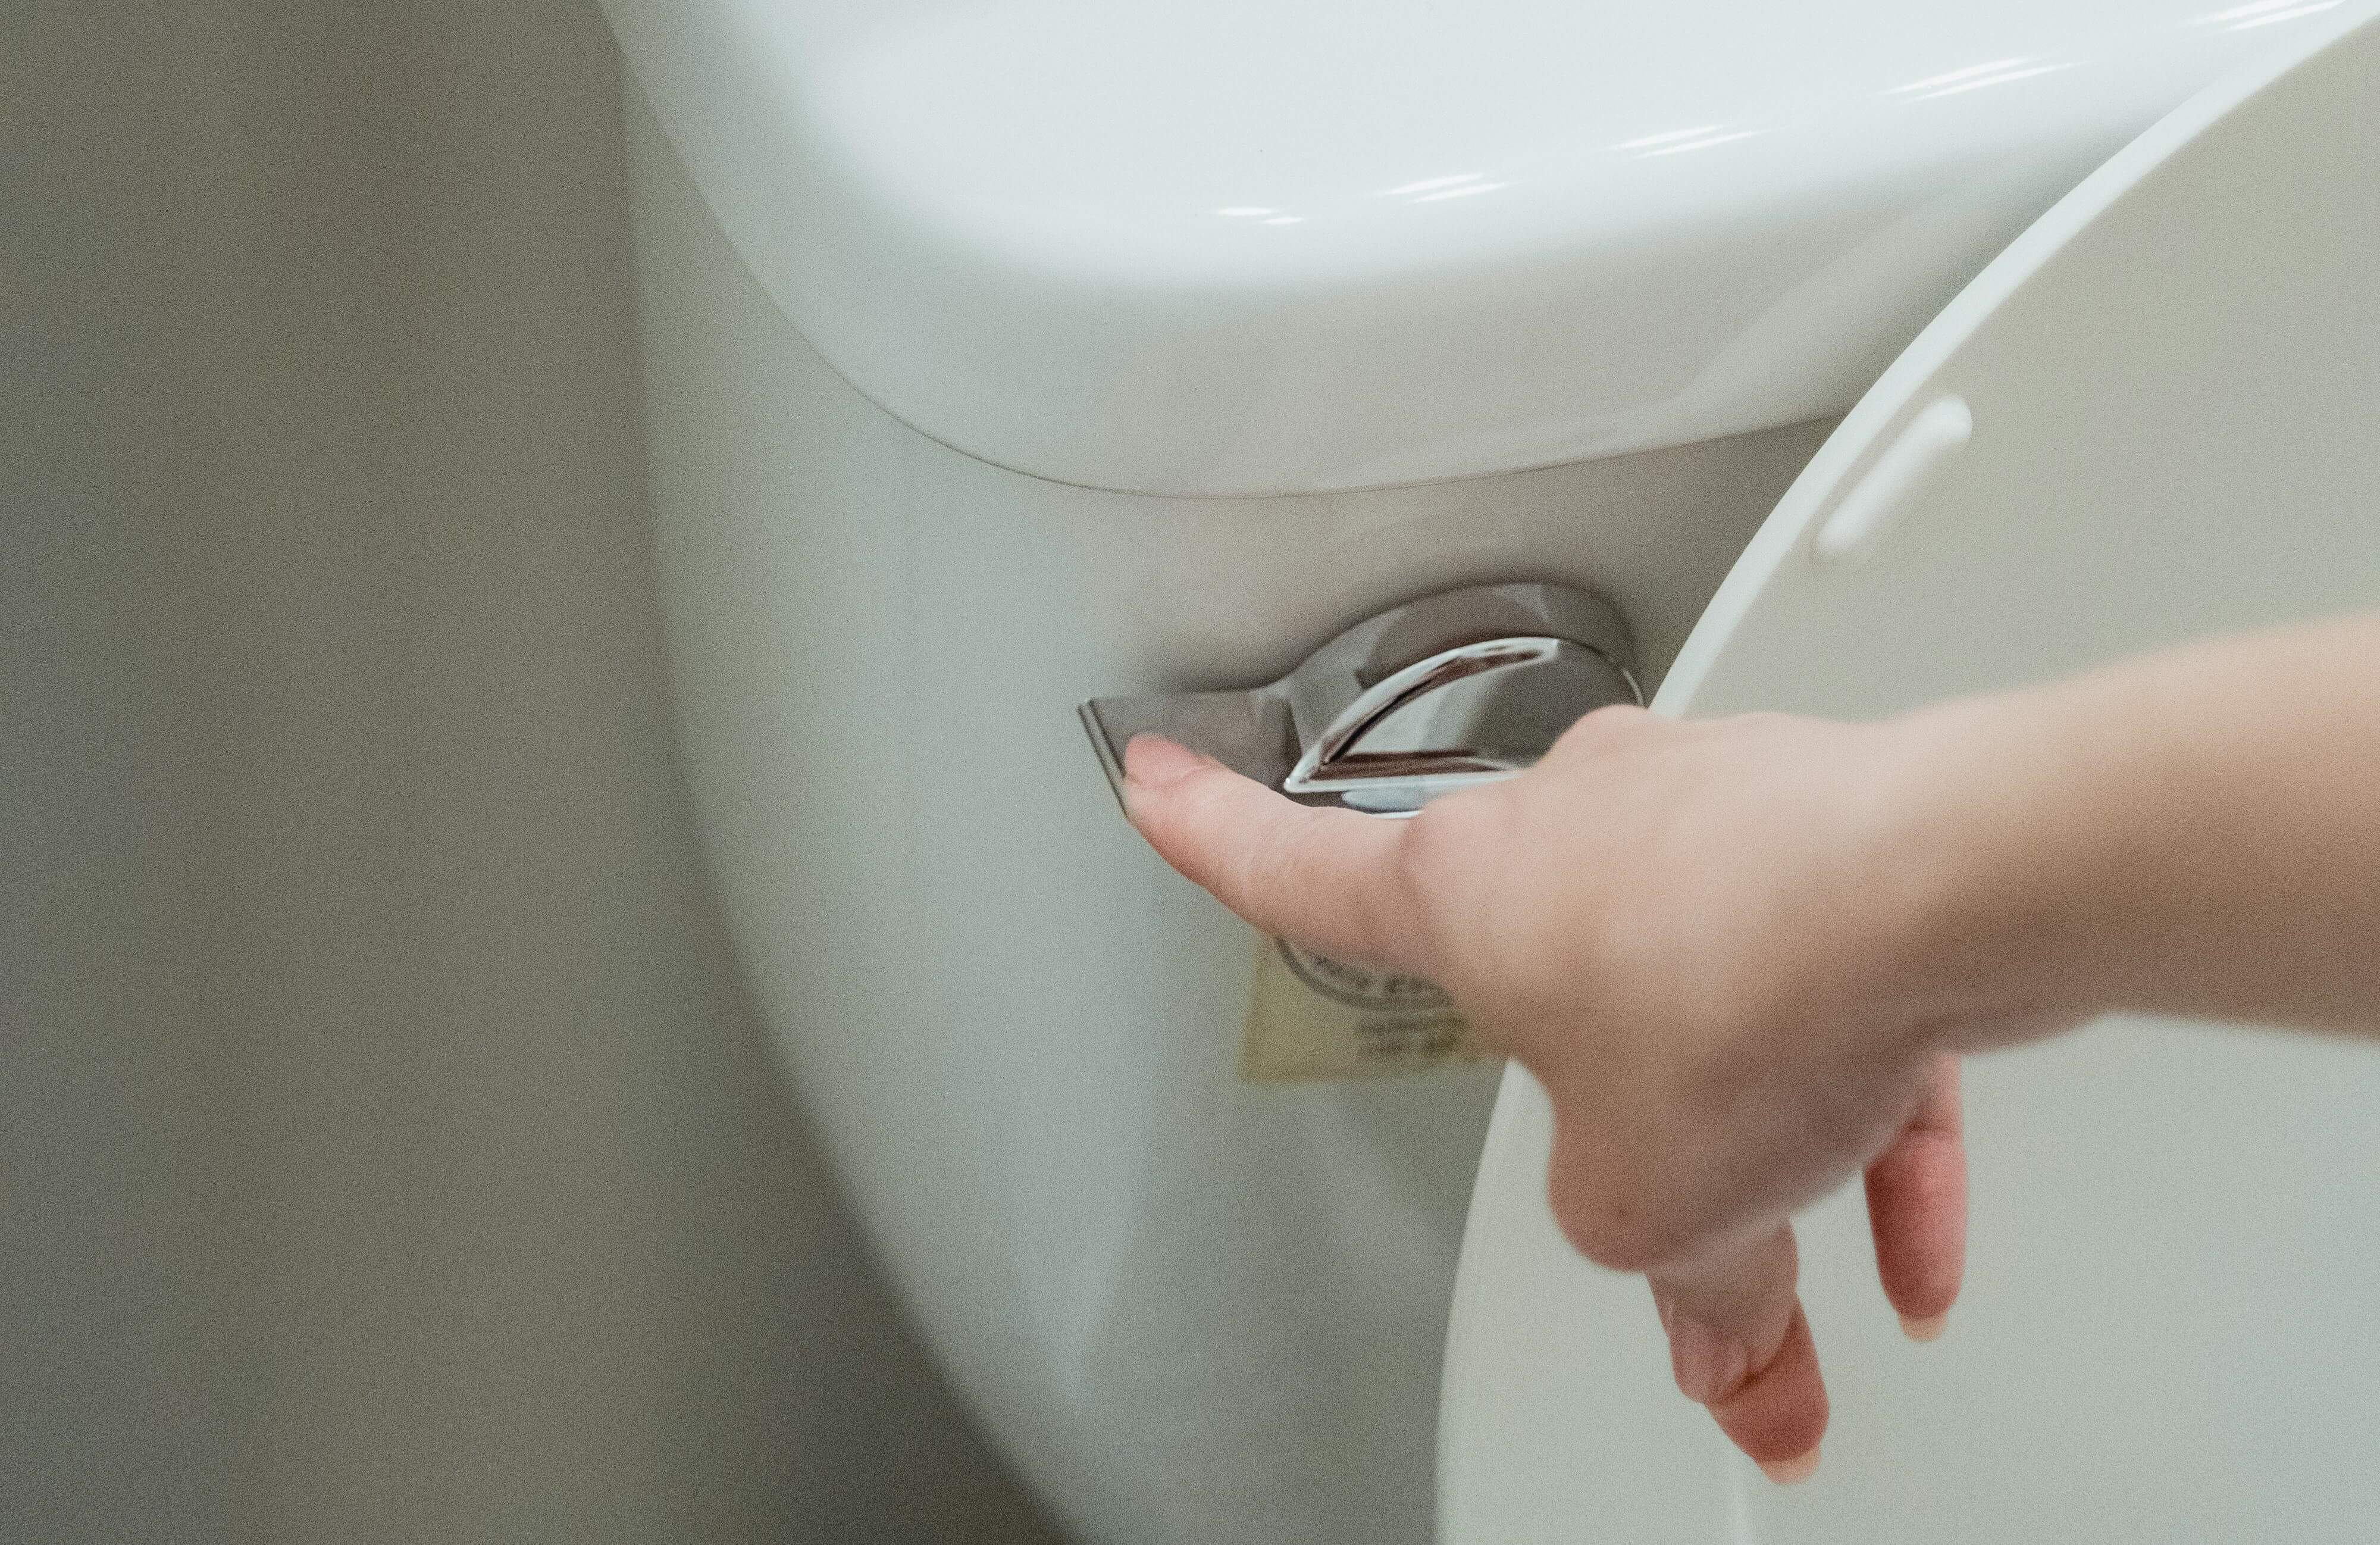
A helpful check to ensure you’ve done it properly is to flush your toilet and check the cistern. If the cistern fails to fill up then you know you’ve isolated the water supply so can move on to the next step.
Step 2: Drain Water from the Toilet Cistern
Upon flushing you’ll have emptied the cistern of water but there’s likely to be some left in the bottom of the tank. It’s a good idea to remove this too as it reduces the chance of getting water everywhere. The simplest way to do this is by soaking up the excess with a towel, keeping a bucket on hand to collect the water.
Step 3: Disconnect the Water Supply to the Toilet
First off, locate the shut off valve which should be attached to a pipe just behind the toilet. Using an adjustable spanner loosen off the nut at the top of the pipe (this connects the water supply to the toilet). Carefully pull the pipe away so it’s clear from the toilet.
Step 4: Remove the Toilet
Many toilets are secured to the floor and / or wall. Double check for any fixings at the base of the toilet and just inside of the cistern. If you spot any, remove them using a screwdriver. To make things easier, remove the toilet in two stages.
-
First, lift the cistern up and away from the toilet and put it to one side ready for disposal.
-
Next, check for any silicone around the base of the toilet. If there is any, gently remove this with a utility knife taking care not to damage the floor.
-
At the back of the toilet, push back the soil pipe so the toilet bowl is now free from the wall, now you can take it away.
With the end of the soil pipe exposed there’s likely to be some nasty smells escaping into your bathroom, to stop this grab something like an old rag and stuff it into the end of the pipe.
Step 5: Set up the New Toilet Bowl
Get your new toilet bowl and position it where the old toilet used to be. Push the soil pipe back on - don’t forget to remove the rag first! Then push the toilet to the back of the wall. As you’re fitting a new toilet, you may need to check that the holes which secure the toilet match up. If not, use a drill to drill some pilot holes ensuring they measure up with the holes on the new toilet bowl.
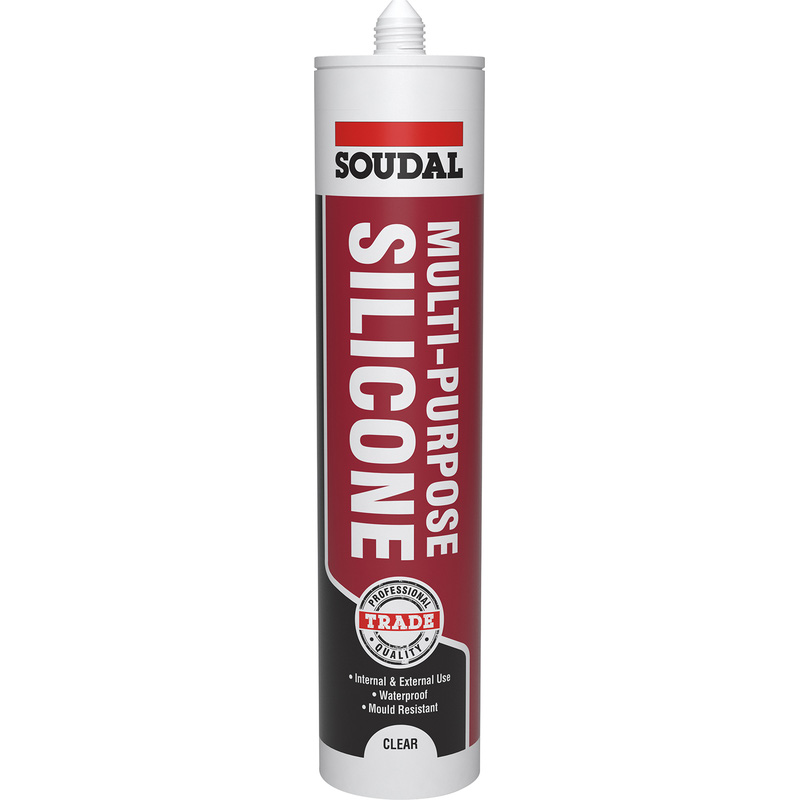
Keep in mind that each type of toilet is different so be sure to refer to the manufacturer’s instructions if in doubt. Once in place, screw the toilet base to the floor for a secure finish. If you like, apply some silicone sealant around the base too.
Step 6: Assemble the Flush Mechanism
For this step you’ll want to check the manufacturer's guidance for assembling the flush mechanism, as this can differ by toilet design. Be sure to tighten up the fixings with an adjustable spanner - don’t overtighten as this can cause damage. Finally, attach the close-coupled washer to the top of the toilet pan making sure it’s a snug fit.
Step 7: Position the Cistern onto the Toilet Bowl
Carefully lift the cistern into place making sure that the thread on the flush mechanism fits into the washer and the bolts sit properly into the holes of the toilet bowl. Double check the cistern is level and then, using the fixings supplied with your toilet, secure the cistern to the pan. Next, fix the cistern to the wall by either drilling appropriate screws into the fixing holes, or by applying silicone sealant. Now the cistern tank is securely in place, you can finish off by assembling the flush to the cistern lid.
Step 8: Reconnect the Water Supply and Turn the Water Back On
With your new toilet in place, it’s now time to reconnect the water supply. Wrap a little PTFE tape around the thread beforehand as this provides a strong, leaf-proof seal. Next up, switch the water back on at the stopcock. Check the pipework for any leaks.
Step 9: Fit the Toilet Seat
Finally, fix the new toilet seat to the bowl using the fixings provided. If you’ve purchased a different type of toilet seat, check the instructions supplied before securing it to the pan.