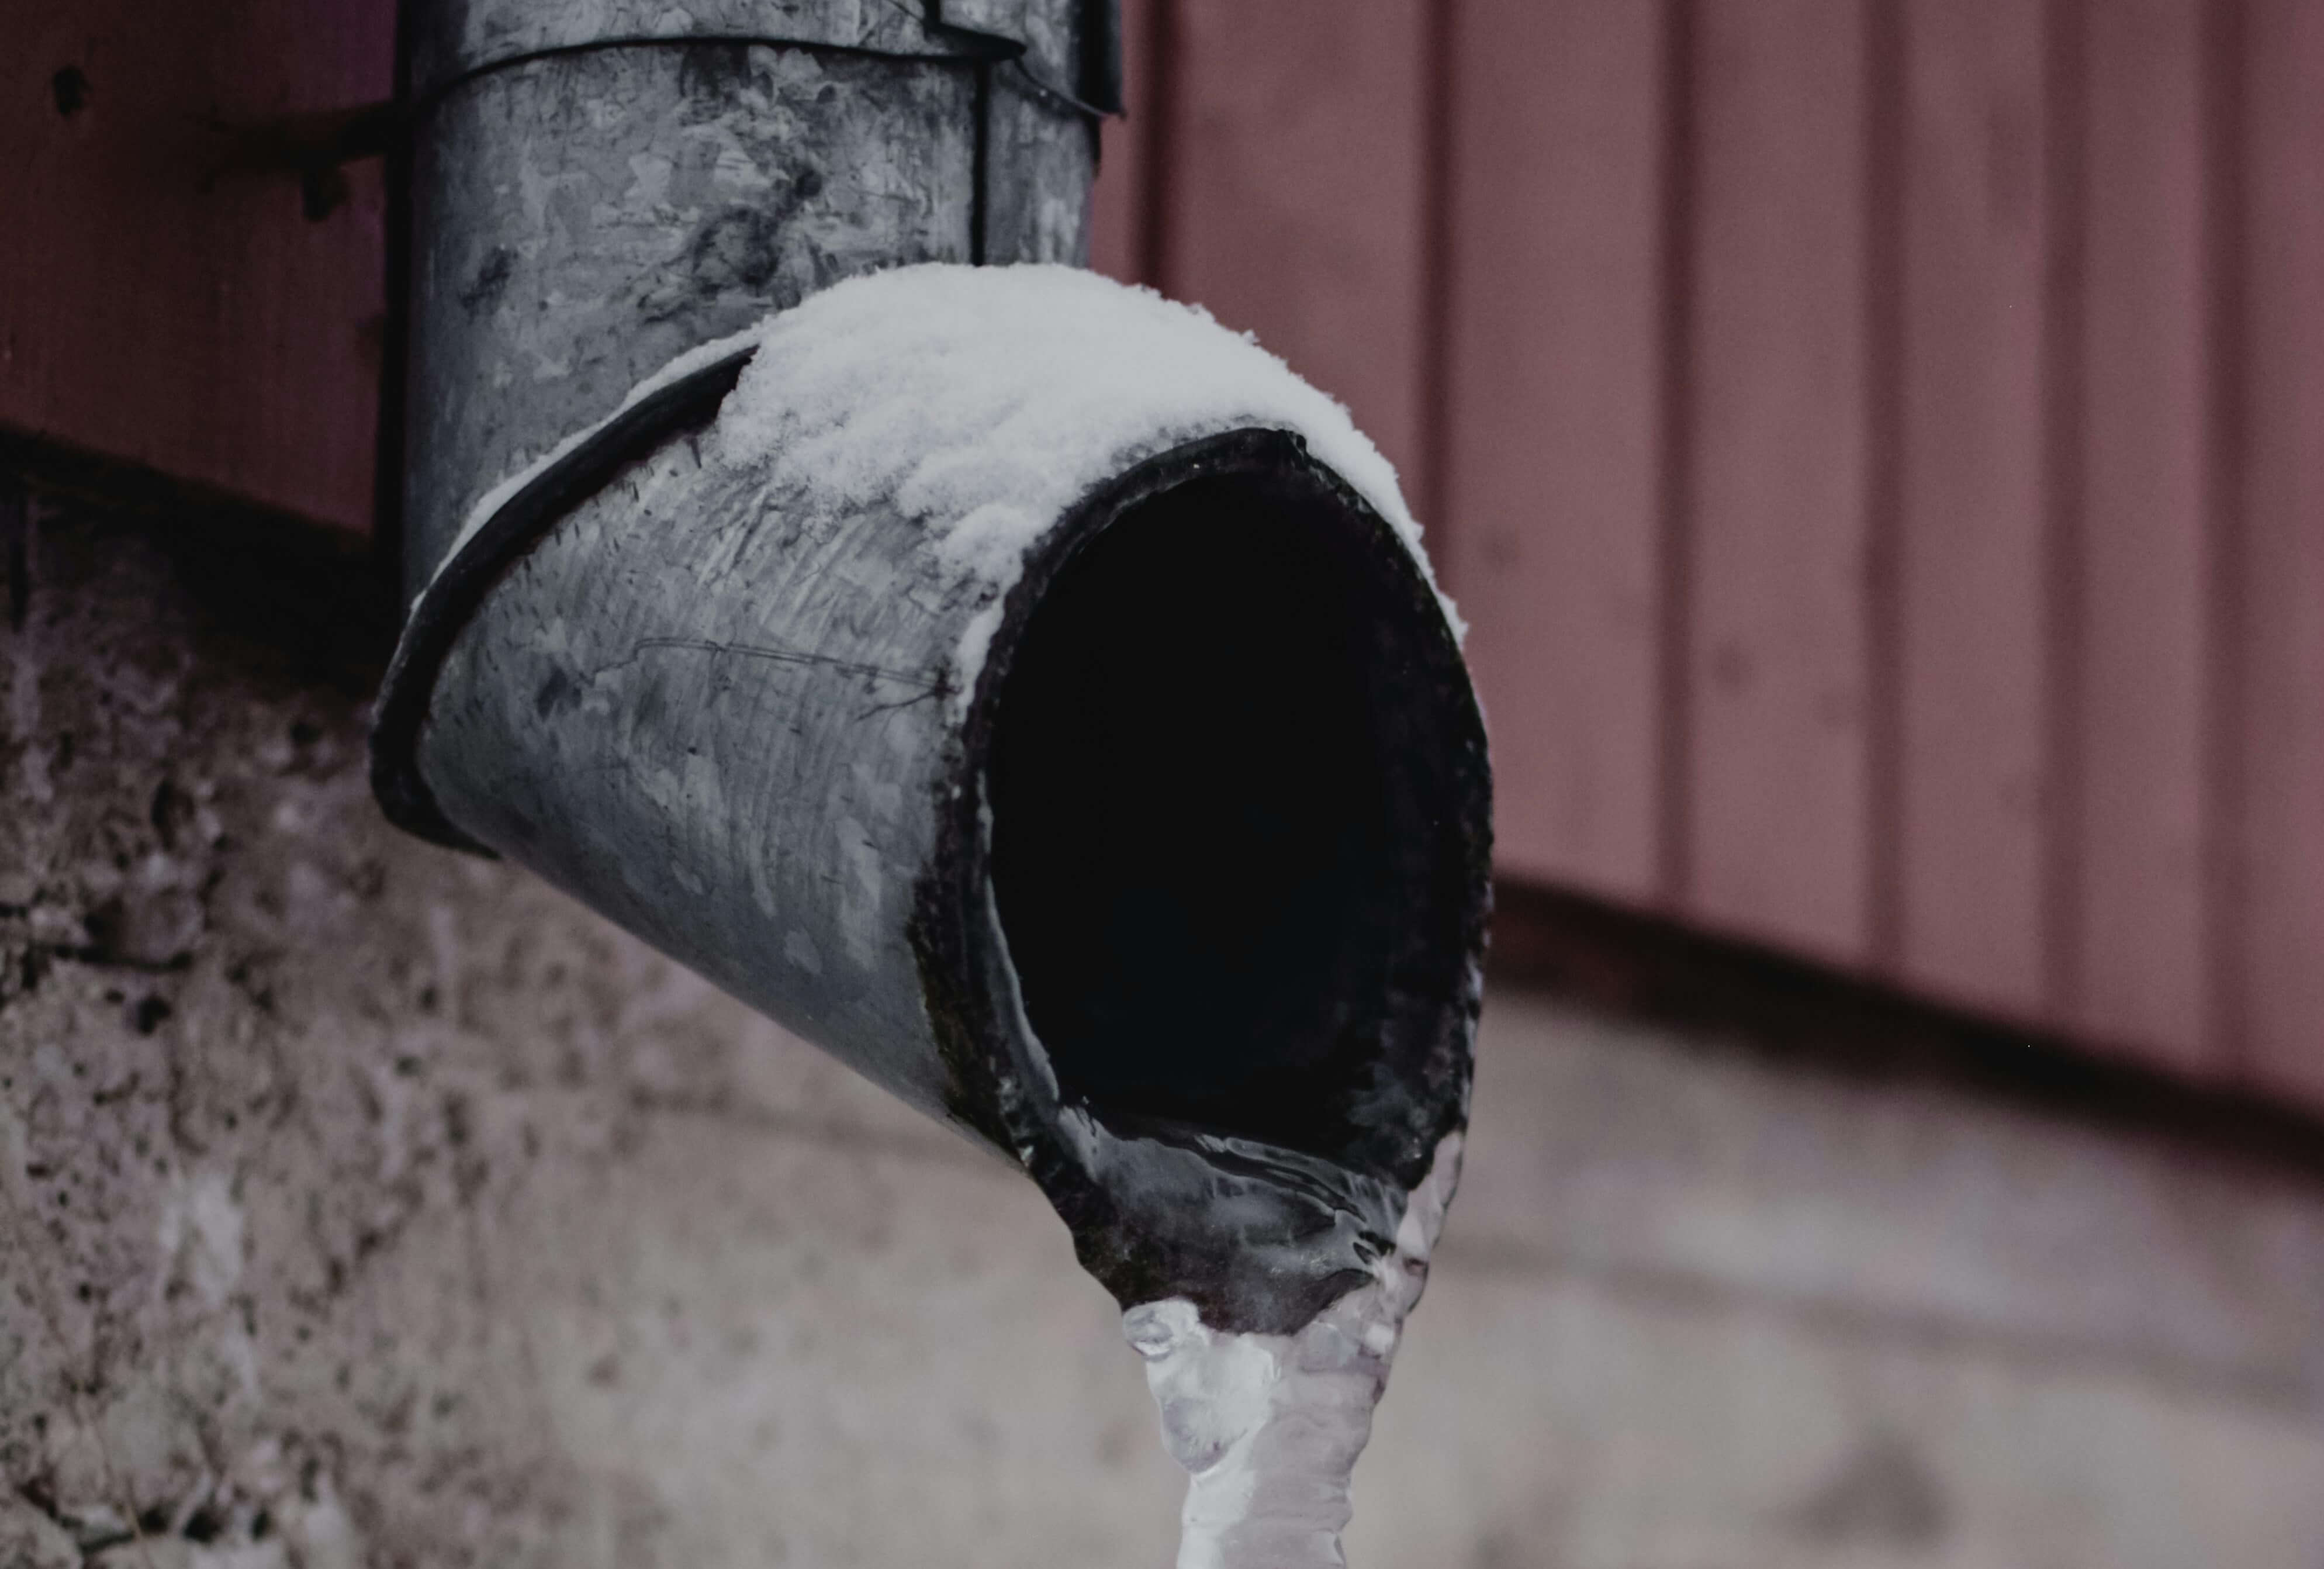
While a leaking overflow pipe is preventing water from escaping into your home, you'll want to get it fixed as soon as possible to prevent any further problems such as damp and water damage.
You'll find overflow pipes on many household plumbing fixtures throughout your home, things like your boiler, toilets, and sinks. They all connect up to carry excess water either directly into the drain or the externally located overflow pipe (the pipe you see sticking out from an outside wall).
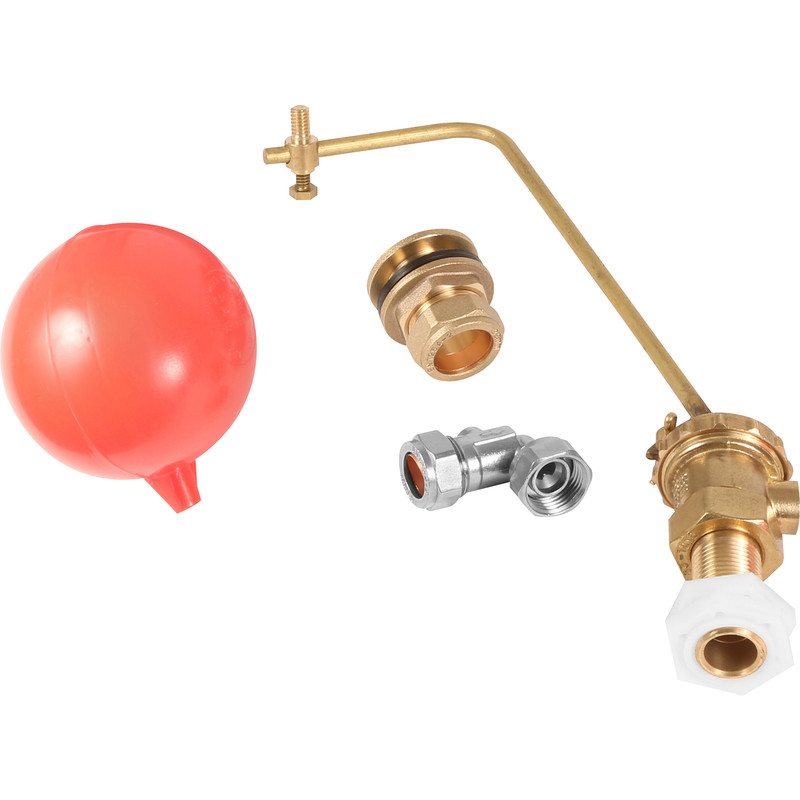
When you notice a leak coming from this external pipe, this indicates that there could be a problem with one of the float valves. Float valves are used in water tanks and cisterns to detect when water levels are too high. When this happens, the valve opens in order to release water so that it doesn't leak anywhere in your home. So, while this means the overflow pipe is doing what it's supposed to, you'll need to find the source of the leak to get it fixed.
So, what should you do if you discover a leaking overflow pipe? Keep reading and follow our simple instructions to address this common problem.
Essential Tools & Equipment
How To Fix A Leaking Overflow Pipe At Loft Level
If the water leak is coming from a protruding pipe just beneath the roof soffits, then it's very likely that the problem is located at the feed and expansion tanks.
-
Locate the ball valve in the cupboard beneath the loft tank and turn it off to stop the water flow. If you don’t have a dedicated valve, turn off the main water supply at the stopcock.
Step 1: Check The Float Valve Isn't Obstructed
First thing to do is check that the float valve isn't being obstructed in anyway. If it is, free it up so that it can continue to work as it should. If it's already working properly, then you'll need to inspect the float valve for damage or wear and tear. In which case, move on to the next step.
Step 2: Remove The Old Float Valve
It can be a little cramped in the space of your loft so take care when removing the old float.
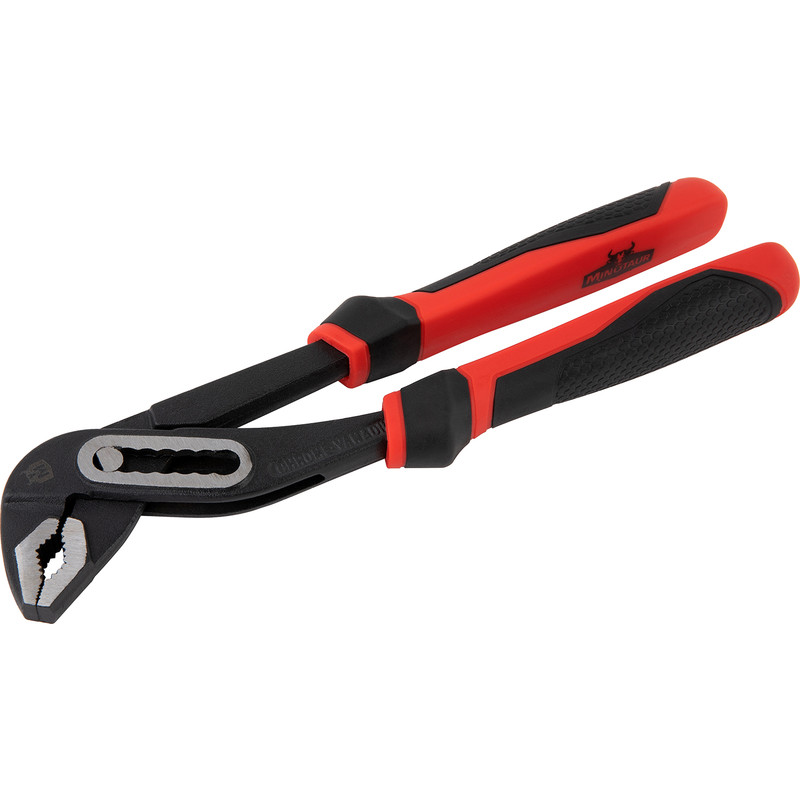
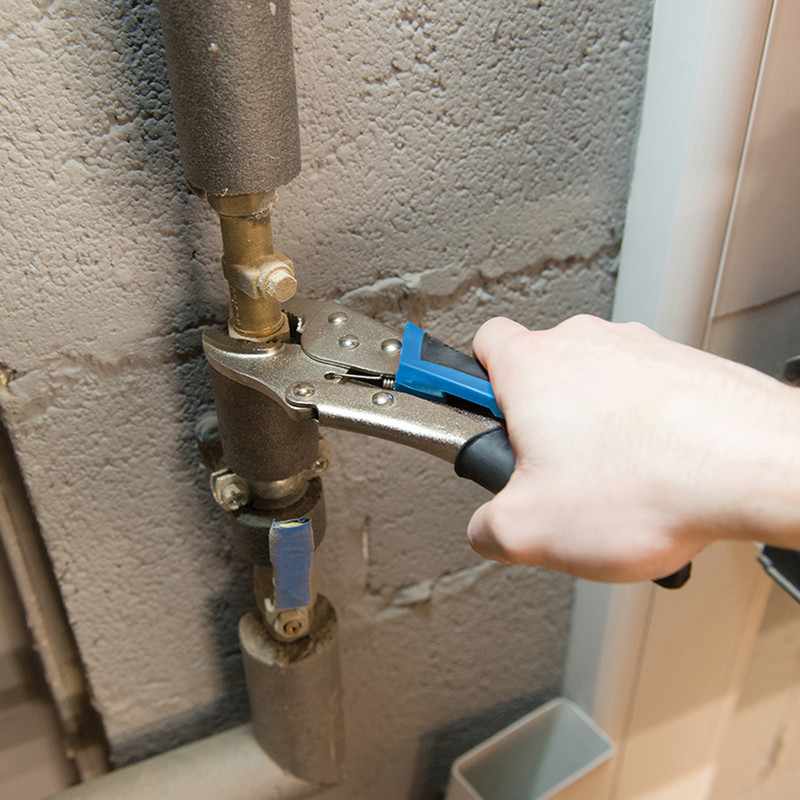
- If it helps, take a pair of pliers to hold the float valve steady.
-
Use an adjustable spanner to unscrew the nut securing the old float valve.
- Carefully remove the valve and set it aside.
Step 3: Install A New Float Valve
With the old valve removed, it's now time to fit a new float valve onto the existing nut. Ensure the rubber washer is in place before securing the valve.
- Screw the new valve into position by hand, then use the spanner to tighten the nut securely.
- If the plastic overflow attachment is removable, do so as this can much installation much easier; otherwise, leave it in place.
Step 4: Attach The Ball Float
Once you've installed a new float valve you'll now need to connect the ball float. It's important to adjust its position so that it works properly. Set the float to a lower position initially to check the water level. Ensure it is tightly attached and doesn't come loose during operation.
Step 5: Test The New Float Valve
- Turn the water supply back on and monitor the performance of the new float valve.
- Check that it's working properly and ensure the water level sits below the overflow pipe, it should be able to move up and down freely.
- Make adjustments to the float valve if needed to set it to the correct water level.
How To Fix A Leaking Overflow Pipe At Ground Or First Floor Level
The most common cause of leaking overflow pipes is an issue with the float valve. If the water leak is coming from either the ground or first floor, this indicates a problem with the float valve in a toilet cistern. Let's look at how to fix it.
Step 1: Isolate The Water Supply
To prevent water from spilling everywhere while you work, you'll need to turn off the water supply.
- Locate and turn off the water supply valve near the toilet.
- If your toilet does not have a dedicated valve, shut off the main water supply to the house.
Step 2. Remove The Old Ballcock Valve
Start by removing the cistern lid and setting this to one side.
- Now take your adjustable spanner and carefully loosen off the nut holding the old ballcock valve in place.
-
Once the nut is loose, remove the valve by hand. You might need to hold the valve in place with pliers to avoid any movement while unscrewing.
Step 3. Install A New Float Valve & Ball Float
Before installing the new float valve make sure that it's aligned properly with the existing inlet shank.
- Screw the valve onto the shank by hand, making sure that it's a snug fit.
- Use the adjustable wrench to tighten it securely, but be careful not to overtighten as you could damage the threads.
- Attach the new ball float to the float valve’s arm.
Step 4. Adjust The Height Of The Float
- Adjust the float's height using the wing nut or washer on the side of the float arm.
- Position the float so that the water level in the tank is just below the overflow pipe when the tank is full.
Step 5: Turn On The Water Supply & Test The System
- Turn the water supply back on and allow the toilet cistern to fill.
- Check for leaks around the new float valve and ensure the float is operating correctly.
- Flush the toilet to ensure the water level remains steady and the overflow pipe is not leaking.

