Whether it's in the lounge, kitchen, or bathroom, bubbling or flaky paint can ruin the appearance of your walls and ceilings. However, with the right approach, you can restore your walls to their former glory.
This guide will provide you with a step-by-step process on how to fix bubbling paint so you can achieve a seamless and long-lasting finish.
Essential Tools & Equipment
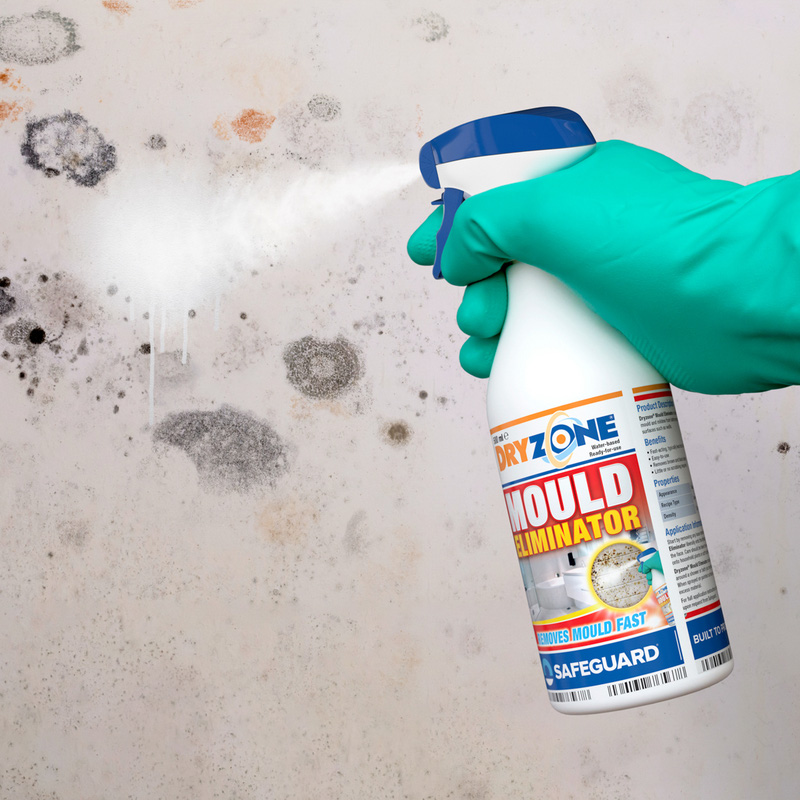
Depending on the cause of the bubbling, peeling or flaking paint, you may need extra equipment, such as a dehumidifer or mould remover. If your walls are affected with mould, check out our guide on How To Get Rid Of Mould.
Step 1: Prep The Surface
-
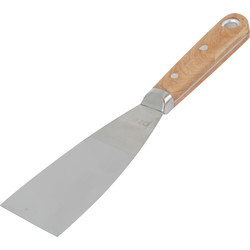
Start by gently scraping away any bubbling or flaky paint using a wall scraper.
-
Aim to achieve as smooth a finish as possible without damaging the wall beneath.
-
As you remove the loose paint, try and assess the cause of the bubbling. It may be that you have damp walls which will need addressing before moving on to the next step.
Step 2: Sand The Area
-
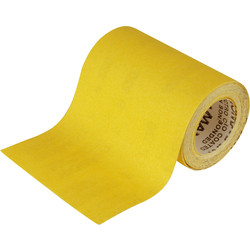
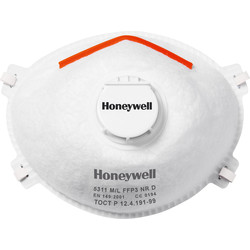
Use a medium-grit sandpaper to sand around the edges of the peeled paint. If you have one to hand, wear a mask for this step as it will stop you breathing in any dust particles.
-
This step is crucial for removing edges that may be visible once the area is repainted. It also helps to prevent any future peeling.
Step 4: Apply Primer
-
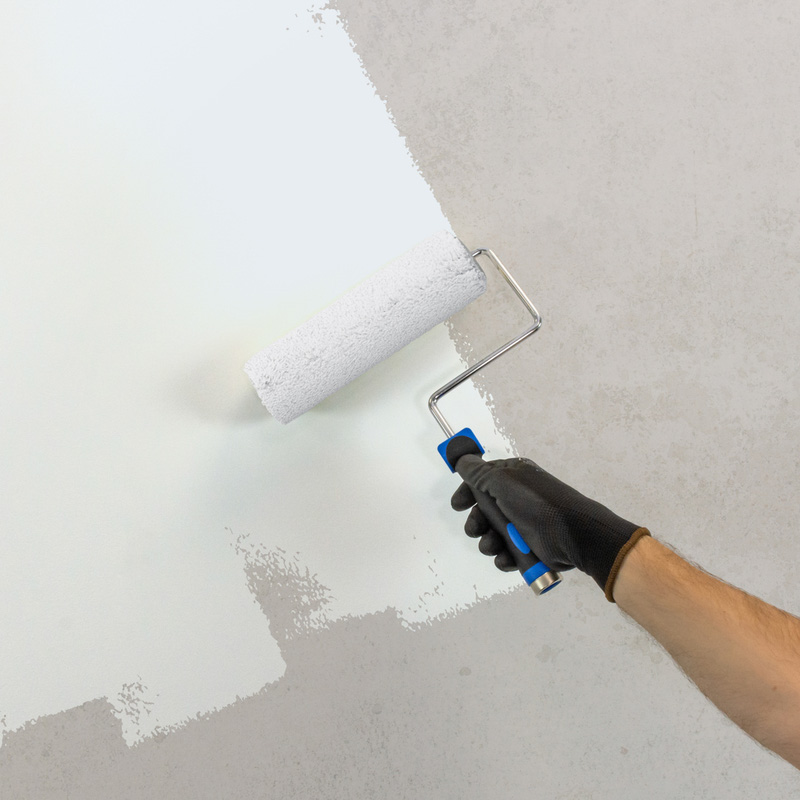
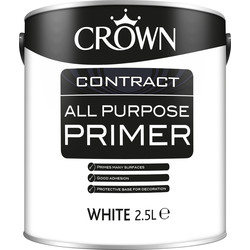
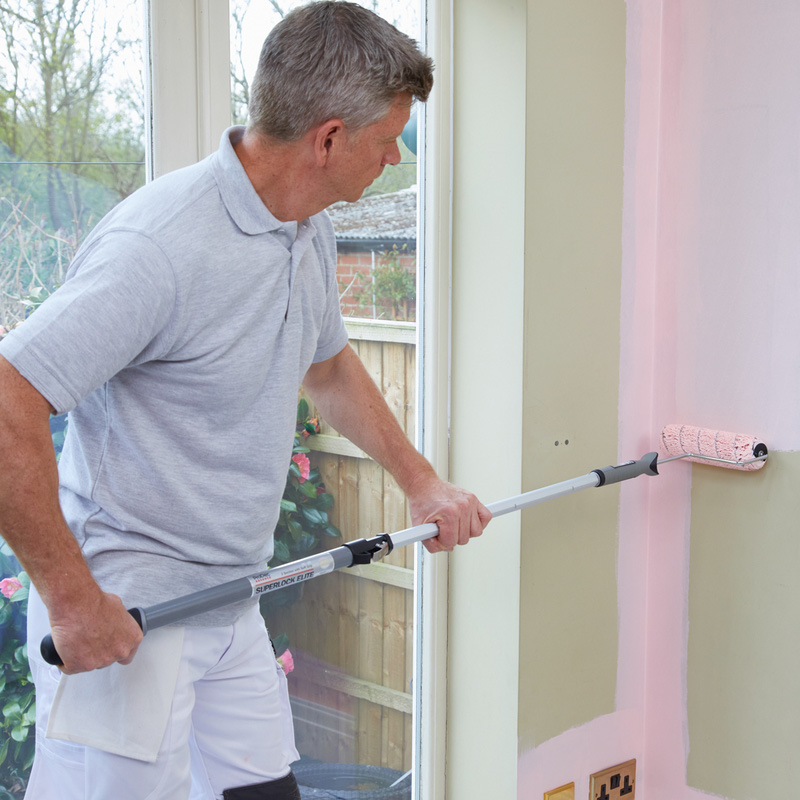
Apply a clear primer to seal any cracks and bind down old paint edges.
-
Cover all affected areas to ensure a strong foundation for the filler.
Step 5: Filling the Surface
-
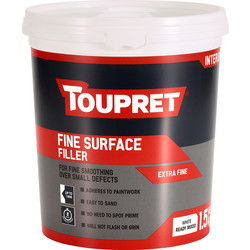
Once the primer is dry, apply a fine surface filler to fully even out the surface.
-
Use a filler knife to ensure it's applied smoothly and covers all necessary areas.
Step 6: Final Preparations
- After the filler has dried, sand the area lightly to achieve a smooth finish.
- You're now ready to paint over the repaired surface for a seamless look.

