Mould in your home is not only an eyesore; it's a health hazard. Our guide to getting rid of mould offers a clear, step-by-step approach to removing mould from your home, ensuring your living space is both clean and healthy.
Essential Tools & Equipment
As well as the tools and equipment listed below, you will also need some hot soapy water.
Step 1: Locate Mould
-
Locate areas with mould, commonly found on external walls, around windows, in bathrooms, under sinks, or in dark corners or cupboards.
-
Ensure the room is well-ventilated before starting by opening windows and doors, to protect you against mould spores and chemicals.
Step 2: Protect Yourself From Mould
-
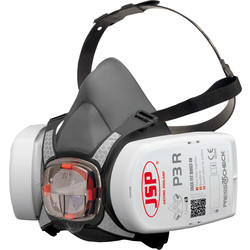
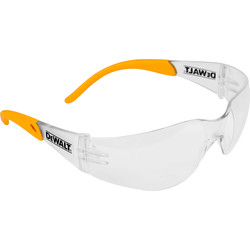
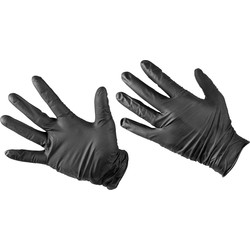
Put on safety glasses, a mask, and protective gloves to protect against mould spores and chemicals.
-
Mould spores can be very dangerous for your health and you can’t always see them in the air, so it’s crucial that you protect yourself.
Step 3: Apply Mould Removal Spray
-
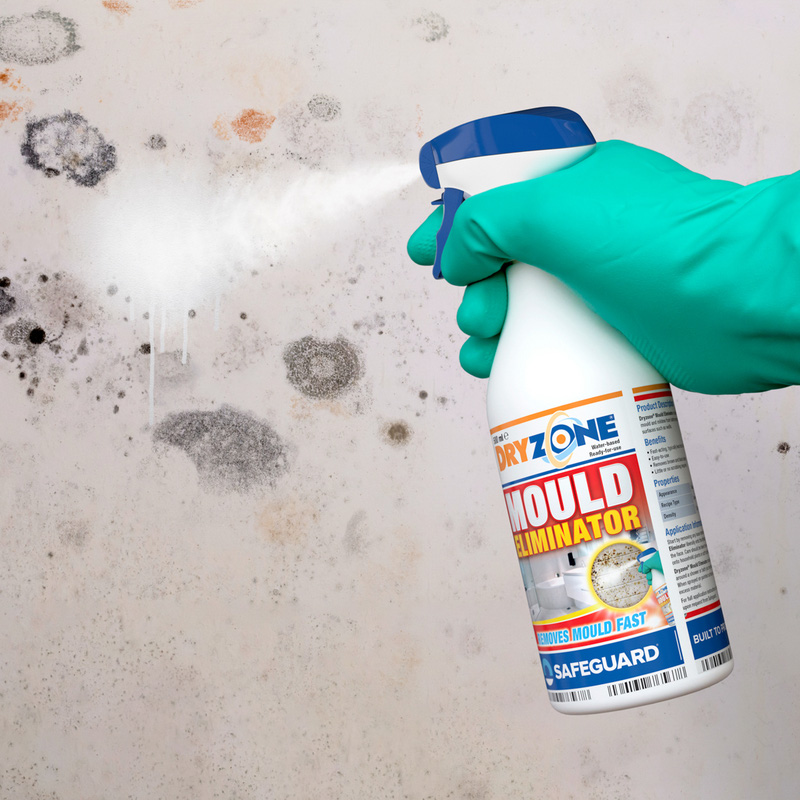
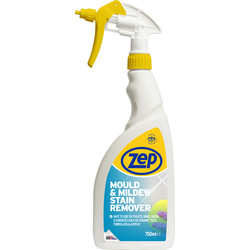
Spray mould removal solution onto the affected area, ensuring even coverage.
-
Spray around the area too, to kill any of the spores that you can’t yet see.
-
Leave the spray on for about 30 minutes or according to the manufacturer's instructions.
Step 4: Wipe Away The Mould Remover
-
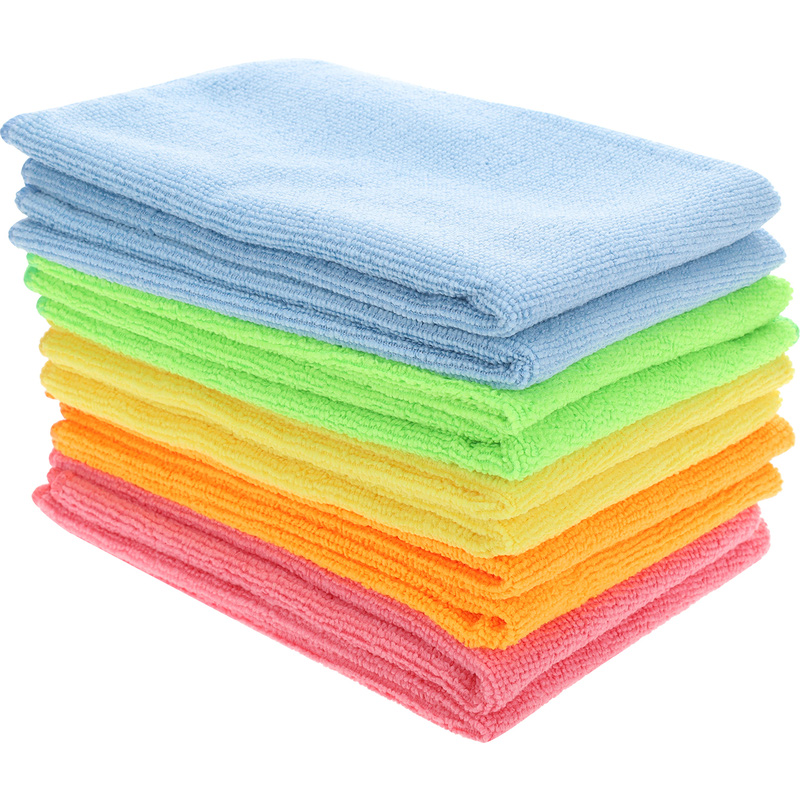
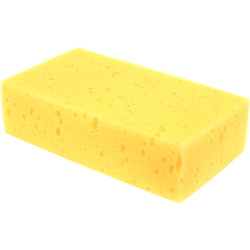
Use a damp cloth dipped in hot soapy water to wipe down the walls and remove the mould remover.
-
Make sure to leave the windows and doors open, or turn on extractor fans and dehumidifiers to ensure the wall completely dries.
-
If necessary, repeat the process with the mould remover if there are any remaining patches of mould.
Step 5: Prevent Future Mould Growth
-
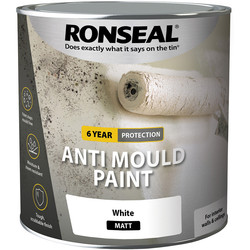
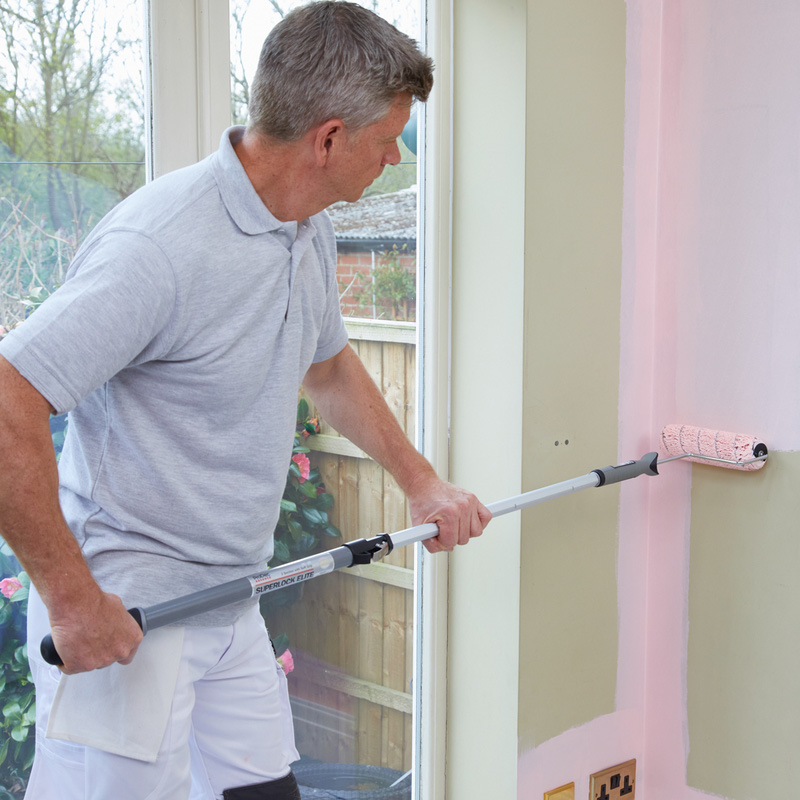
Consider using an anti-mould paint once all the mould has been removed to reduce mould growing back.
-
Also, make sure to keep the room well ventilated. Keep any trickle vents around windows open, allow air to move freely around the home, and turn the heating on from time-to-time to avoid damp air.

