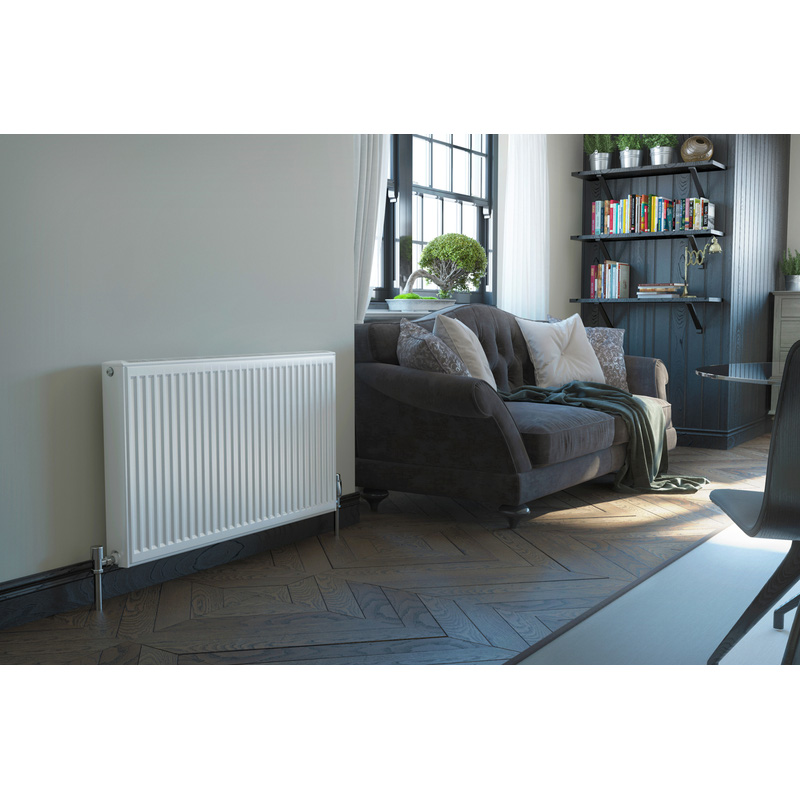
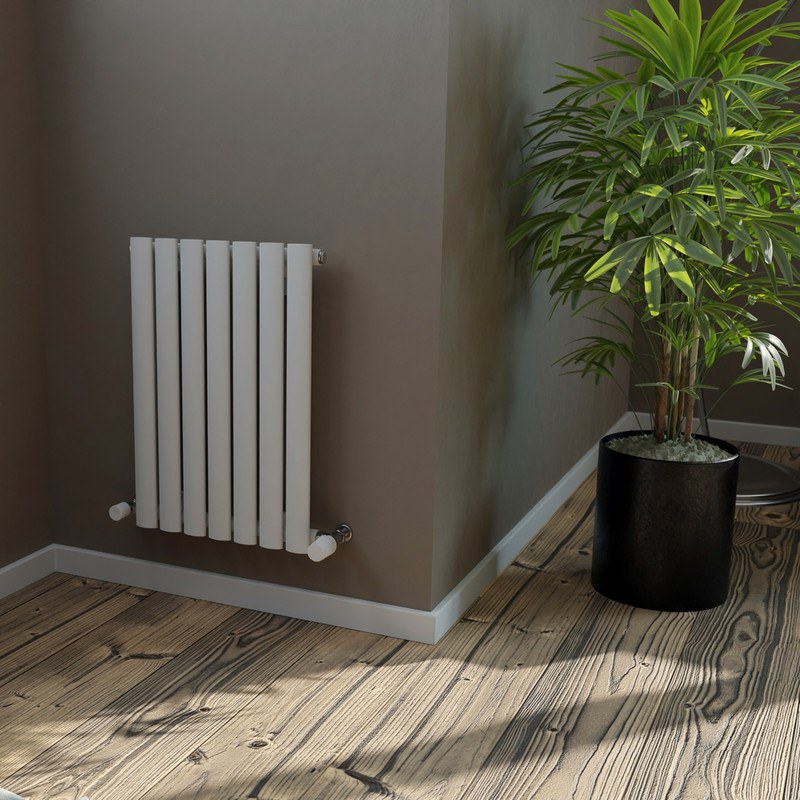
If a radiator in your home seems slow to heat up or you notice that it's cold at the bottom and hot at the top, this could indicate that your radiator needs flushing.
Over time, radiators can accumulate a build-up of sludge and, if not addressed, this can reduce the efficiency of your heating system. By flushing your radiator, you can remove the debris getting your heating back to working as it should.
Follow our step-by-step guide on how to flush a radiator to improve your heating system.
What's The Difference Between Flushing and Bleeding A Radiator?
Before flushing your radiator it can be useful to know the difference between that and bleeding a radiator, especially as they often result in similar symptoms of cold spots and reduced heating.
The purpose of bleeding a radiator is to release trapped air which has accumulated over time. Air typically builds up preventing water circulation, hence the reason for cold spots. Other common signs of air pockets include gurgling sounds coming from the radiator where the air is trying to escape. Releasing this built-up air allows the radiator to fill up and circulate properly.
Flushing, on the other hand, is carried out when a radiator has become blocked due to the build-up of sediment. This sediment tends to be a combination of dirt and rust particles which settle at the bottom of the radiator leading to uneven temperatures. Removing the radiator and flushing it through with clean water shifts this unwanted sludge, making way for water.

Essential Tools To Flush Your Radiator
Step 1: Turn Off the Central Heating
Before proceeding to remove the radiator for flushing, there's a few simple steps to take. If your central heating is already on, first thing to do is turn it off and let the radiators cool down. This ensures safer handling and prevents any risk of burns.
Step 2: Isolate the Radiator
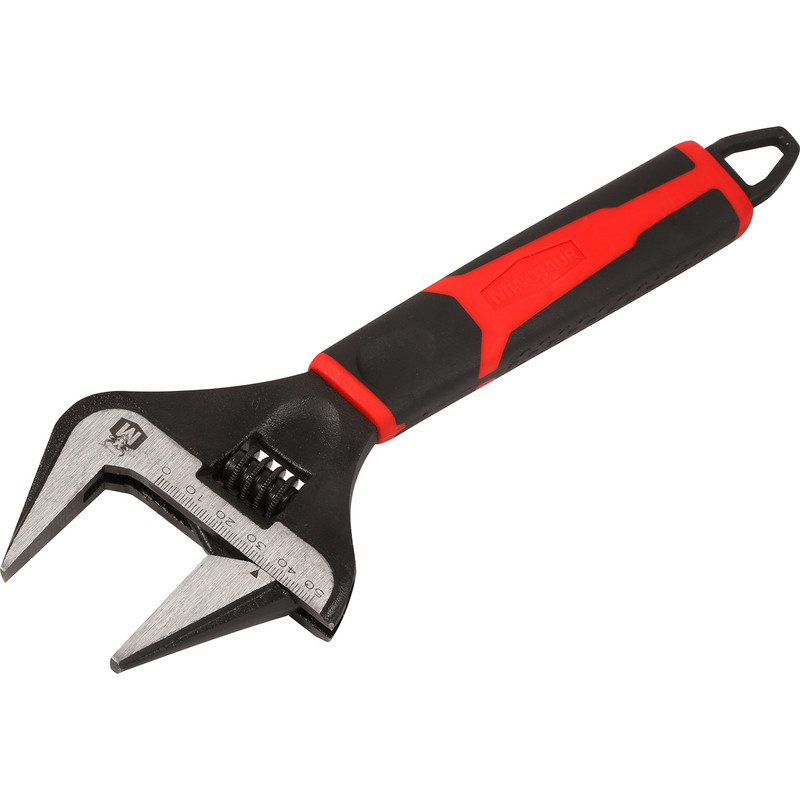
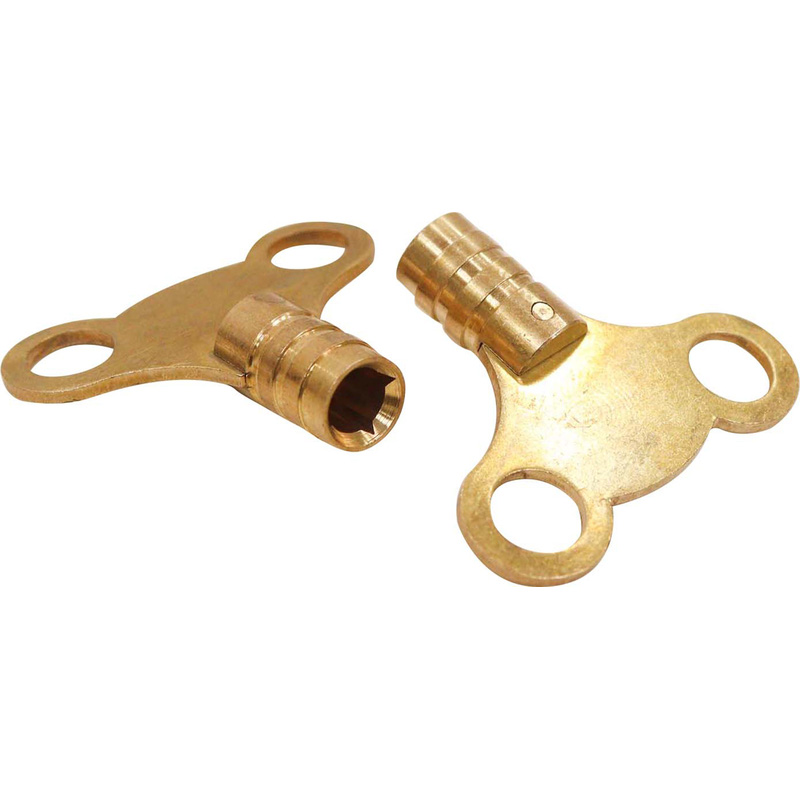
With the radiators completely cooled, turn off the radiator valves on either end of the radiator using an adjustable spanner. Then, use the radiator bleed key to release any pressure by opening the air vent.
Step 3: Prepare for Radiator Removal
Lay a towel on the floor in front of the radiator to catch any water run-off. Remove the nuts connecting the radiator to the valves, allowing for some water to drain onto the towel.
Step 4: Lift and Remove the Radiator
Carefully lift the radiator from its brackets, tilting it to prevent water from spilling. If the pipes allow, lift it straight up. Radiators can be heavy so a second pair of hands may be a good idea, especially if your radiator is quite large. Once removed, take it outside ready for flushing.
Step 5: Flush the Radiator
With the radiator safely outside, follow the next steps to flush your radiator and rid it of that built-up sludge:
-
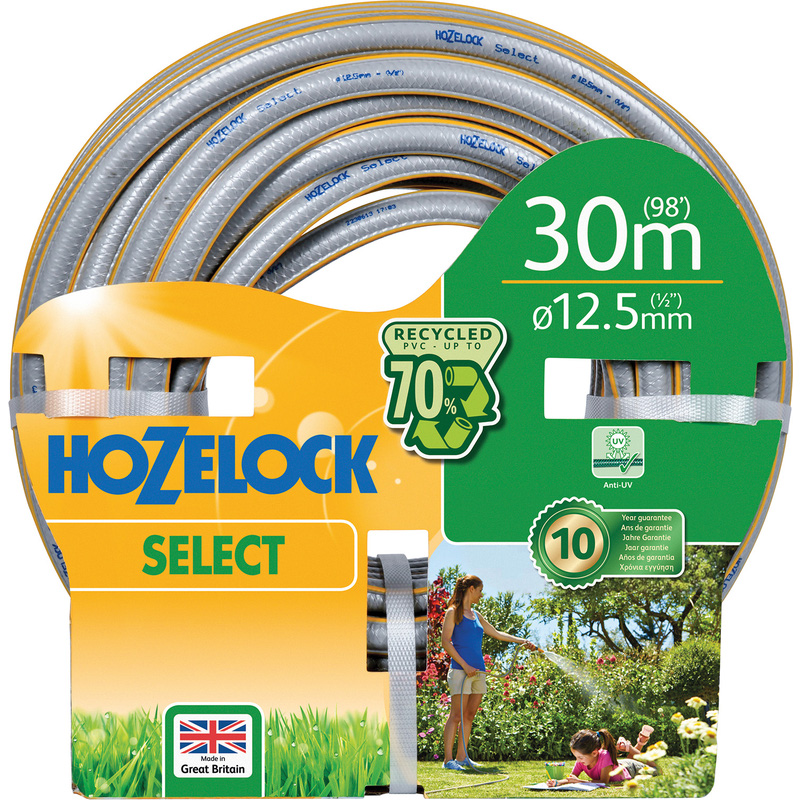
Attach your garden hose to a water source and aim the end of the hose into one of the radiator openings. Ensure it fits snugly to prevent water from spraying everywhere.
- Turn on the mains water to full pressure. Water will start flowing into the radiator, loosening up any debris and sediment inside.
- After around 10 seconds or so, switch the hose to the other end of the radiator and repeat the process. This will help ensure that any remaining debris is pushed out.
- As water flushes through the radiator, keep an eye out for clear water to emerge from the other end of the radiator. Continue flushing until the water runs clear.
- If water doesn't seem to be flowly freely, try opening the bleed valve at the top of the radiator while flushing. This allows trapped air to escape and can help water flow more freely through the radiator.
Step 6: Reinstall the Radiator
Once the radiator is flushed and clean, carry it back inside and reattach it to the wall brackets. Tighten the nuts on the valves to secure the radiator.
Step 7: Refill the System
Turn on the valves to let water back into the radiator. Use the radiator bleed key to remove any trapped air, ensuring the radiator is filled properly. Consider checking other radiators in your system for similar issues and ensure you maintain your heating system to prevent future blockages.

