A radiator is an essential part of many homes, providing warmth and comfort. However, like any other household system, it can face issues. A common problem faced by homeowners is a leaky radiator, which can send your water and heating bills through the roof. Knowing how to turn off a radiator valve can be the difference between a minor inconvenience and a major mishap. This guide will walk you through the steps to safely and efficiently turn off a radiator valve, ensuring you're prepared for any leaks.
Essential Tools & Equipment
Step 1: Identify The Type Of Valve
-
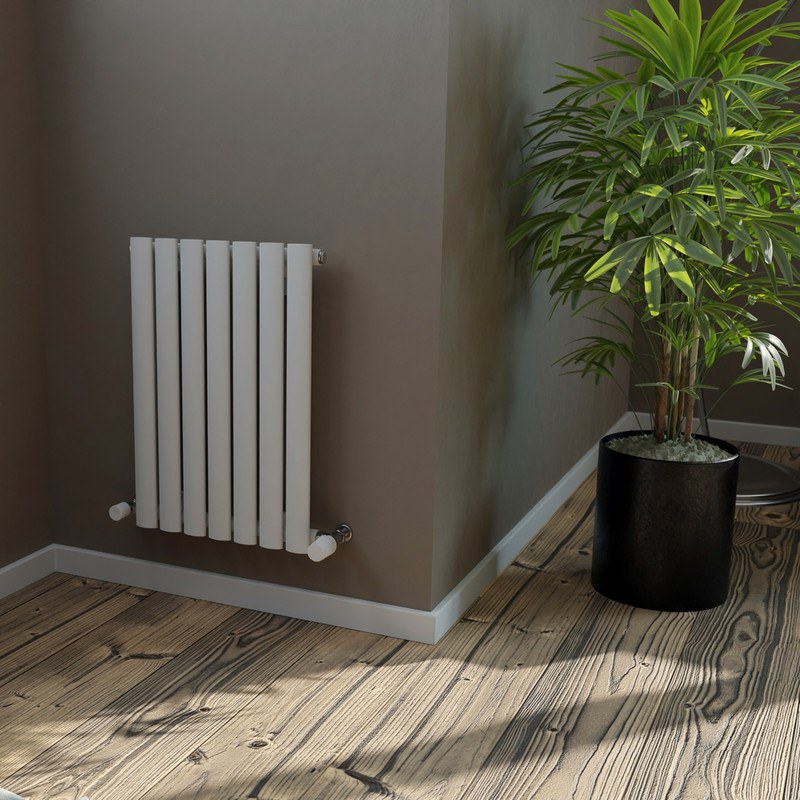
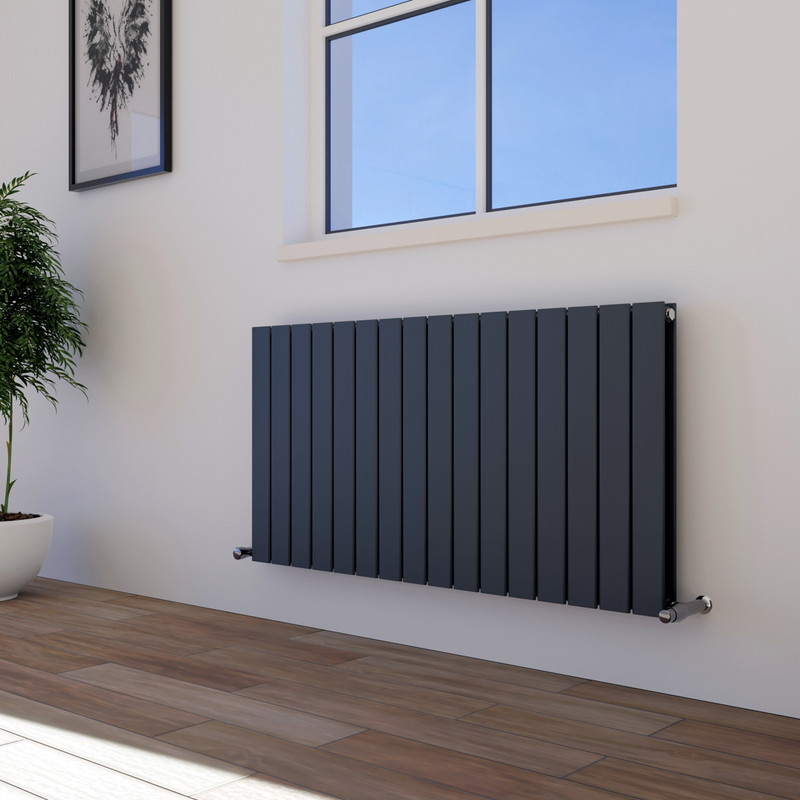
Different radiators come with different types of valves.
-
Identify the valves on either side of your radiator – you will usually have a thermostatic valve (TRV) on one side and a lock shield valve on the other.
-
To isolate a radiator, you need to turn off the valves on both sides.
Step 2: Turn Off The Lock Shield Valve
-
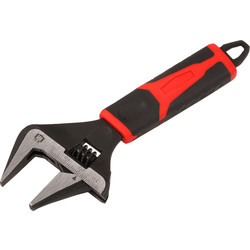
Using an adjustable spanner or flat head screwdriver, turn the valve head clockwise until it comes to a complete stop.
-
If the head keeps spinning without resistance, remove it to expose the stem underneath.
-
Using an adjustable spanner, turn the stem to the right until it stops.
Step 3: Address Potential Leaks
-
If you notice a leak after turning off the valve, gently tighten the plastic collar to stop it.
Step 4: Turning Off The Thermostatic Radiator Valve
-
Turning off a thermostatic radiator valve is easy – simply turn the valve to zero to isolate it.
Step 5: Release Excess Pressure
-
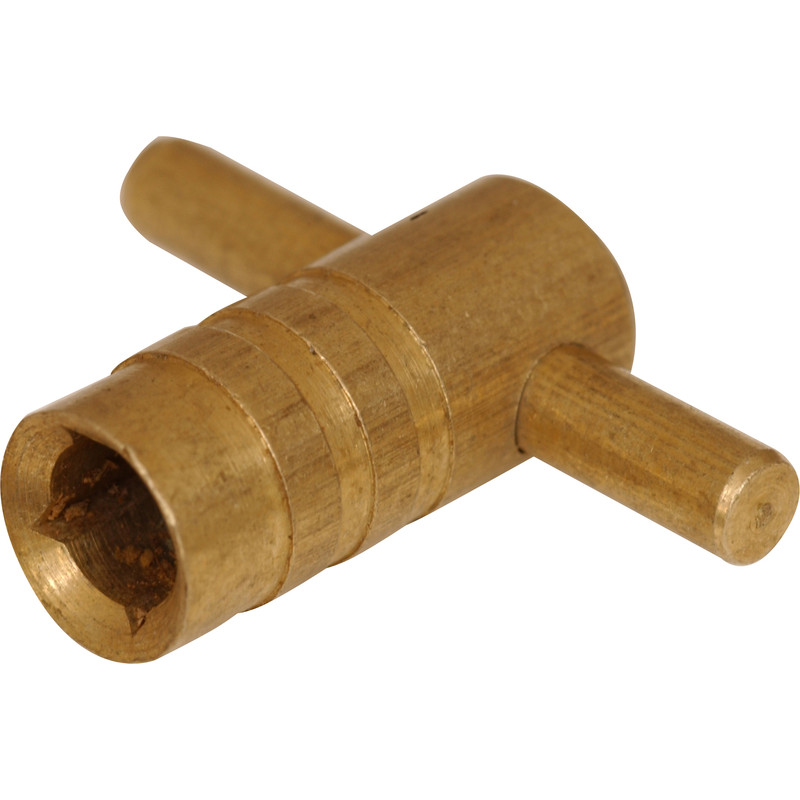
Open the radiator bleed valve using a radiator bleed key or flat-head screwdriver.
-
This will release any excess pressure and confirm that the radiator is isolated.
-
Take a look at our guide for How To Bleed A Radiator.
-
You can now call a Gas Safe engineer who can repair the radiator.

