Painting a ceiling may seem like a tall order, but a freshly painted ceiling can transform the ambience of a room. With the right tools and techniques, it can be smooth sailing. This guide will provide you with a clear roadmap on how to paint your ceiling for a professional finish you can be proud of.
Essential Tools & Equipment
Step 1: Prepare The Room
-
Lay down protective sheets to shield your floor and furniture from paint splatters.
Step 2: Protect Yourself
-
Put on a cap and protective goggles to prevent paint falling into your eyes – safety should never be an afterthought!
Step 3: Paint Around The Edges
-
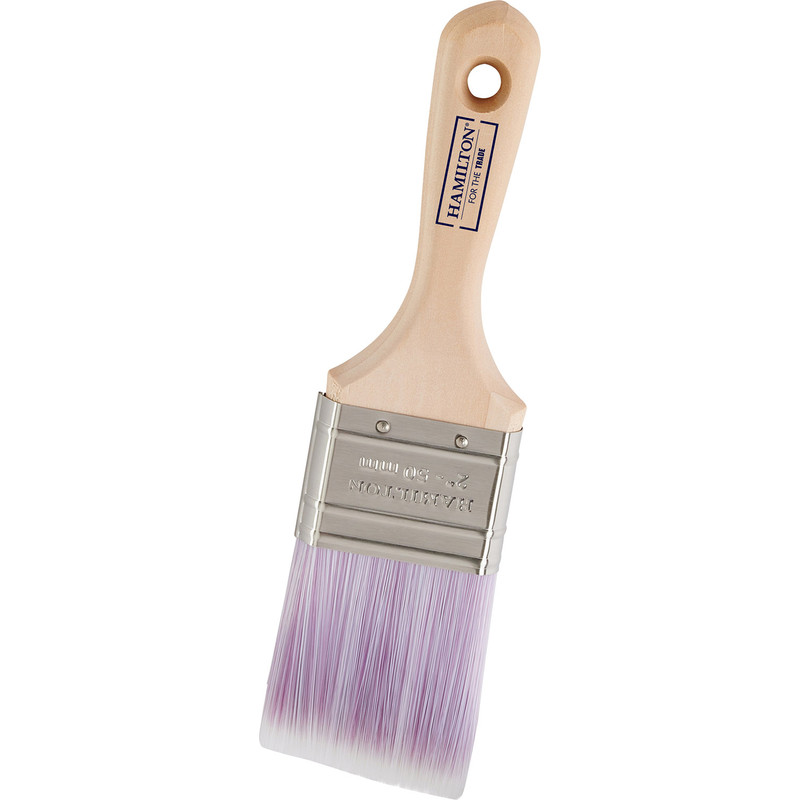
Use masking tape or painters tape and a paint brush to cut in the edges of the ceiling and around light fixtures.
-
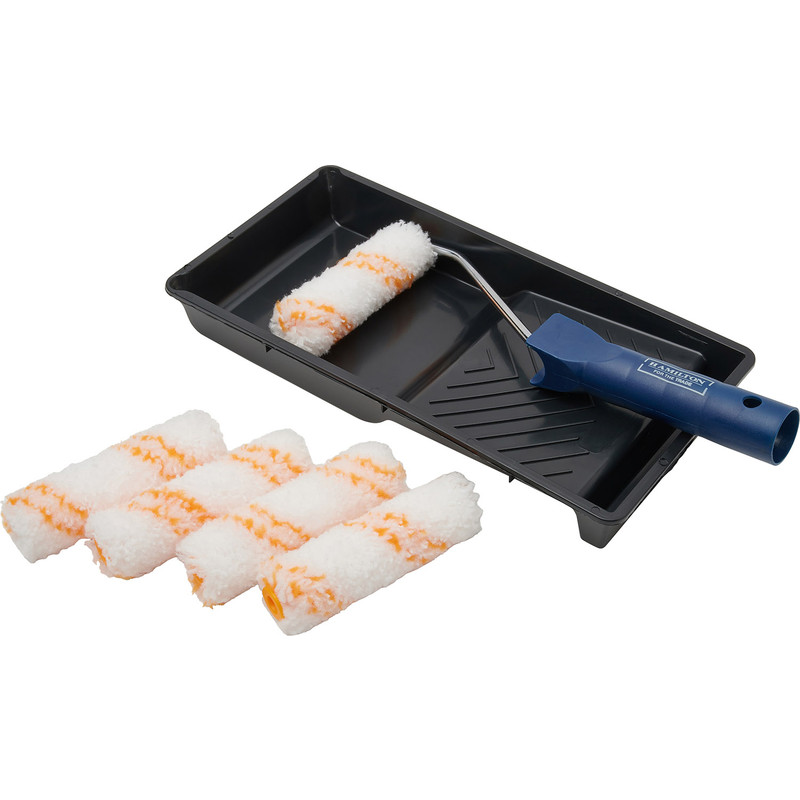
Use a mini paint roller over the wet painted edges to reduce brush strokes and achieve a higher quality finish.
Step 4: Pick The Right Roller
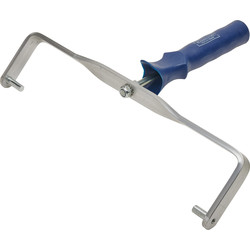
- A double arm frame roller ensures even pressure, preventing any uneven paint lines or streaks on your ceiling.
-
Take a look at our paint roller buying guide so you know you’re making the right choice.
Step 5: Attach Your Roller To An Extension Pole
-
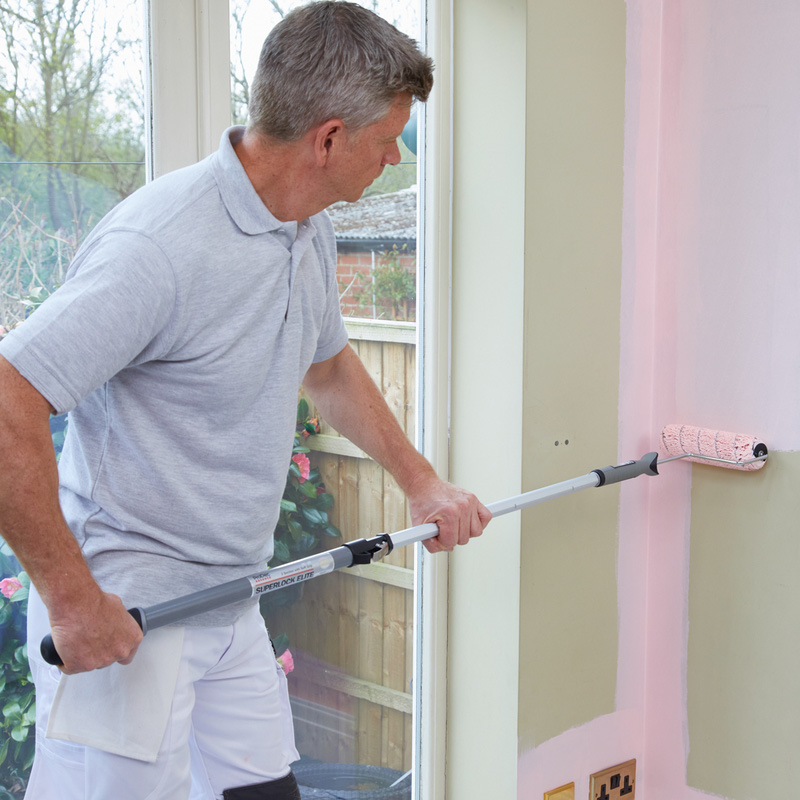
Attach your roller to the pole according to the manufacturer's instructions to avoid the constant up-and-down of a ladder and to ensure a consistent paint application.
Step 6: Load Your Roller With Paint
-
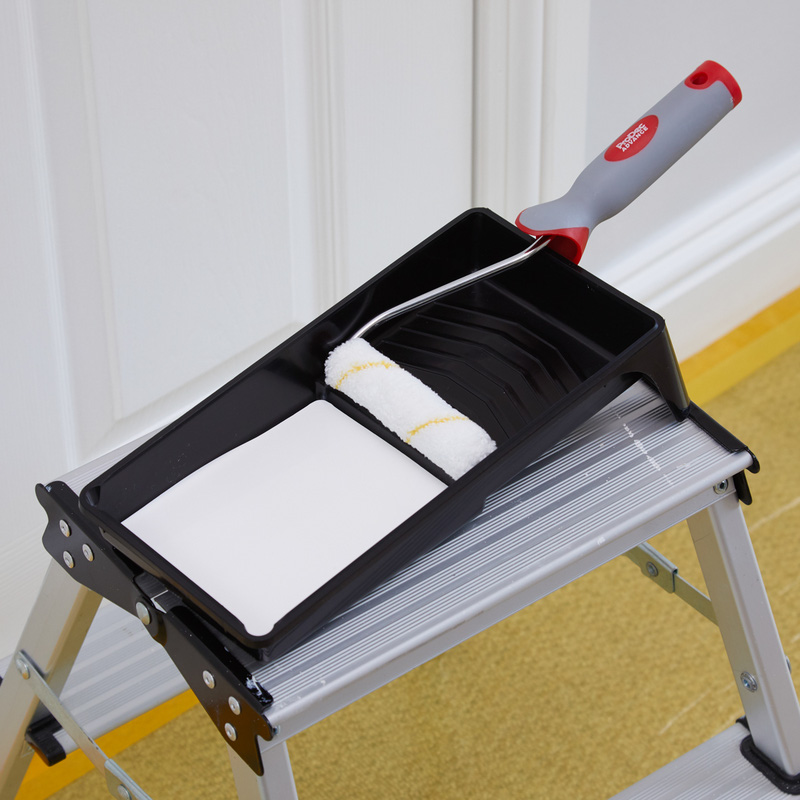
Pour paint into a tray or bucket, and roll your paint roller into the paint.
-
Remove excess paint by rolling the paint roller forwards in the tray – if you roll it backwards, paint could build up at the back and overflow.
Step 7: Paint Your Ceiling
-
Use even pressure to roll the paint roller across the ceiling, backwards and forwards until it’s completely coated.
-
Repeat the process until you’re happy with the coverage, keeping an eye on manufacturer’s instructions to know when you’re free to recoat.

