How To Paint Stripes On A Wall
Painting stripes on your wall can add a stylish and dynamic touch to any room. Whether you're aiming for a cool and modern look or something more playful, stripes can create a bold graphic effect. By choosing the right colors, direction, and spacing, you can transform the appearance of your space.
This step-by-step guide will walk you through the process of painting stripes on your wall, ensuring you achieve a crisp and straight finish.
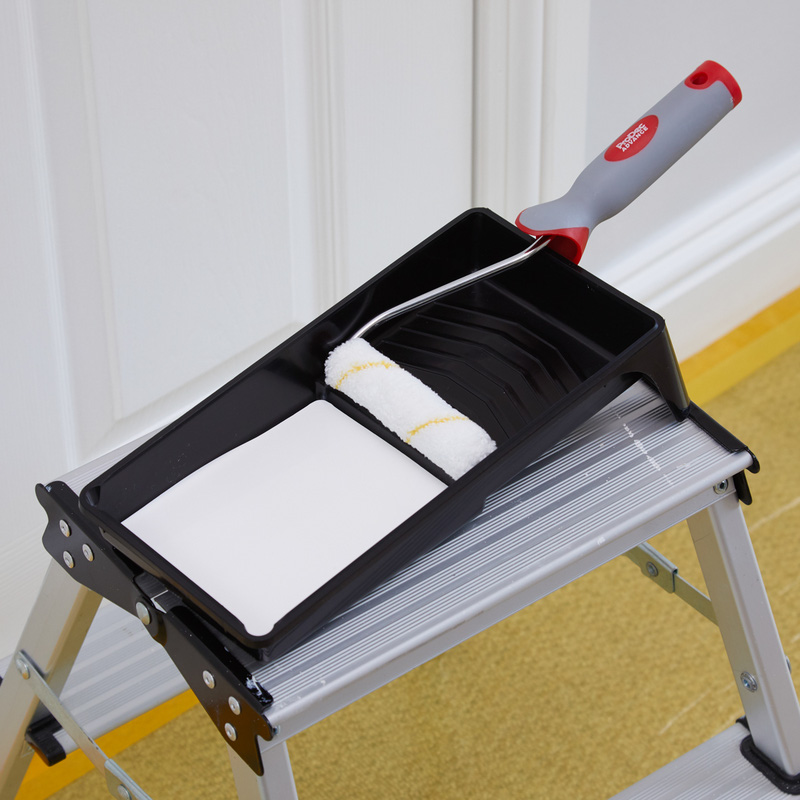
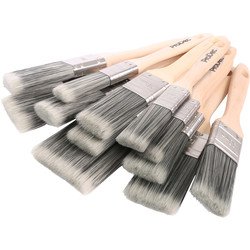
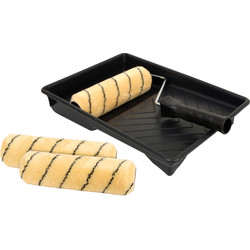
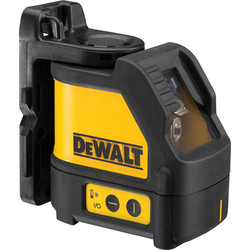
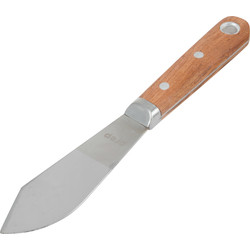
Essential Tools & Equipment
Step 1: Prepare the Base
-
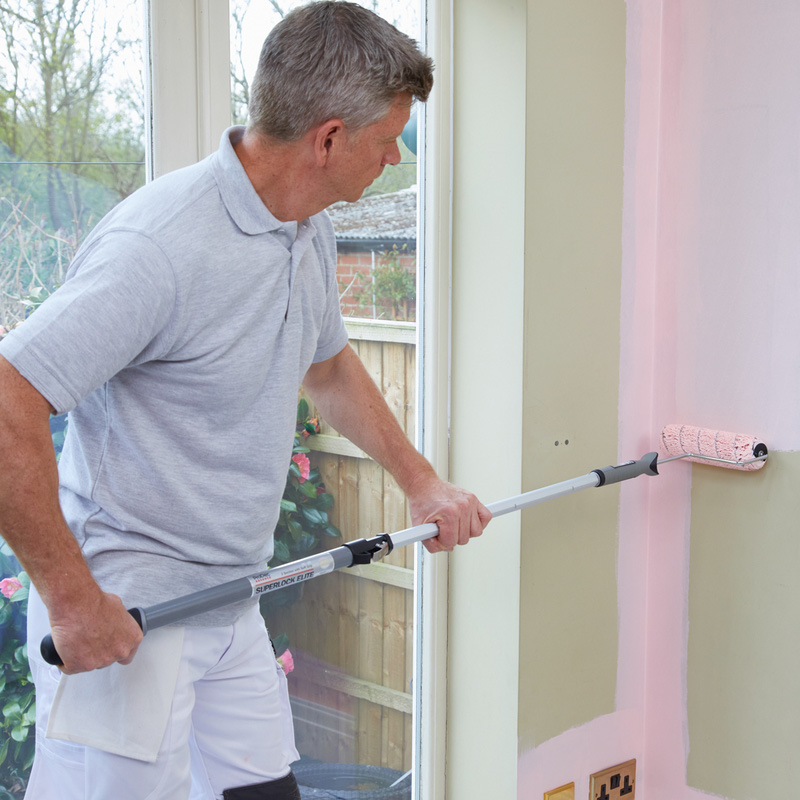
Paint the entire wall with the lighter shade of the two colors you've chosen.
- Allow the base paint to dry for at least 24 hours.
Step 2: Determine Stripe Direction
- Decide whether you want vertical or horizontal stripes.
- Vertical stripes can make the room appear taller, while horizontal stripes create a more spacious feel.
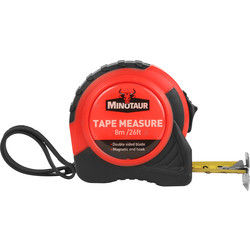
Step 3: Use A Level For Straight Lines
-
To achieve straight lines, use a level instead of relying solely on tape measures and pencil marks.
- Note that walls may not be perfectly straight or at a 90-degree angle, so you can't totally rely on surrounding furniture or skirting boards.
Step 4: Calculate Stripe Width
- Choose a stripe width that can be evenly divided into the wall's width or height (generally 4 to 12 inches).
- Measure the wall's width for vertical stripes or height for horizontal stripes.
Step 5: Mark Stripe Positions
- Mark the positions of each stripe on the wall using small marks.
- Create a guide with the exact width of your stripe to ensure accurate markings.
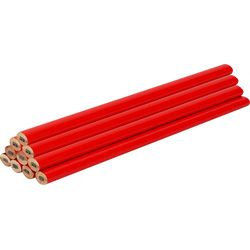
Step 6: Create Stripe Outlines
- Use a traditional level and pencil to mark the stripe widths across the wall.
- Draw a light, continuous line using the level as a guide.
- If using a laser level, the lines are 'drawn' on the wall for you already.
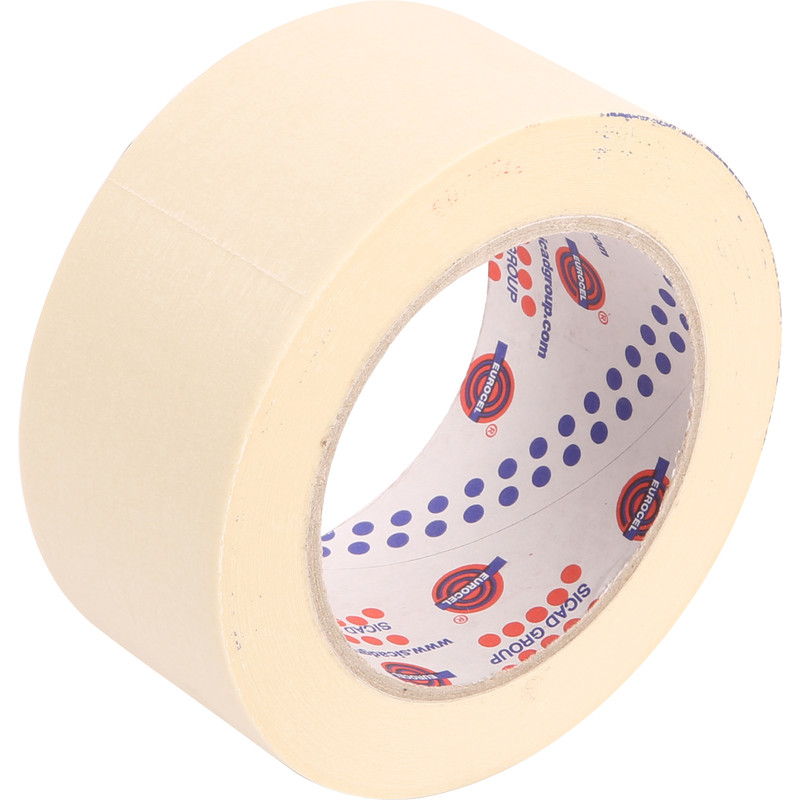
Step 7: Apply Masking Tape
-
Place the tape on the outside of your pencil line to cover any marks.
- Seal the edges of the tape by burnishing it with a plastic putty knife or card.
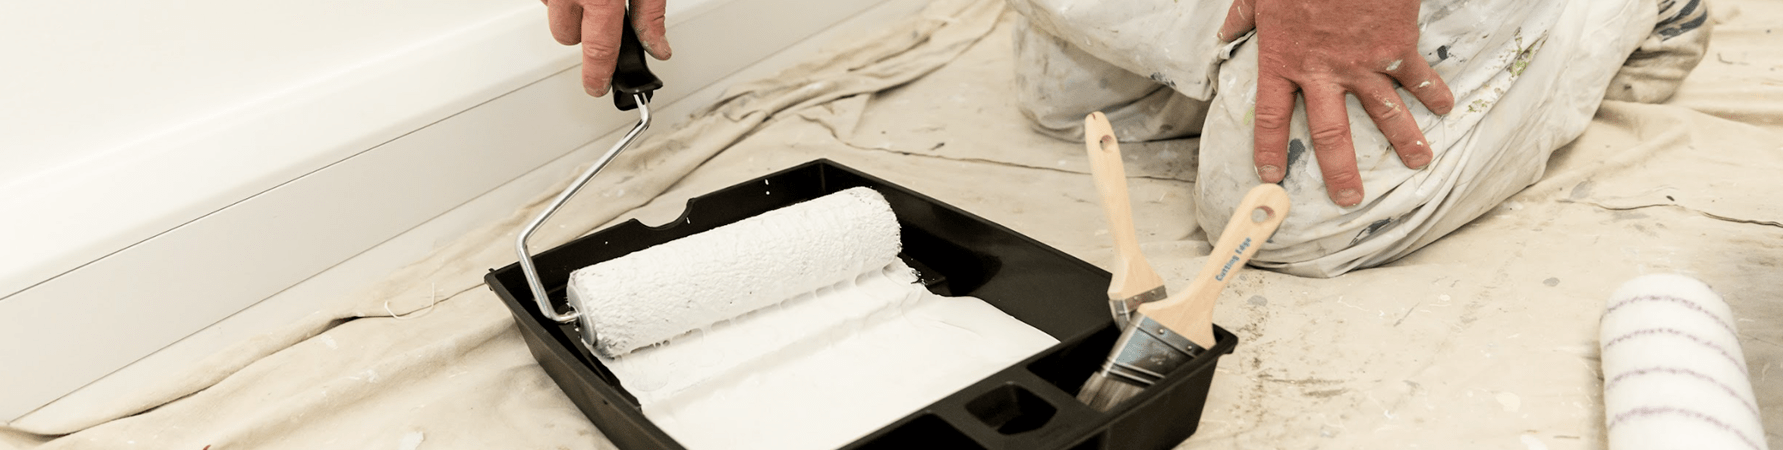
Step 8: Paint Between The Lines
-
Paint the areas between the masking tape lines with your chosen stripe colors.
-
Use a paint roller or brush to ensure even coverage.
Step 9: Remove Tape Carefully
- Ideally, remove the tape immediately after painting, while the paint is still slightly wet.
- Pull the tape off slowly at a 45-degree angle backward toward the wall.
- Control the tape as you remove it to avoid damaging the freshly painted stripes.
Step 10: Finish and Admire
- Allow the paint to fully dry before enjoying your newly painted bold stripes.
- Admire the crisp and straight lines you've achieved through careful planning and execution.