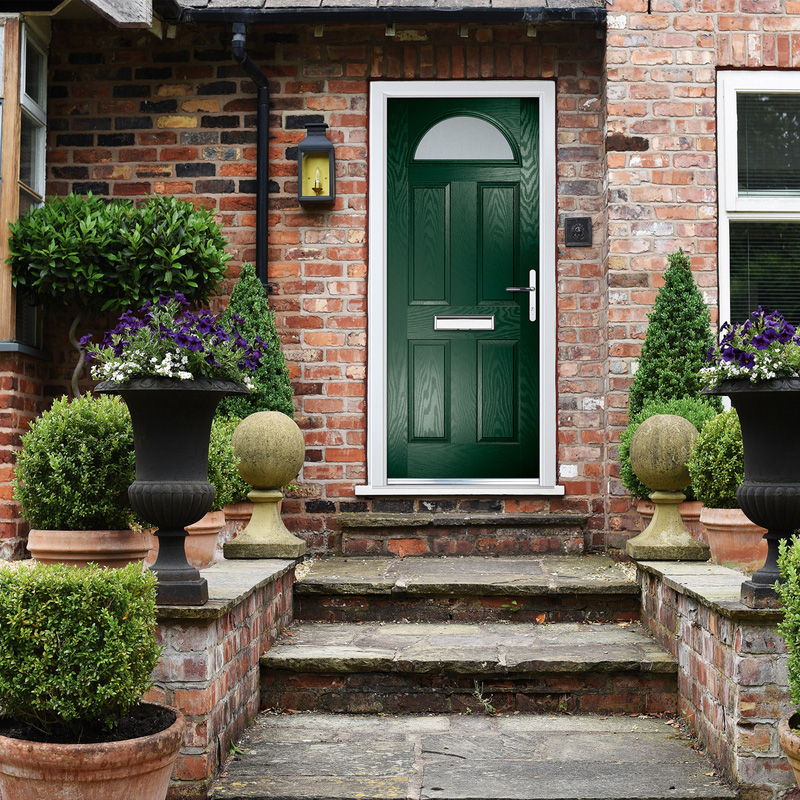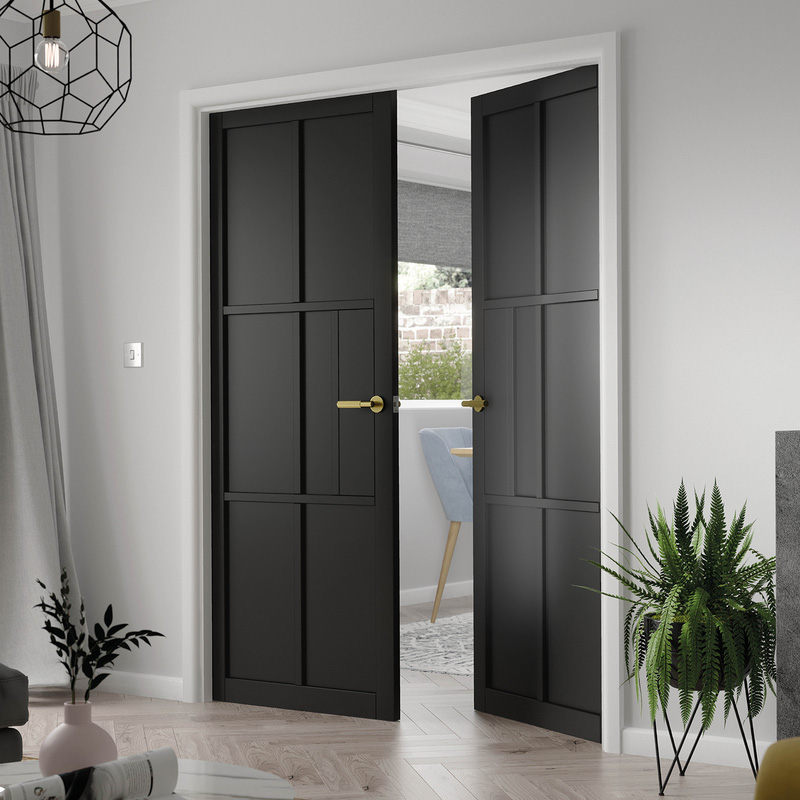
How To Paint An Internal Door
Achieving a flawless finish on an internal door can transform any room – but only if it’s done well. Whether you're looking to refresh an old door or finish off a new one, the right preparation and painting techniques are key to a professional-looking outcome. This guide will walk you through the process of preparing and painting your internal doors for a smooth, high-quality finish.
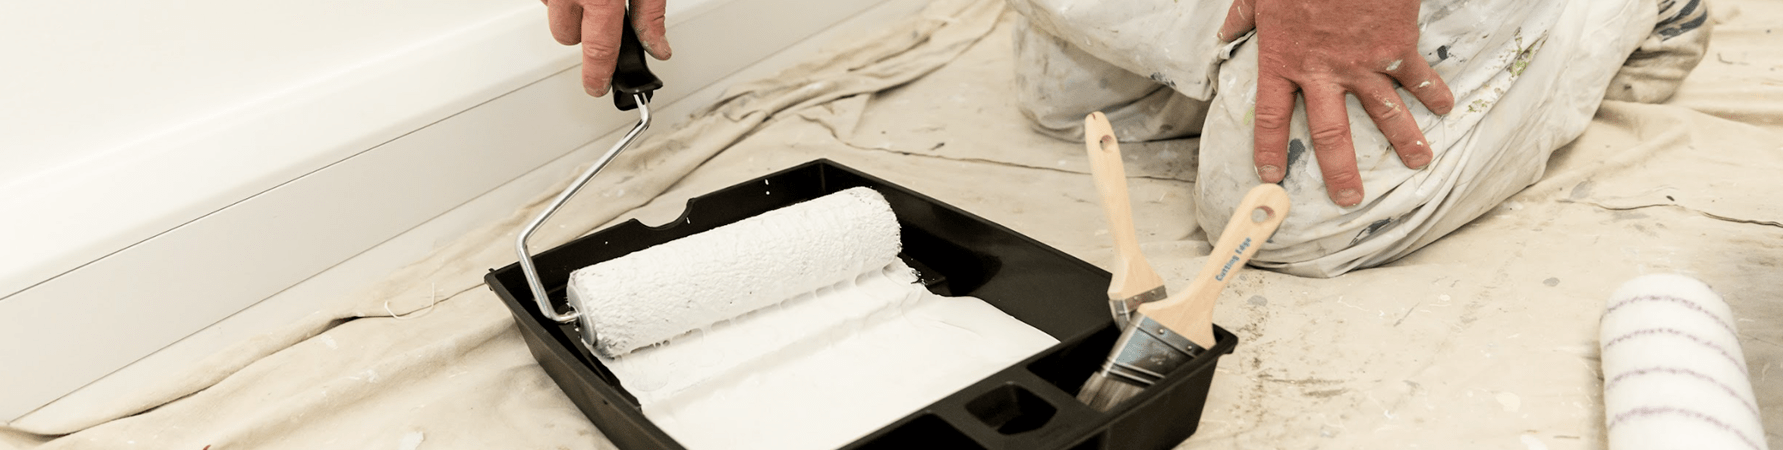
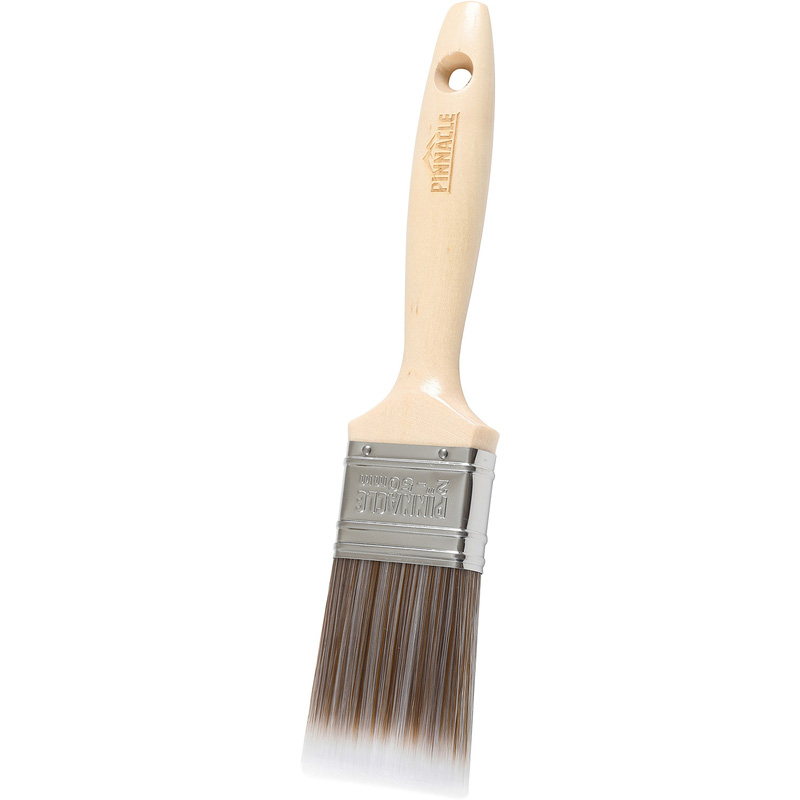
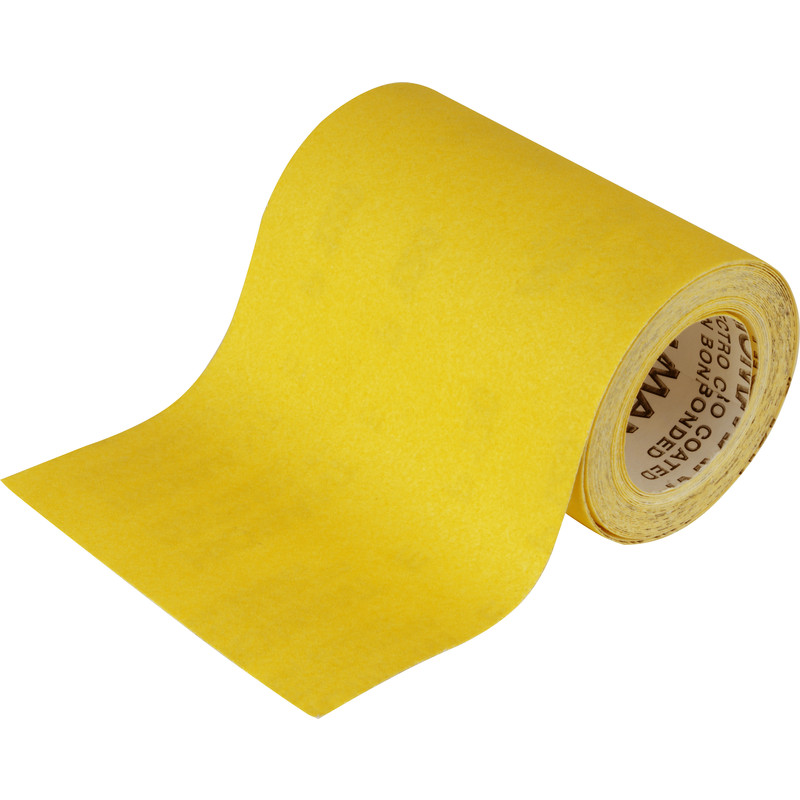
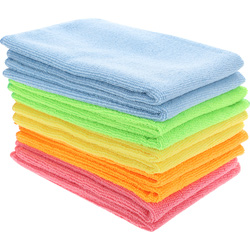
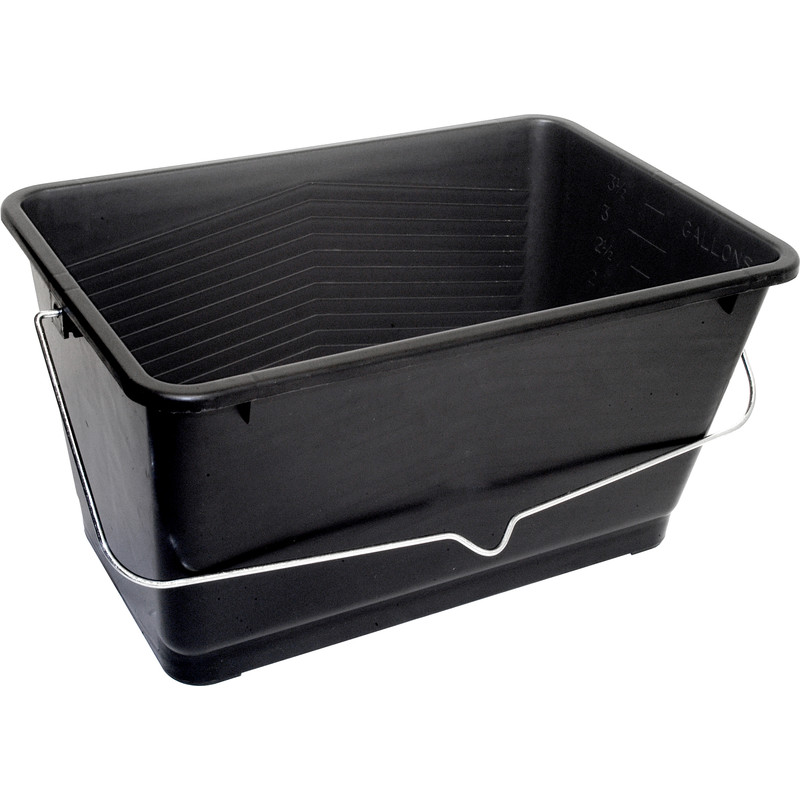
Essential Tools & Equipment
Aside from the below, it can be helpful to make use of a door stop to keep the door in place when you’re painting.


Step 1: Gather everything you need
-
Ensure you have all the necessary tools and materials to hand before starting. This will make the process quicker and easier.
Step 2: Remove the door handle
-
If possible, remove the door handle to ensure a neat paint job around the edges. If removal isn't an option, use masking tape to protect the handle.
-
Use a wooden wedge or door stop to keep the door in place.
Step 3: Sand the door
-
Wearing a mask, start with a coarse grit sandpaper to remove old paint or varnish, and smooth out imperfections.
-
Progress to a finer grit sandpaper to achieve a smooth surface.
-
Wipe the door down with a damp cloth to remove dust.
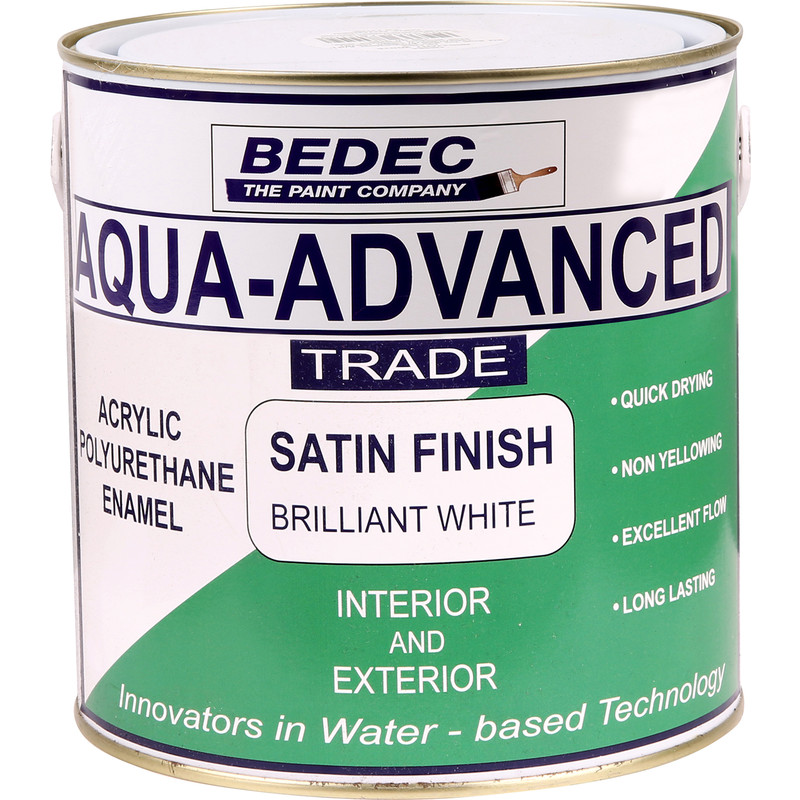
Step 4: Apply primer
-
Apply a coat of primer to the door, focusing on achieving an even coverage.
-
Allow the primer to dry according to the manufacturer's instructions – this will probably be a few hours.
Step 5: Lightly sand again
-
Once the primer is dry, lightly sand the door with a fine-grit sandpaper to ensure a smooth base for the topcoat. Don't forget to wear your mask!
-
Wipe away any dust residue with a clean, damp cloth.
Step 6: Paint the door edges
-
Begin painting the door by focusing on the edges first.
-
This can help prevent drips and ensures a neater finish around the door.
Step 7: Paint the door panels
- If the door has recessed panels, paint these next using an angled brush to get into the corners and a mini roller to cover the flat areas.
- Ensure even coverage for a consistent finish.
Step 8: Paint the rest of the door
- Use a mini roller to paint the remainder of the door.
- Start from the top and work your way down, maintaining a wet edge to avoid lap marks.
- Apply a thin coat evenly, taking care not to overload the roller.
Step 9: Allow to dry and apply a second coast
- Allow the first coat to dry thoroughly then apply a second coat for an even finish and improved durability.
Step 10: Reattach the door handle
- Once the paint is completely dry, carefully reattach the door handle.