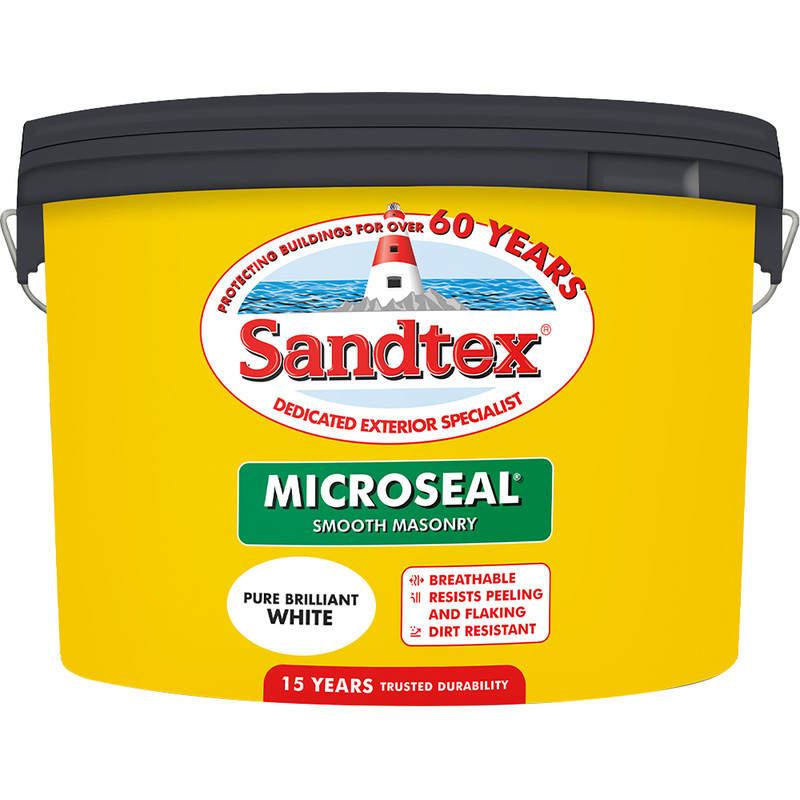
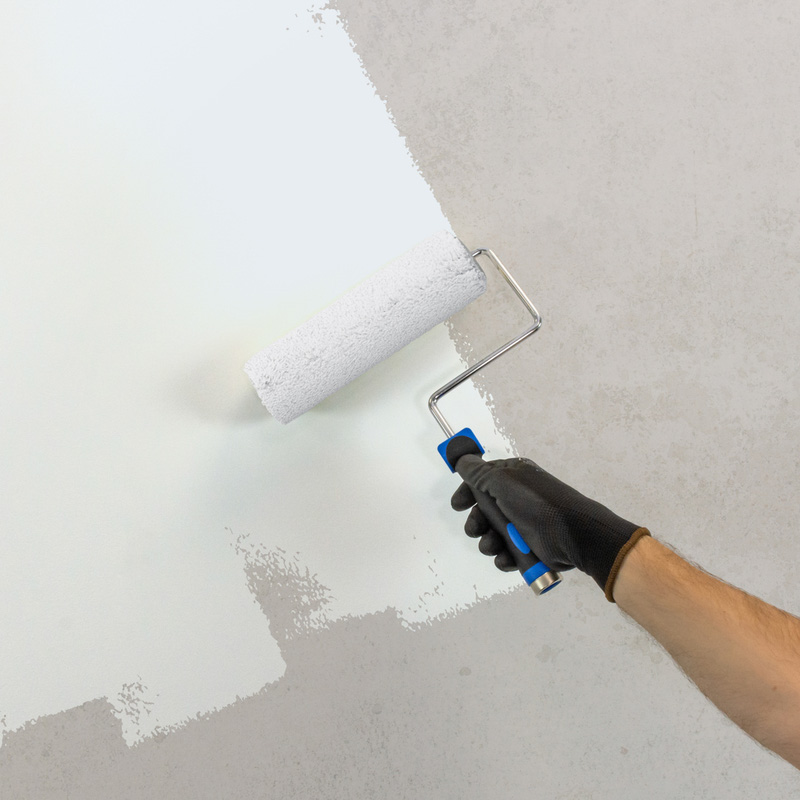
Painting the external rendered walls of your home is a great way of protecting them from adverse weather conditions and increasing curb appeal. A rendered finish is designed to weatherproof the outside of your house helping to prevent things like damp. However, a fresh coat of paint can increase durability of the render, while adding a splash of colour.
Compared to painting internal walls, rendered walls usually require a bit more preparation but the end result is worth the extra time.
So, whether you choose a neutral paint finish or opt for something bold and bright, our how-to guide takes you through all the steps to prepare and paint your rendered walls for a high-quality and long-lasting finish.
Essential Tools For Painting A Rendered Wall
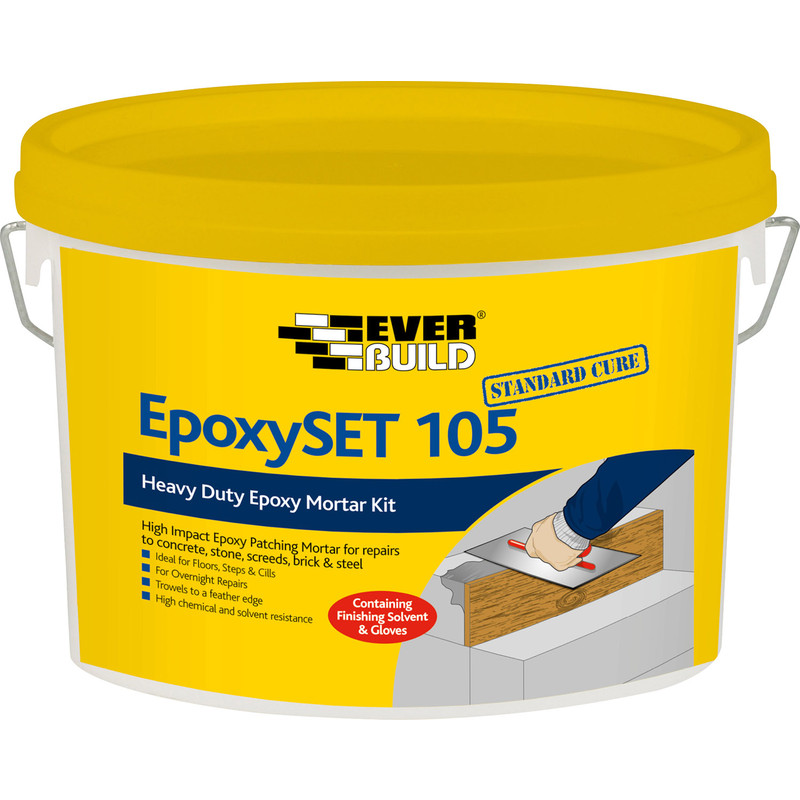
The tools you'll need to paint an exterior wall will depend on its initial condition. If the render has a few cracks, you'll need to tend to these first by using repair resin.
When it comes to washing the wall, a pressure washer will make light and quick work to help shift any grime prior to painting. That said, stick to a low-power model, around 110 bar or less, and stay a reasonable distance from the wall to avoid damaging the render.
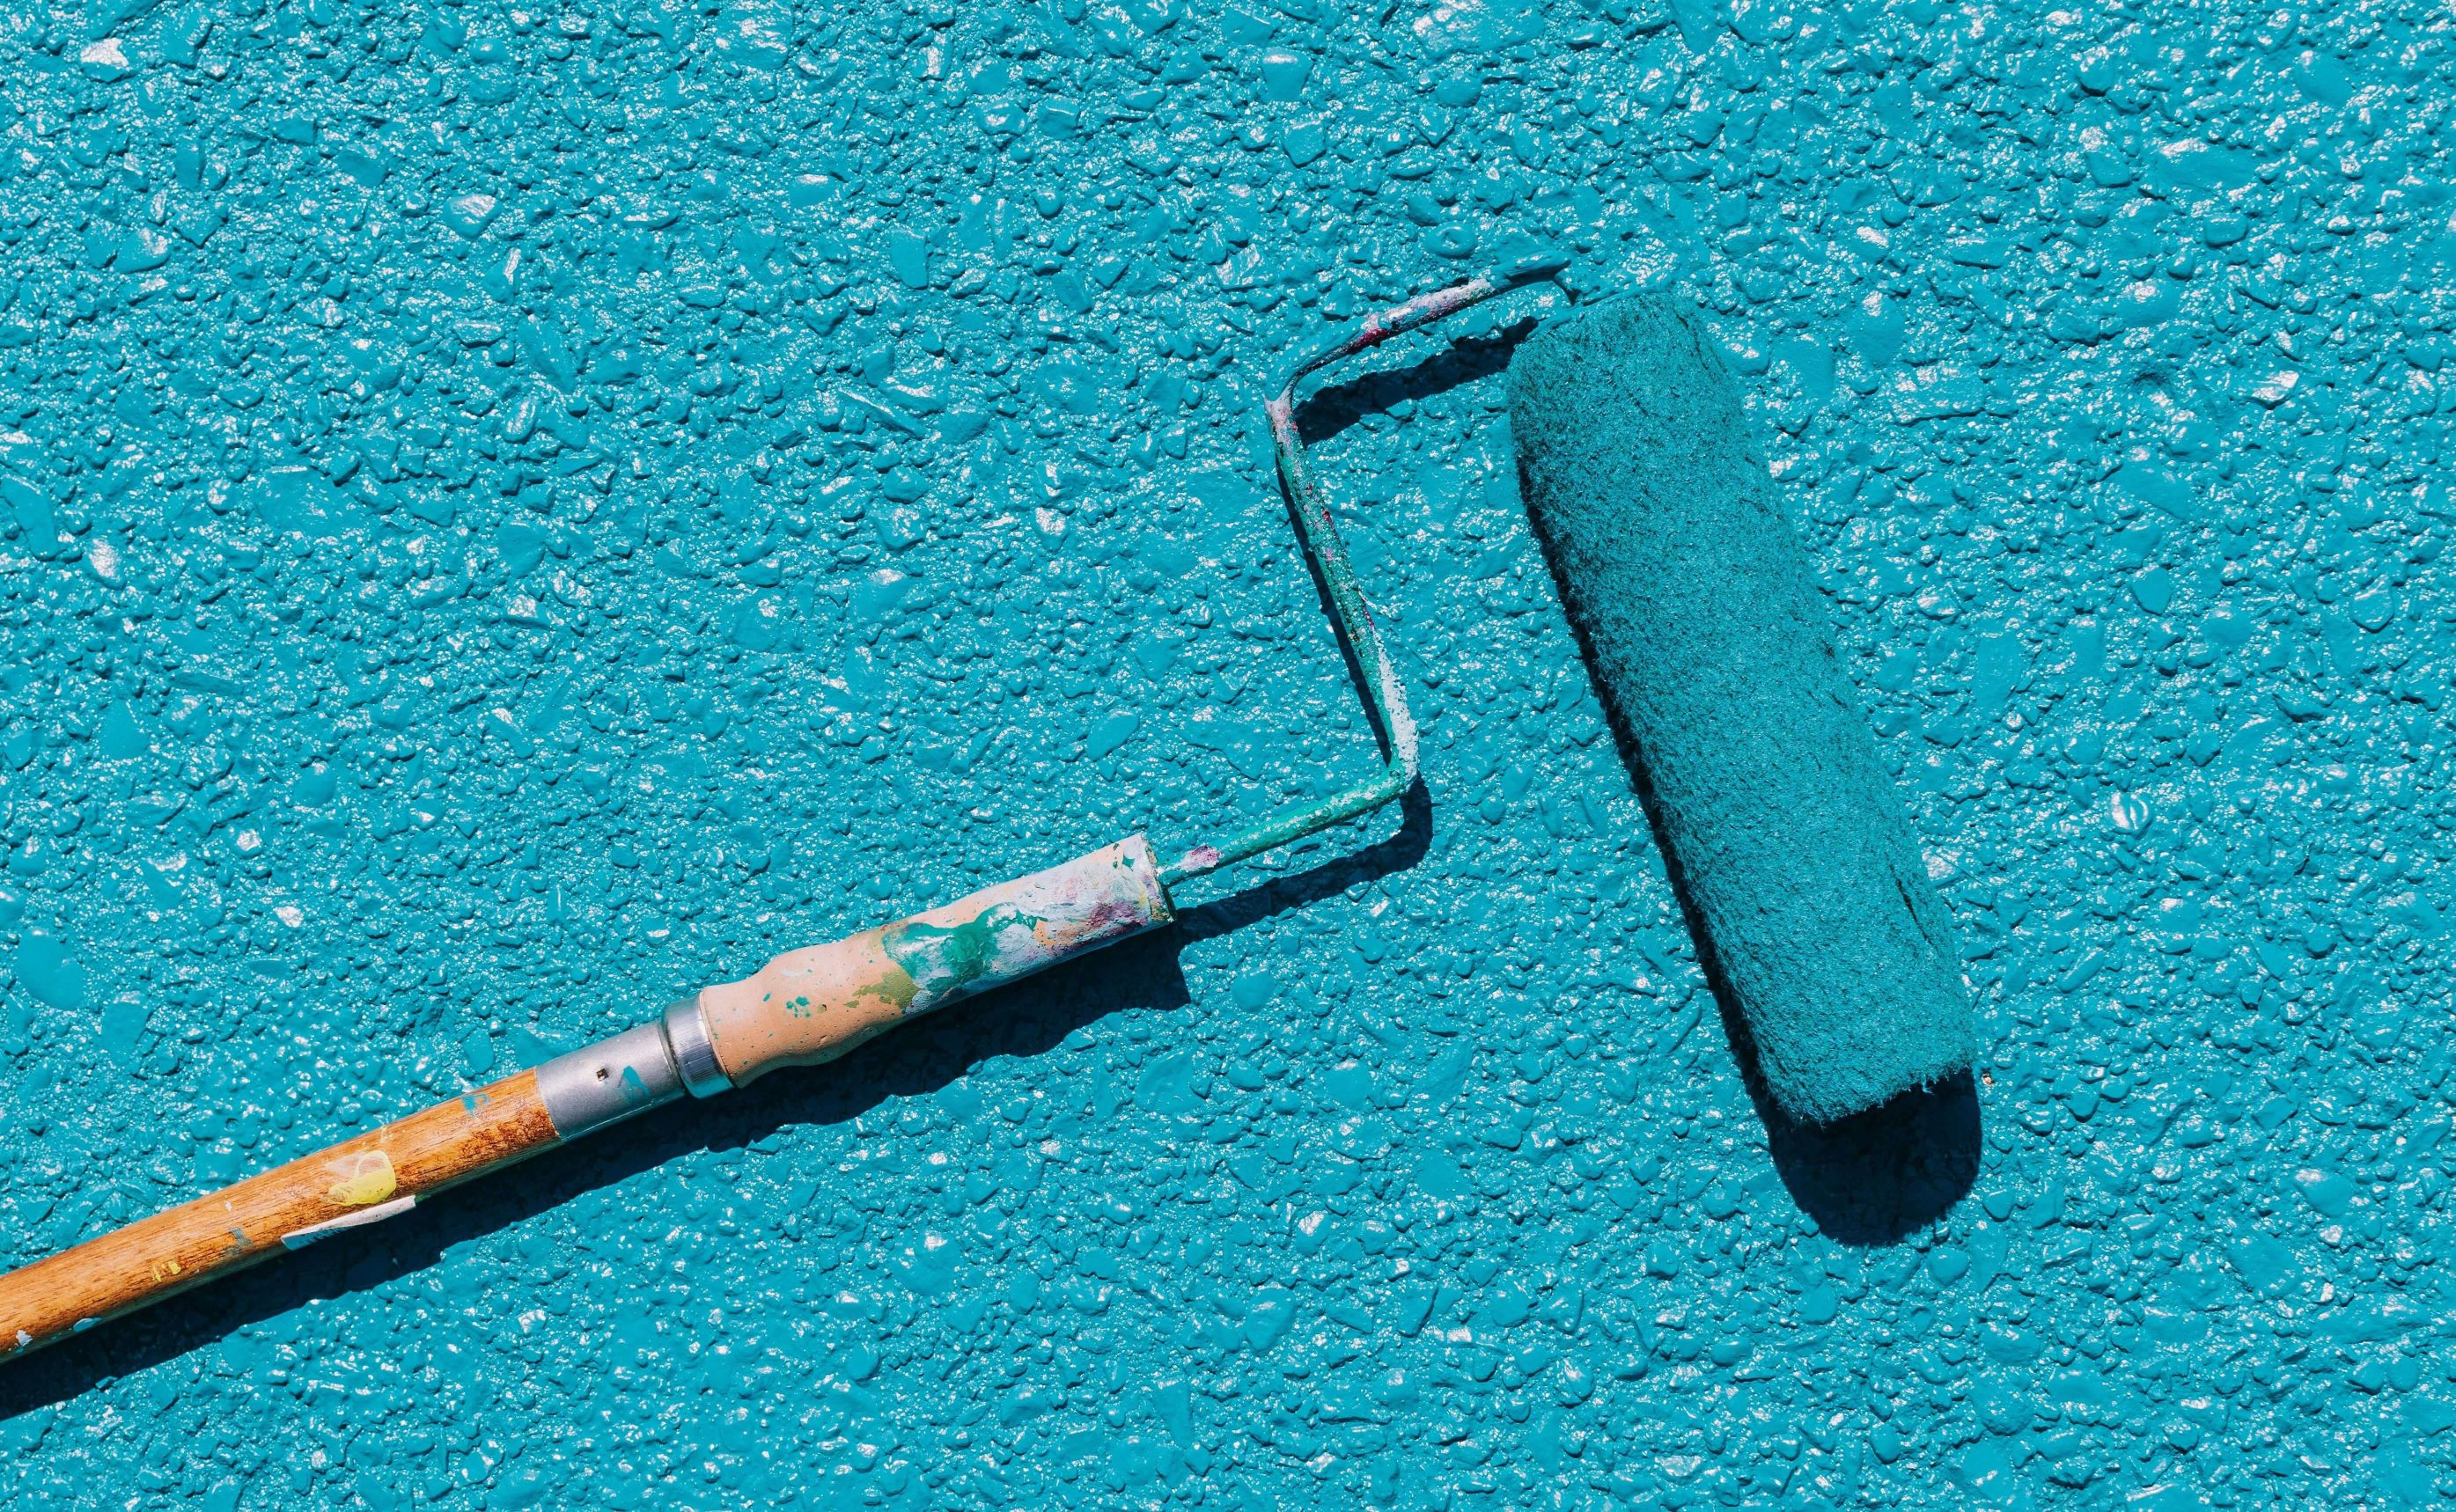
With your masonry paint ready, don't forget to choose the right paint roller. A long pile roller sleeve holds much more paint making it ideal for textured surfaces like render.
Step 1: Prepare the Walls and Repair Damaged Render
Before painting any exterior walls, you'll want to take a bit of time to prep them, this makes the job easier and ensures a long-lasting finish. Take the following steps to get the walls ready.
-
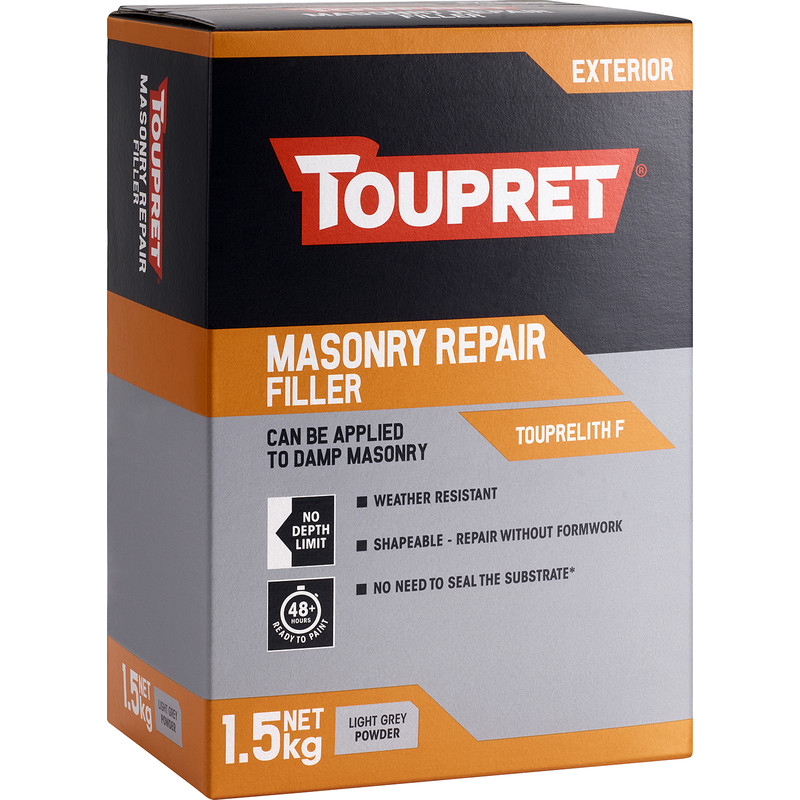
Inspect the walls for any cracks and holes. Use the concrete repair resin to fill any cracks while patching chips and holes with the masonry repair filler. Allow sufficient time for both fillers to thoroughly dry.
-
If the render is textured, you can blend out the repaired cracks and holes by using a mortar raking tool. This allows for more seamless paint finish.
Step 2: Clean the Walls Thoroughly
Now that you've filled in any cracks and holes, it's time to give the walls a good clean. Even if it's not particularly noticeable, external walls quickly become covered in dirt and grime. It's important to wash this away to ensure that the paint adheres properly.
-
Use your pressure washer to give the wall a good wash, paying particular attention to areas with significant buildup.
-
If you have to clean away mould growth, it's a good idea to use a suitable cleaning solution.
Step 3: Cover Gutters and Other External Wall Features
If the rendered wall you're painting has guttering or things like external lighting fitted, now's the time to get these covered to protect them from unwanted paint marks.
-
Cover external fixtures and fittings with polythene sheets.
Step 4: Mix Your Masonry Paint
With the rendered walls fully prepped, you're now ready for painting! Masonry paint typically comes in large containers and, when it's been sat around for a long period it has a tendency to seperate, so you'll want to give it a good mix to ensure an even coverage on the walls.
-
Use a mixing paddle and spend a couple of minutes blending the paint. Keep going until it's fully mixed with no paint separation present.
Step 5: Cut In Along Wall Edges and Around Windows
Cutting in involves painting along the edges of the walls and around windows and other fixtures. This makes painting the rest of the wall much quicker while keeping edges neat and tidy.
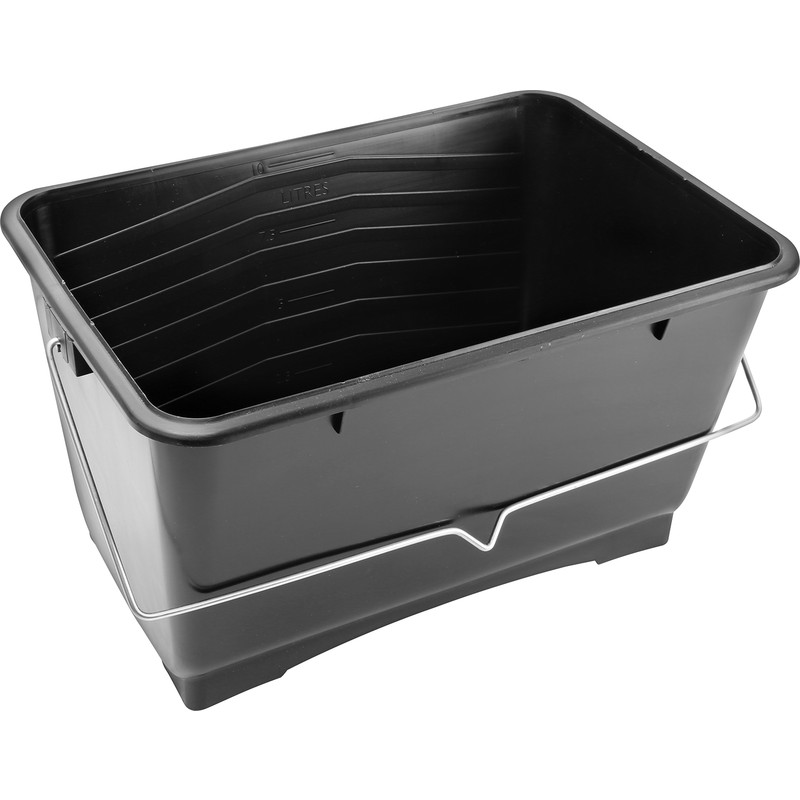
- Pour a small amount of masonry paint into the paint scuttle. If you need to work at height, try a smaller container for holding the paint. This way you'll make less mess.
-
Using cutting-in brushes, carefully paint around rooflines, windows, and other edges. Take your time, as this step will impact the finished result.
Step 6: Roll Paint on the Main Wall Surface
Once you've completed the cutting in, you'll be glad to know that painting the main surface of the wall takes much less time and accuracy.
- If needed, top up your paint scuttle with more masonry paint.
- Take your paint roller and load it up with paint. Apply long, vertical strokes for a consistent finish.
-
If you don't have a ladder, you can reach high up places by using an extension pole.
Step 7: Don't Forget To Clean Your Brushes
Dried on masonry paint can be tough to remove so to save your paint brushes and roller sleeves follow out top tips!
- Use a wire brush to clean paint brushes. Submerge the brush in water and pull the wire brush through the bristles and away from the paint brush handle. Continue with this motion until water runs clear from the paint brush.
-
Long pile rollers hold a lot of paint so before rinsing with water use a multi tool scraper and run along the length of the roller. Do this over the paint container and you may be surprised at how much paint you'll recover for another painting project.
- Keep going until you've scraped away as much paint as possible. Now rinse the roller under a running tap until the water runs clear.

