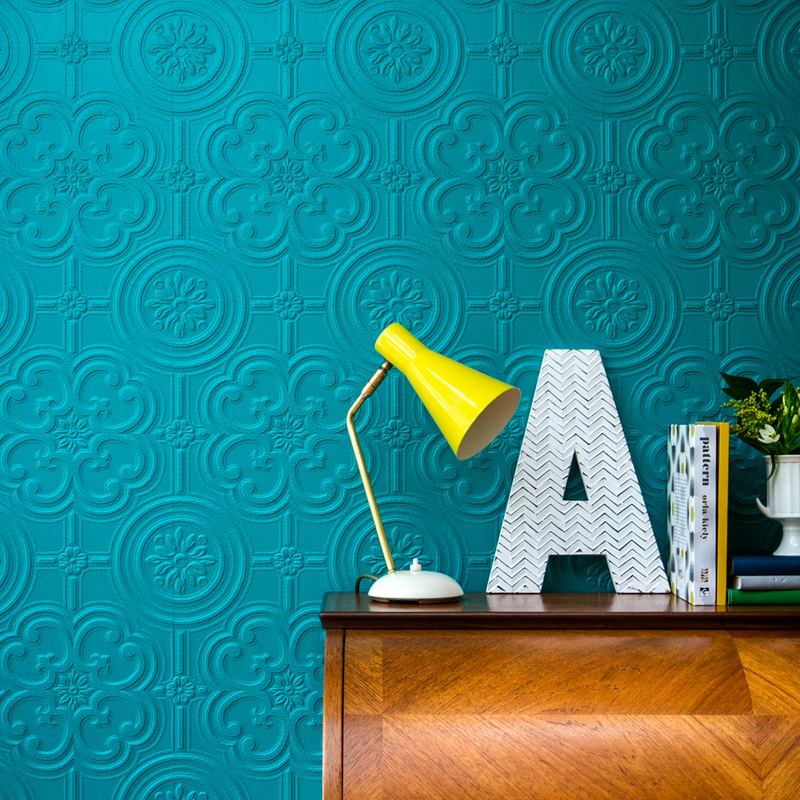
Painting over wallpaper can be a low-cost and effective way of refreshing your home. This guide will walk you through the process of how to paint wallpaper, ensuring a smooth and professional finish. Whether you're looking to update a room or cover up outdated wallpaper, this step-by-step tutorial will help you achieve the perfect look.
Essential Tools & Equipment
Step 1: Repair Loose Wallpaper
-
Check the wallpaper for loose areas.
-
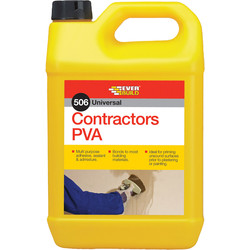
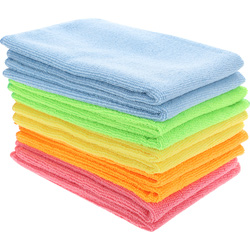
Using PVA glue and a small brush, reattach any loose parts, wiping away excess glue with a wet cloth.
Step 2: Fill Wallpaper Joints
-
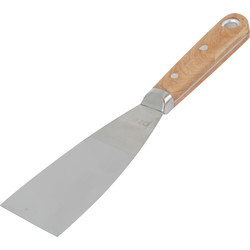
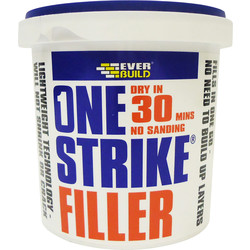
Apply filler to the joints using a filling knife. Aim for a clean fill to minimise how long you’ll need to spend sanding.
-
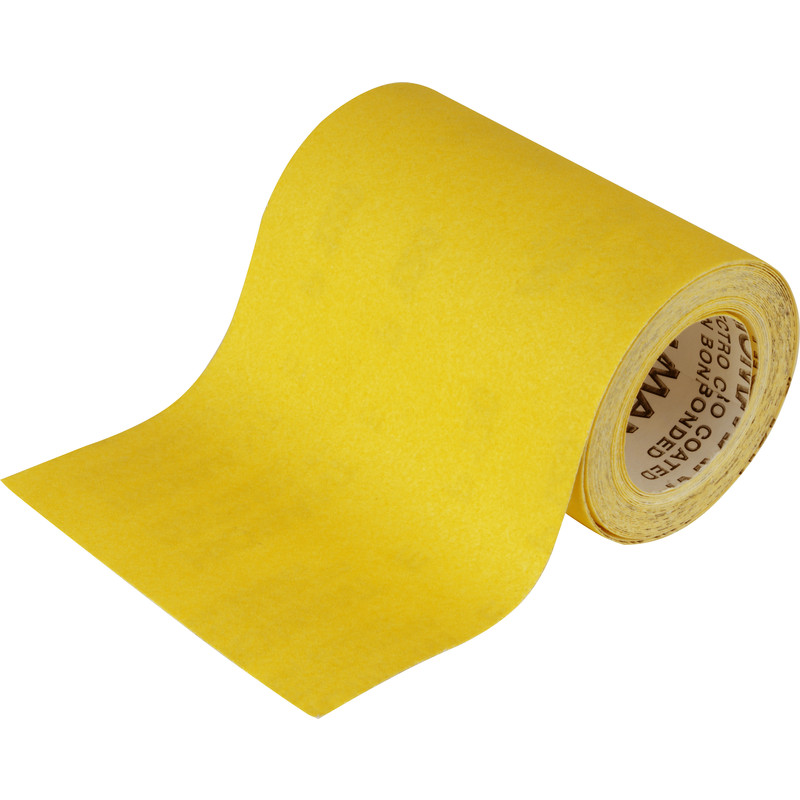
Once the filler has cured and is completely dry, sand it down with a fine 120 grit sandpaper and dust off any residue.
-
You may want to skip filling in wallpaper joints if your wallpaper is textured, as it may interfere with the finish.
Step 3: Cut In Around The Edges
-
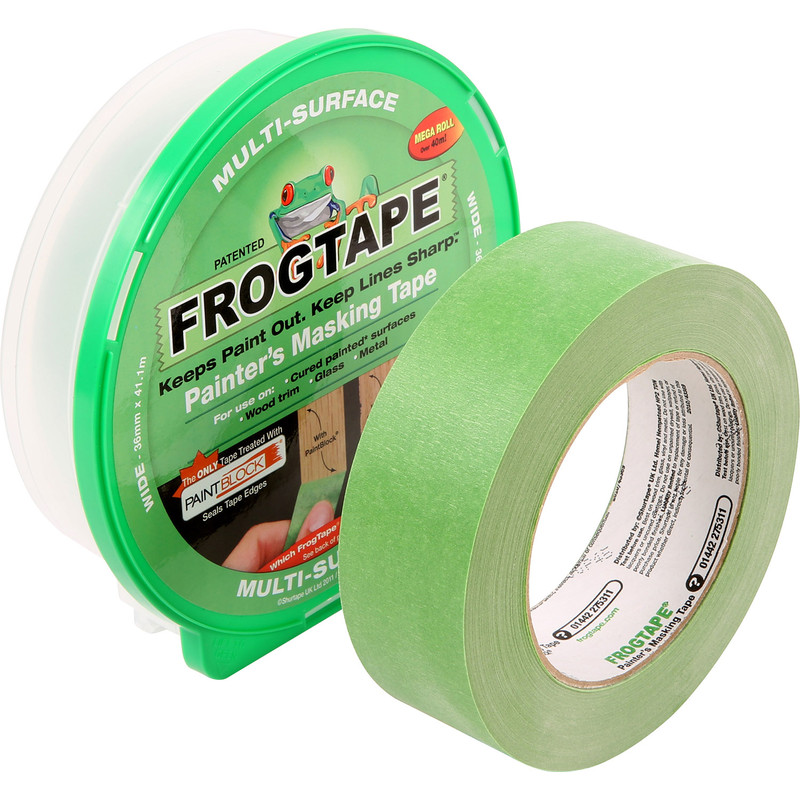
Apply masking tape around any switches or sockets that you want to avoid getting paint on.
-
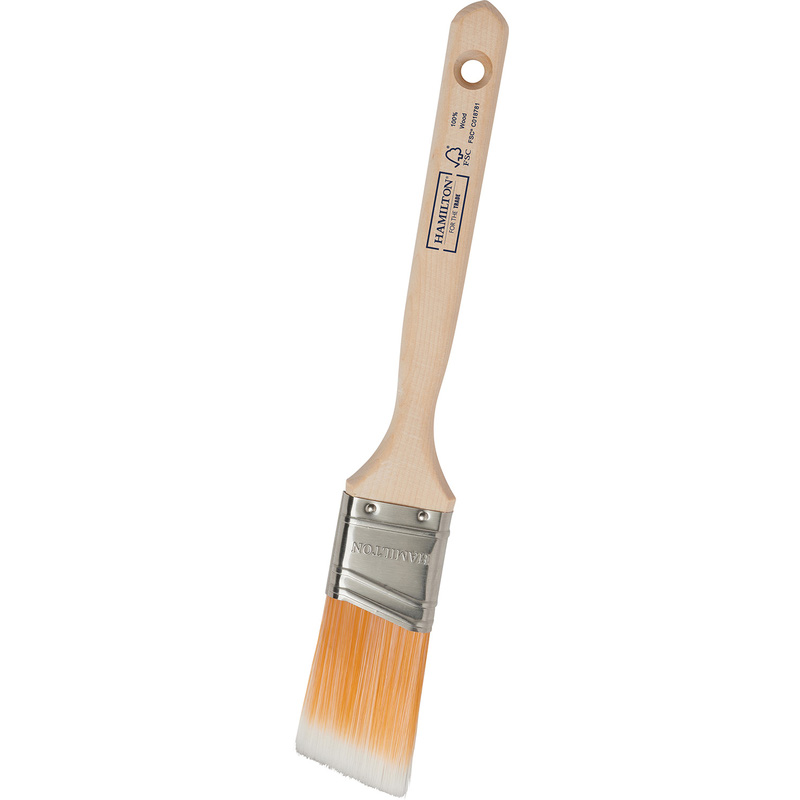
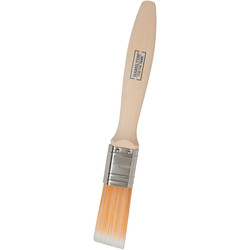
Carefully paint around edges, door frames, and skirting boards using a cutting in brush.
-
Use a small brush for hard-to-reach areas like behind radiators.
Step 4: Paint The Wallpaper
-
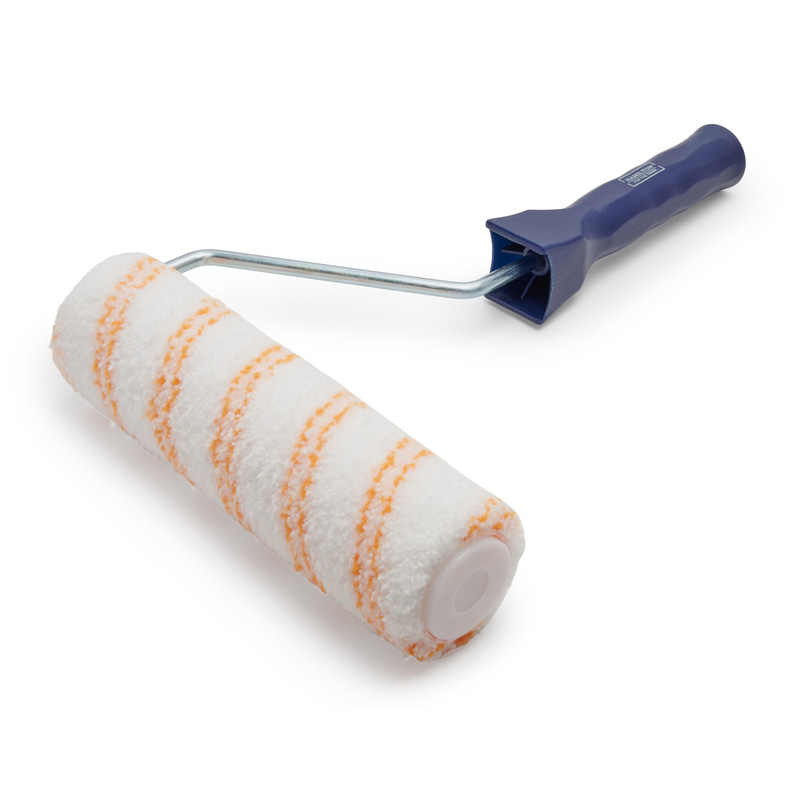
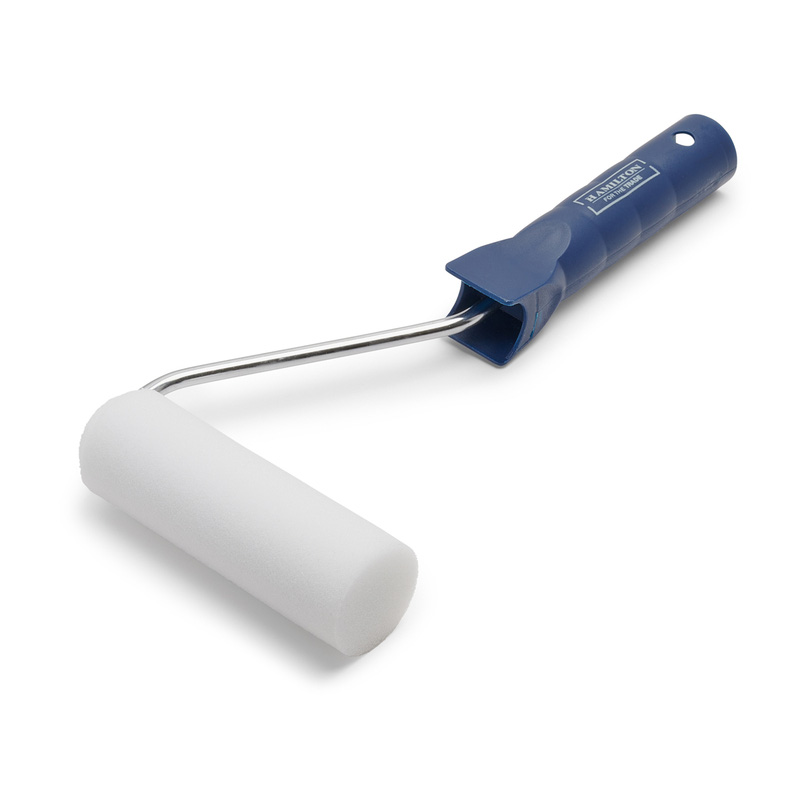
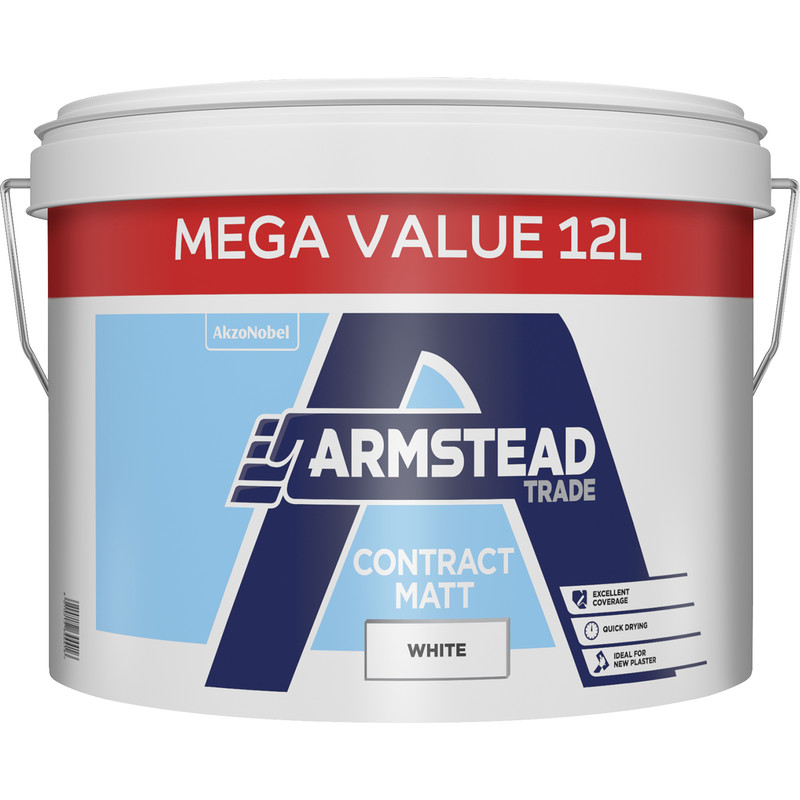
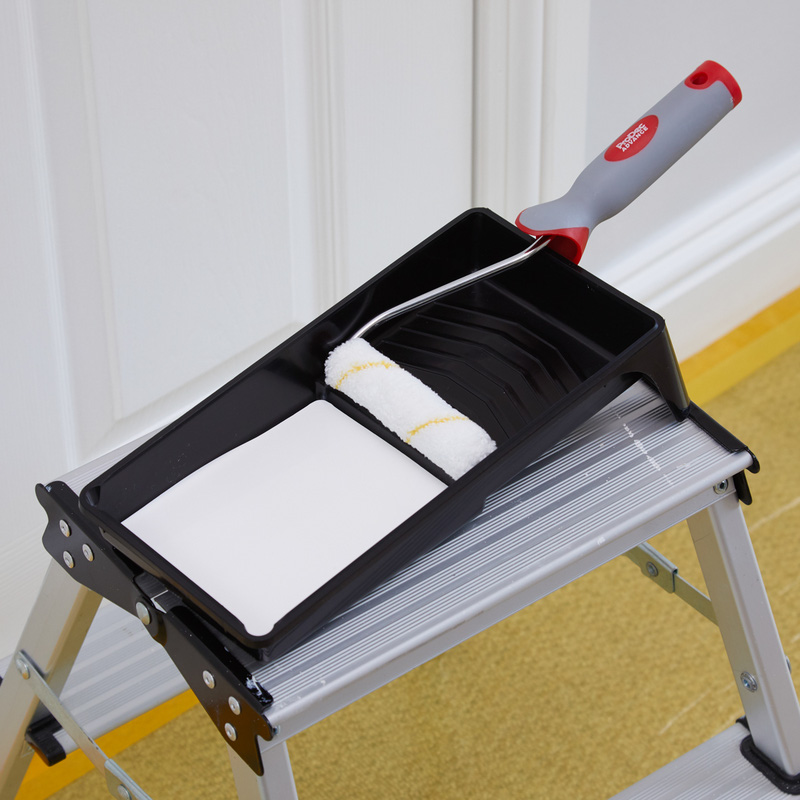
Starting at the centre of the wall, use a paint roller loaded with some paint to cover the rest of the wall up to the painted edges.
-
If you’re painting textured wallpaper, use a high pile paint roller to ensure paint gets in all the crevices.
Step 5: Apply A Second Coat
-
Repeat the cutting in and painting process for a second coat, ensuring even coverage and a smooth finish.
-
Once dry, admire your finished work!

