Before plastering a wall, it's important to apply a coat of PVA as this will ensure you're left with a smooth and long-lasting finish. PVA is a versatile, water-based adhesive often used in construction and DIY projects. It acts as a bonding agent, sealing and priming the surface of a wall to improve the adhesion of paints, plasters, and wallpapers.
Applying PVA to a wall is an essential preparation step, especially for new plaster or porous surfaces. Without proper sealing, materials like paint or wallpaper can struggle to adhere to the wall, resulting in uneven finishes, peeling, or cracking over time. By applying a PVA solution, you create a uniform surface that enhances the durability of your finish while ensuring smooth application.
This guide will walk you through the step-by-step process on how to PVA a wall along with tips for achieving the best results.
Essential Tools & Equipment
Step 1: Prepare the Wall Surface
- Start by thoroughly cleaning the wall. It's important to remove any dust, dirt, or grease as this can interfere with the PVA's adhesion.
- If the wall has any rough spots or imperfections, use a sponge and some warm water to clean them. Allow the wall to dry completely.
Step 2: Mix the PVA
-
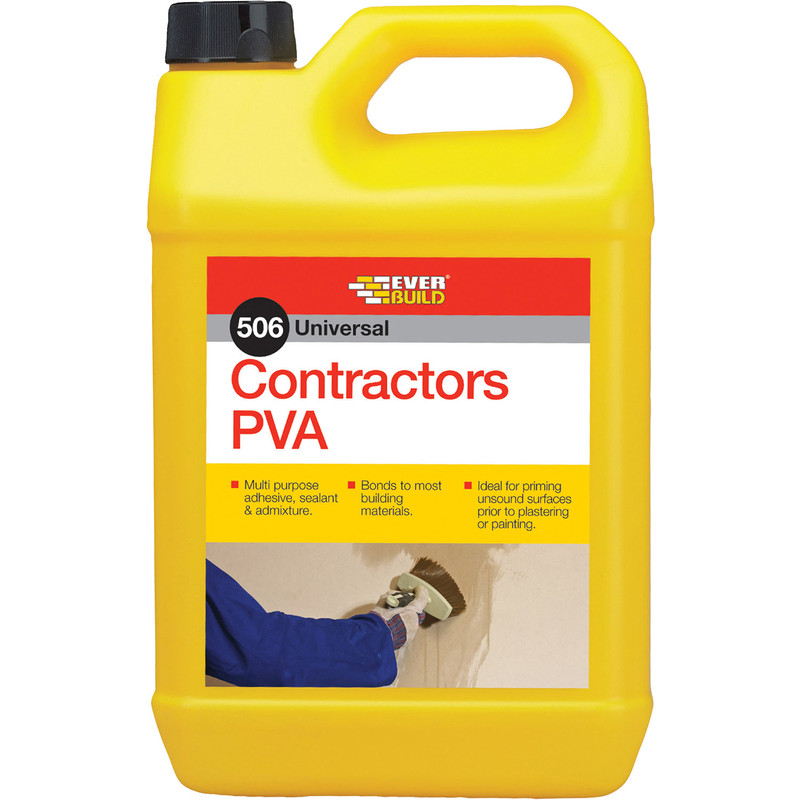
If using a concentrated PVA adhesive, dilute it with water (usually a 1:4 ratio of PVA to water). However, always check the product instructions.
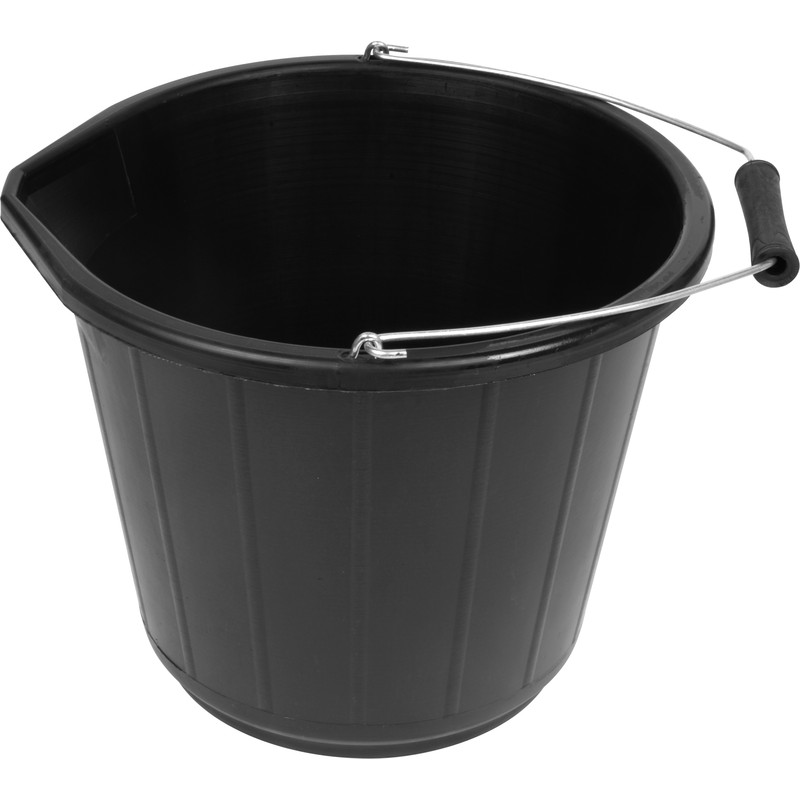
- Pour some of the mixed solution into a clean bucket or paint tray, ready for use.
Step 3: Apply the PVA
-
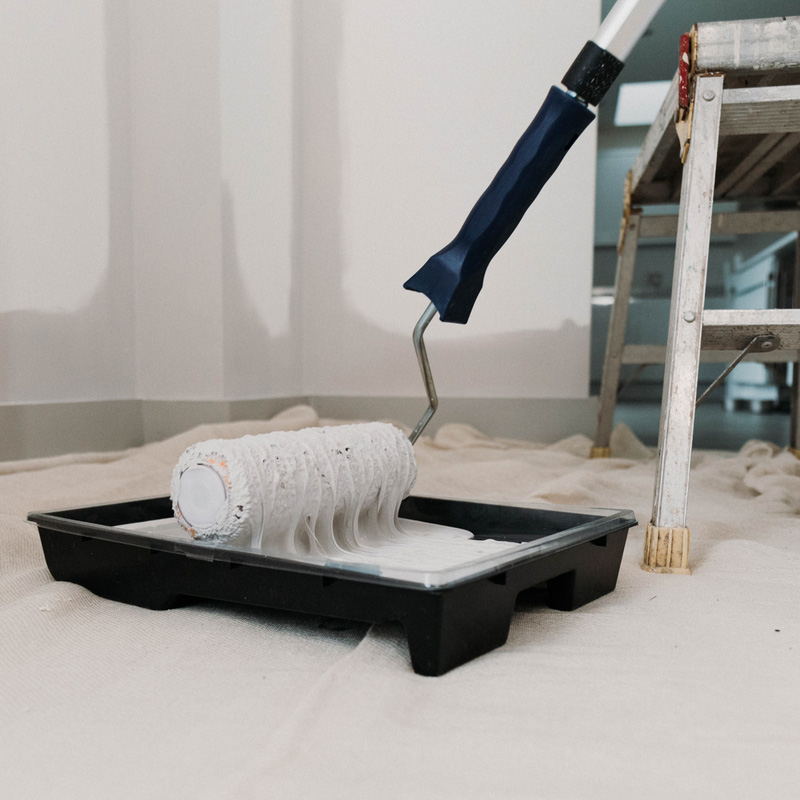
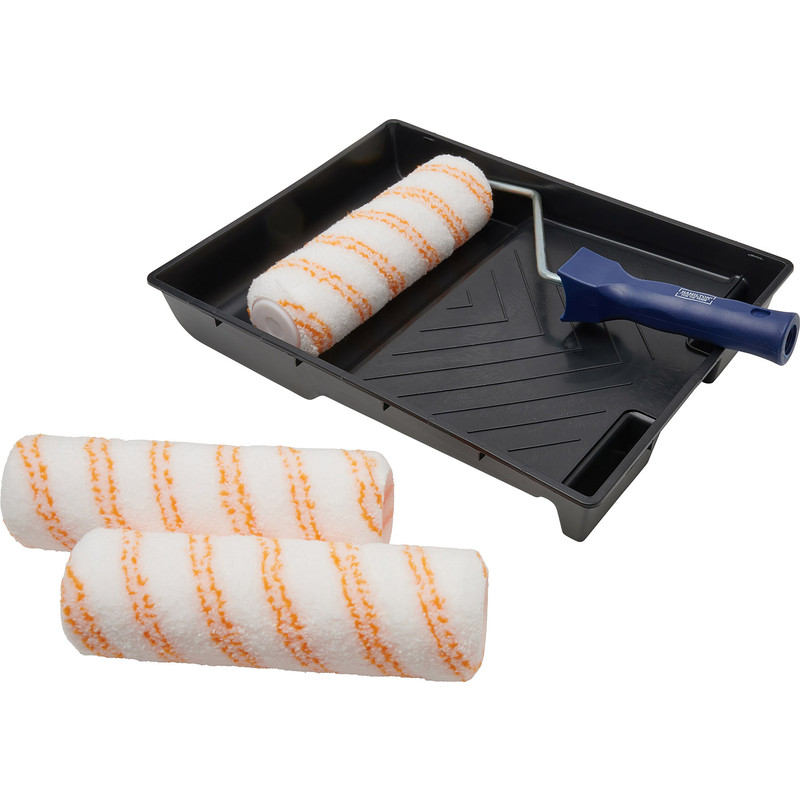
Use a paintbrush or roller to apply the PVA mixture onto the wall. Start from the top and work your way down, ensuring you cover the entire surface evenly.
- For textured or uneven surfaces, a brush may be more effective in getting into crevices and other awkward spaces.
- Be sure to apply a thin, even coat. Overloading the wall with PVA can cause pooling, which can negatively affect the finish.
Step 4: Allow the First Coat to Dry
- Let the first coat of PVA dry completely, this usually takes around 1-2 hours. It will appear clear or slightly milky as it dries down.
- If the wall is very porous or you are applying a second coat, give it extra drying time, particularly if the room is quite humid.
Step 5: Apply a Second Coat (If Needed)
- If the wall is especially porous, it's a good idea to apply a second coat to ensure a strong bond for the plaster.
- Use the same method to apply the second coat, making sure the wall is completely covered. Allow it to dry as you did with the first coat.
Step 6: Check the Wall
- After drying, check the wall for any missed spots or areas with excessive PVA buildup. Touch up those areas if necessary before any plaster application.

