If you notice that the temperature in your home is irregular, or that your thermostat is showing an error code, it could be time for a reset.
In this guide we'll explain how to reset a Honeywell thermostat. Our step-by-step instructions will help you to manually reset either a T3 or T3R model so you can quickly get your heating system back up and running smoothly.
Step 1: Start the Thermostat Factory Reset
- Whether you have the Honeywell T3 or T3R, this first step is the same.
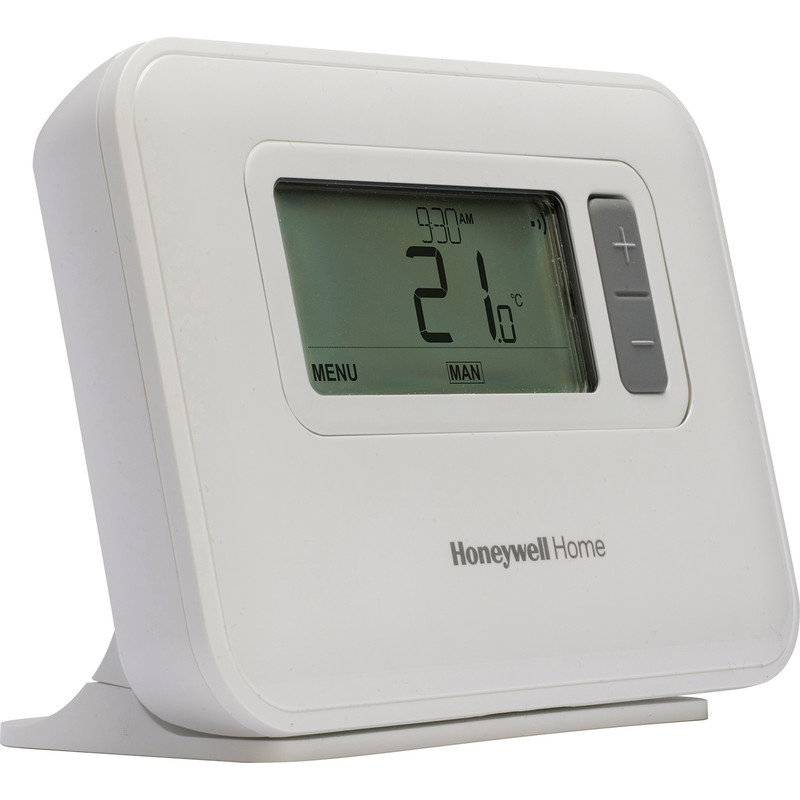
- Simultaneously press and hold the menu and plus buttons on your thermostat for around three seconds to access the reset menu.
Step 2: Complete the Factory Reset
- Navigate to the 'FS' (factory reset) option in the menu by pressing the plus button.
-
Then press the button directly beneath the tick icon on the display. Now change the number from 0 to 1 by pressing the plus button again.
-
To apply this new setting, tap the button below the tick icon. The screen should now return to the start-up.
-
You've now completed the factory reset! If you have the T3 model, you can adjust the heating as desired. For those of you with the T3R model, there's a couple more steps to take to reconnect the receiver to the thermostat, so move on to step 3.
Step 3: Reconnect the Receiver to the T3R Thermostat
-
Clear down the settings on the receiver box by inserting a paperclip into the small hole on the front of the unit. Do this for three seconds until both lights on the box turn off.
-
Then press and hold the menu button until the top light flashes amber.
-
Return to your thermostat and simultaneously press down the menu and minus buttons until you see 14A on the display screen.
-
Now press the plus button to change the 14A to 14C and then the 0 to a 1 and confirm the new settings.
-
When binding is successful, a connection symbol will appear on the screen of the thermostat and the receiver box light will show a steady green light.
Step 4: Test the Connection
-
Adjust the temperature to verify that the thermostat and receiver are communicating correctly.


