Wallpapering can change the look of a room by adding colour, pattern, and texture as well as concealing imperfections on the wall. Whether you want to hang paper on one wall to create a feature, or the entire room for a whole new update, our guide on how to hang wallpaper is simple to follow so you can be sure of a professional finish every time.
Essential Tools & Equipment
When hanging new wallpaper it's important to have the right tools on hand as this will make the job much easier while ensuring you get that expert finish. All the equipment you need for wallpapering a room can be bought from us here at Toolstation.
Step 1: Prepare The Surface Of The Wall
Before you start wallpapering, you'll want to make sure the walls are well prepared. The following steps can help the wallpaper to adhere properly, prevent it from shrinking back, and help to diminish the appearance of vertical seams.
-
Strip away old wallpaper using a scraper.
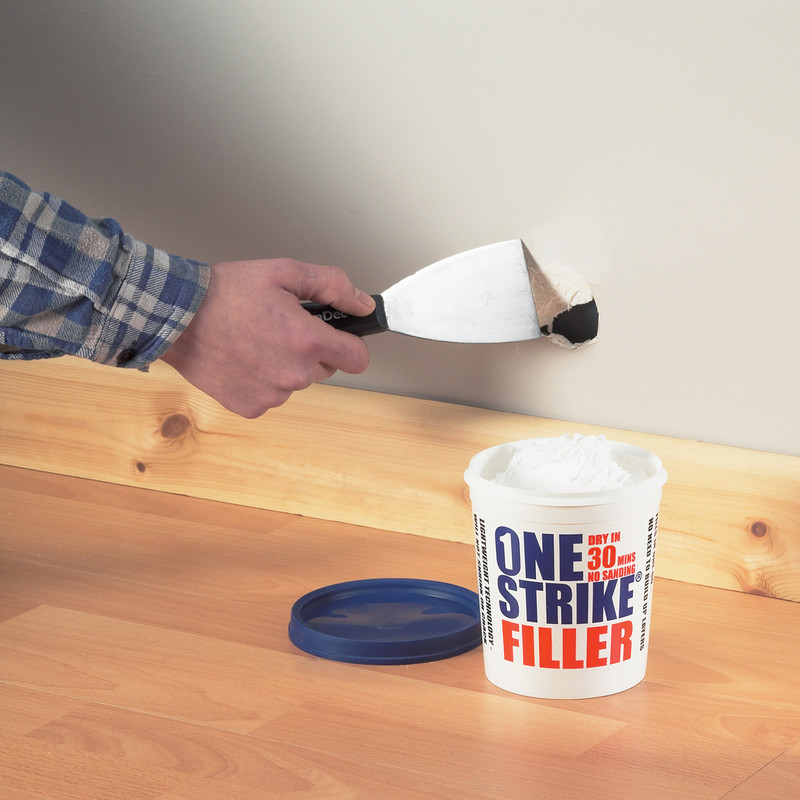
- Use filler on holes or cracks in the wall to leave you with a smooth finish.
-
Give the wall a good wash with a sugar-soap mixture to remove any dust particles and dirt.
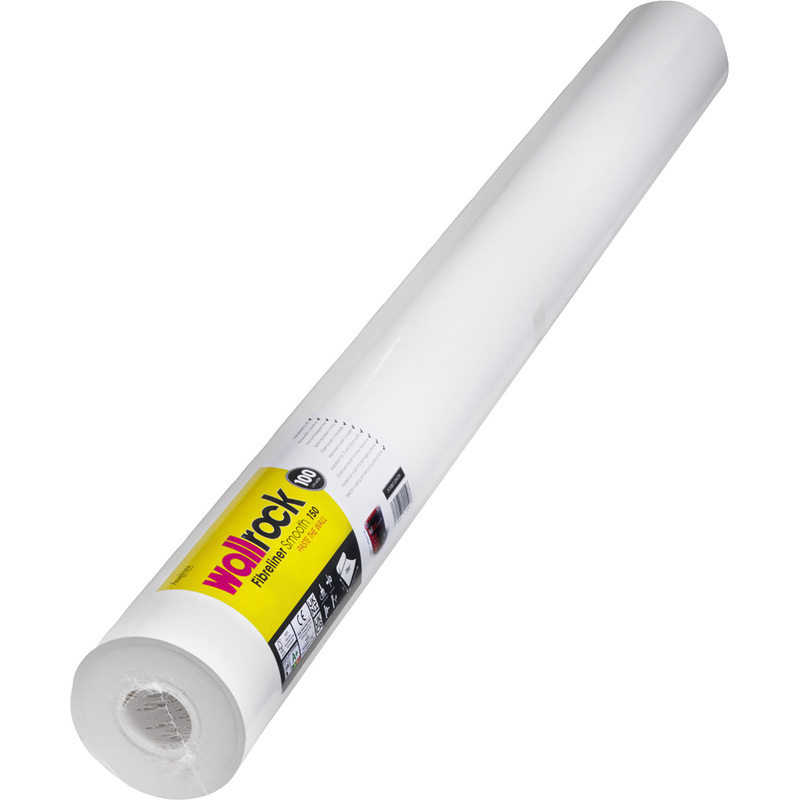
- Apply lining paper to the walls to increase the durability of the wallpaper.
Step 2: Measure & Mark A Starting Point On The Wall
Once the walls are prepped, you'll want to identify where you plan on starting with your first strip of wallpaper. The key thing is getting a straight line for the first piece of wallpaper so that the rest of the strips align properly for an even finish.
-
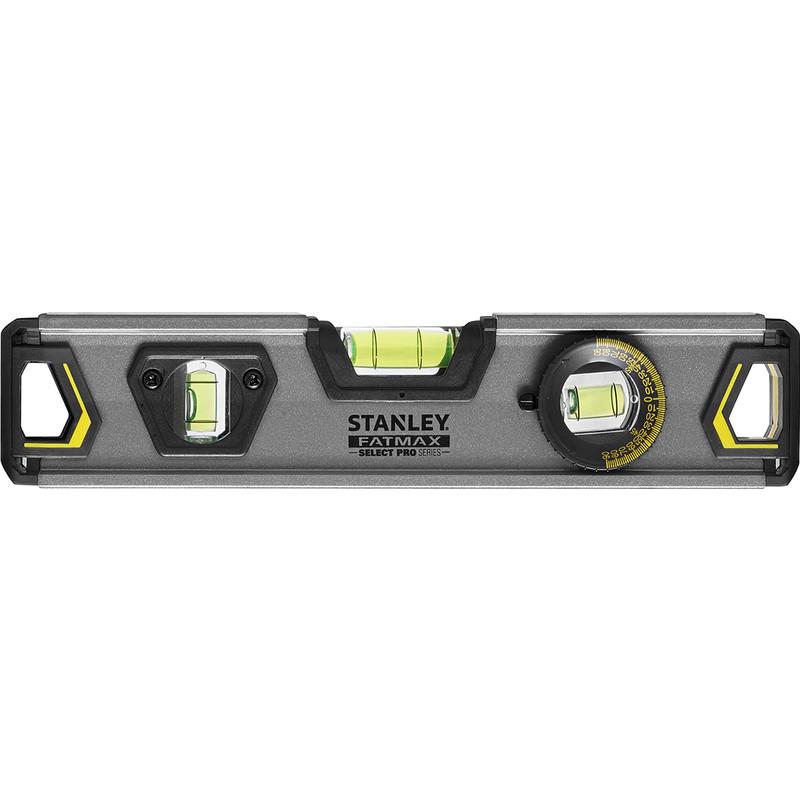
Using a pencil and your spirit level, draw a vertical line down the centre of the wall. You'll work away from this line when you begin wallpapering.
Step 3: Cut And Prepare The Wallpaper
Now it's time to measure the drop of the wall and cut the wallpaper into manageable lengths.
- Use wallpaper scissors to cut the paper into lengths but add an extra 100mm. This allows for easy pattern matching and trimming.
Step 4: Apply The Wallpaper Paste
Once the wallpaper is cut into lengths, get the first strip ready by either laying it flat on a pasting table or on the floor. If laying it on the floor, be sure to place a protective covering down first.
- Mix the wallpaper paste according to the manufacturer's instructions.
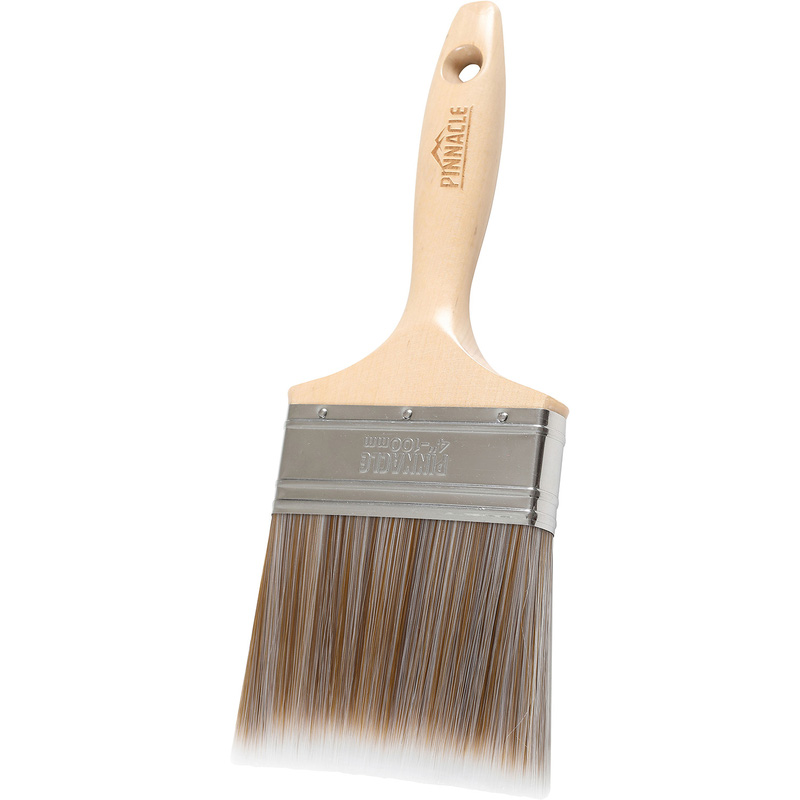
- Use your pasting brush and apply a thin coat of paste evenly to the back of the wallpaper, paying particular attention to the edges.
- Follow the recommend "soak time" to allow the paper to expand before hanging. This helps to prevent any bubbles forming and the wallpaper from stretching.
Step 5: Hang The First Strip Of Wallpaper
After you've allowed the paste to soak into the wallpaper, it's now time to transform those walls!
- Carefully carry the pasted wallpaper to the wall. Align the top of the paper with your marked pencil line and carefully press it into place.
- Smooth the paper up to the ceiling, then down towards the floor. If necessary, slide the paper into place so it lines up nicely with the drawn line.
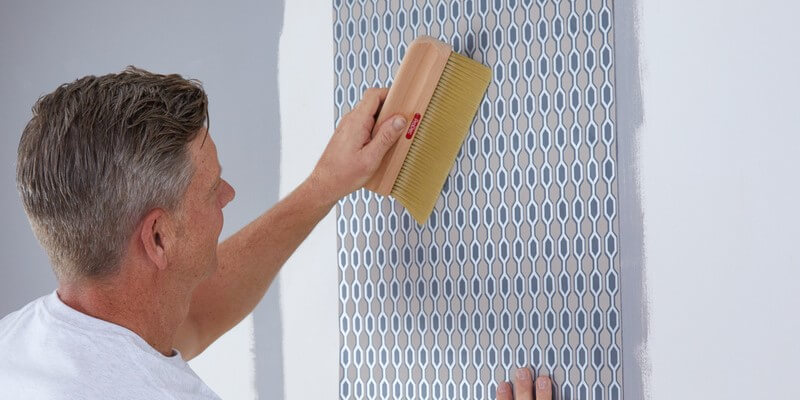
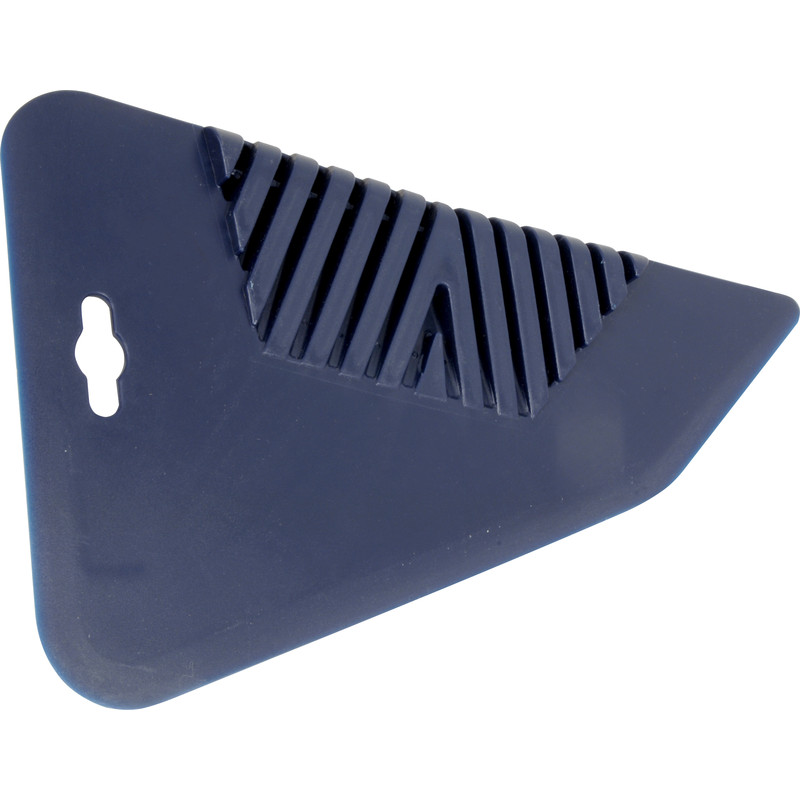
- Grab your wallpaper smoothing tool and lightly apply pressure to remove any air bubbles and ensure that the paper adheres properly. Move from the centre outwards using long strokes.
- Trim the excess at the top and bottom using a utility knife or scissors.
Step 6: Match Wallpaper Patterns and Continue
If you have an intricate or bold pattern on your wallpaper, take time to ensure the pattern lines up properly.
- When aligning the wallpaper strips, do so at eye level as this helps to ensure that any slight stretching of the paper is less noticeable.
- Repeat the process of smoothing out air bubbles and trimming excess paper for each strip. Remember to sponge off any excess paste with a damp sponge to keep your work area clean.
Step 7: Papering In Corners & Along Edges
Corners can be tricky, so take extra care here.
- Measure the distance between the corner edge to the edge of the wallpaper. Do this at the top, bottom, and middle of the wall as not all walls are completely square.
- Add an additional 30mm to the longest measurement and cut a strip of wallpaper vertically.
- Apply the strip in the same way but this time wrap the paper around the corner by just a few millimeters to avoid overlaps and to help with pattern matching.
- If you're only papering one wall, use a straight edge to trim the paper neatly at the corner, and apply a small amount of adhesive if necessary to secure the edge.
Step 8: Wallpapering Around Power Sockets & Switches
Before wallpapering around sockets or switches, it's important to isolate the power to them before you start.
- When applying the strip of the wallpaper allow it to gently rest over the top of the socket
- Take a pencil and use it to lightly score at the corners of the socket.
- Carefully pierce a hole in the centre of those marks.
- Use scissors to cut from the hole diagonally, out to each of the markings. Trim away excess paper but leave a slight overlap.
- With a screwdriver, loosen the socket or switch and then carefully tuck the paper behind the switch before securing back to the wall.

