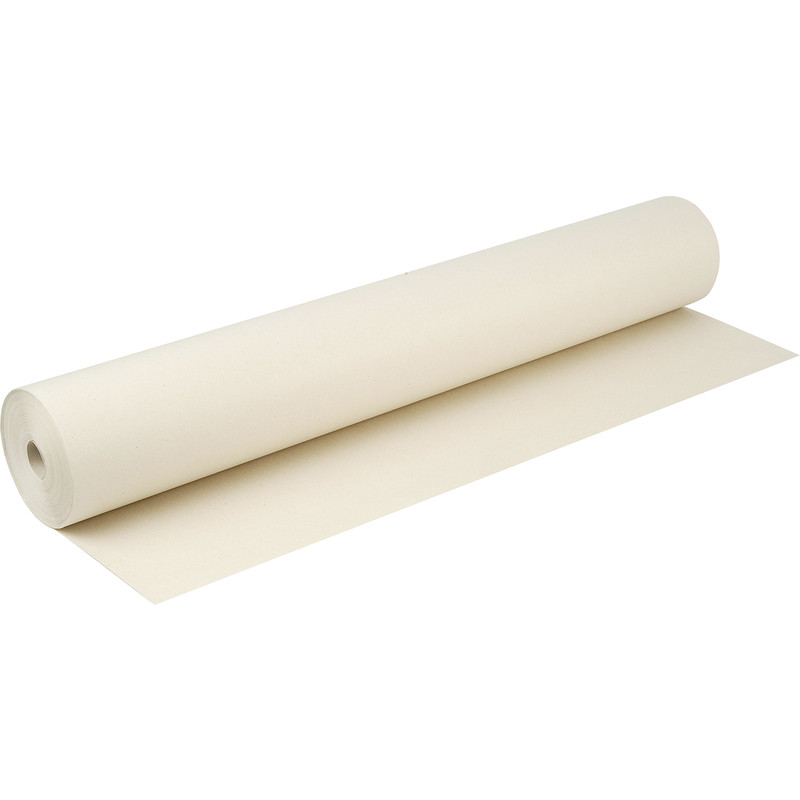
Hanging lining paper before you wallpaper a room or paint the walls, helps to create a smooth, even surface, while disguising minor imperfections and inconsistencies.
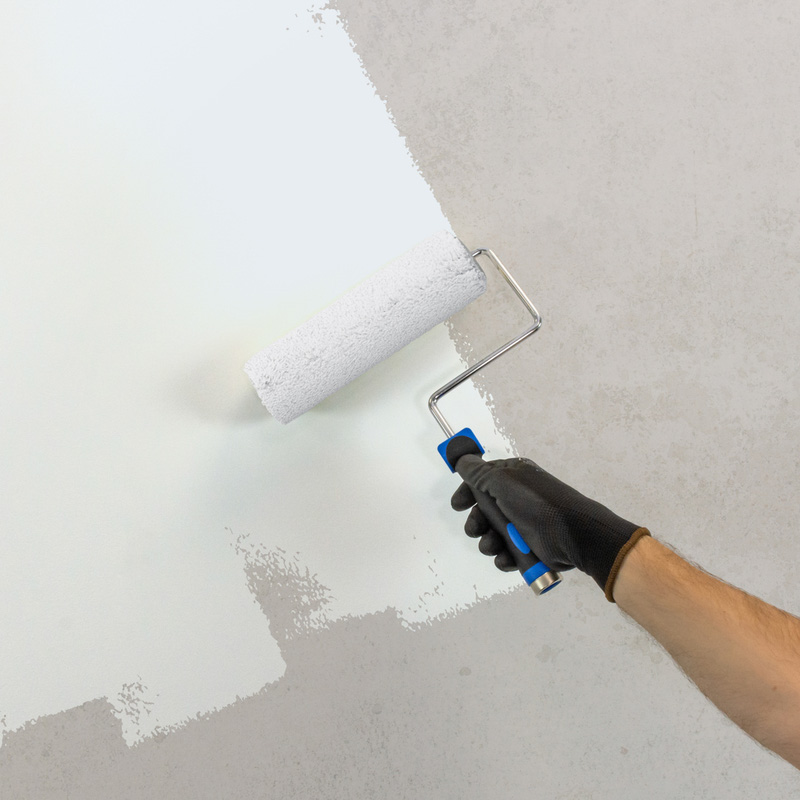
If you're brightening up a room with a fresh lick of paint then lining paper is perfect to hide patches and marks that would otherwise show up underneath newly applied paint. On the other hand, if you're applying wallpaper, then lining paper can prevent shrinkage ensuring a neat and uniform finish with no unsightly gaps.
If you want to learn how to hang lining paper, keep reading as this guide will take you through the essential steps, setting up a flawless foundation for your wallpaper or paint.
Before you start, it's important to note that lining paper is not intended to cover up significant wall damage. In the case of things like a hole in the wall or large cracks, you'll need to get these sorted before you apply any lining paper.
Essential Tools & Equipment To Hang Lining Paper
You'll find that lining paper is available in different thicknesses, these are referred to as grades. The grade you'll need will depend on the condition of your walls.
Grade 600 lining paper, being the thinnest, is best for walls that are in relatively good condition. Conversely, grade 2000 lining paper is the thickest and better for walls that have very noticeable imperfections, such as stains from water leaks.
Step 1: Prepare the Wall Surface & Room
While lining paper does a great job of disguising things like water marks and nicotine stains, you'll still need to carry out a bit of prep work before you hang the lining paper.
-
Make room by clearing away furniture and take down any wall fittings, like shelving and pictures. To protect things like carpets from adhesive splashes, throw down a few dust sheets.
- Check that walls are clean, dry, and stripped of any existing wallpaper.
- For newly plastered walls, apply a thin layer of water-diluted paste then wait for it dry.
- Fill any holes and cracks with sealant. Once dry, sand thoroughly until smooth. In the event of any dust residue, wipe down the walls with a damp sponge and wait for this to dry.
Step 2: Measure and Cut the Lining Paper
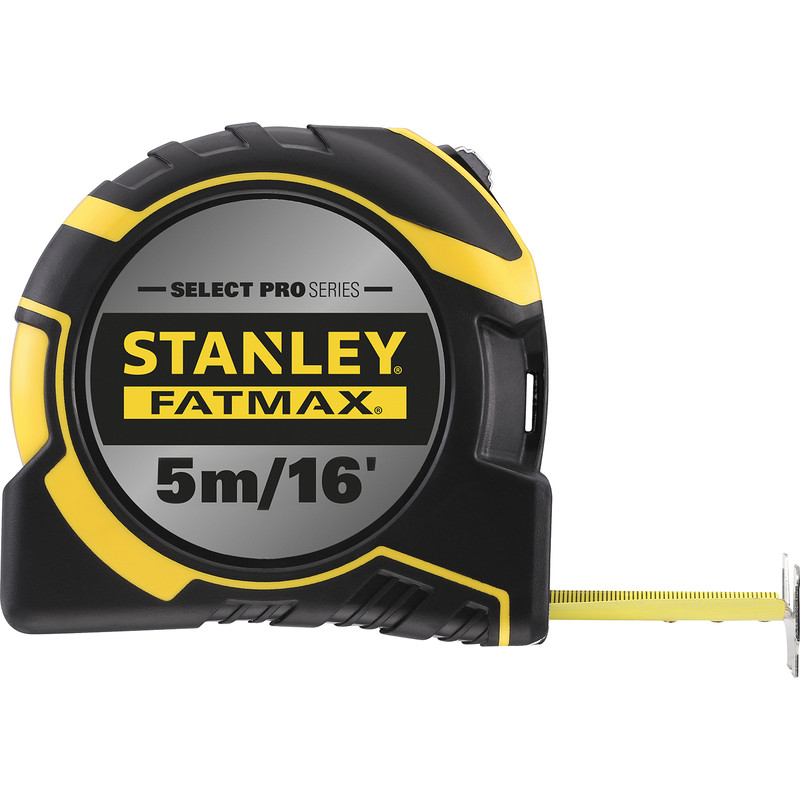
With your tape measure, measure the width of your wall and cut the lining paper 10 cm longer than the required length. This extra length allows for adjustments when hanging the paper, you'll trim away any excess later. Cut the number of lengths that you'll need to cover the entire wall.
Step 3: Apply Paste to the Lining Paper
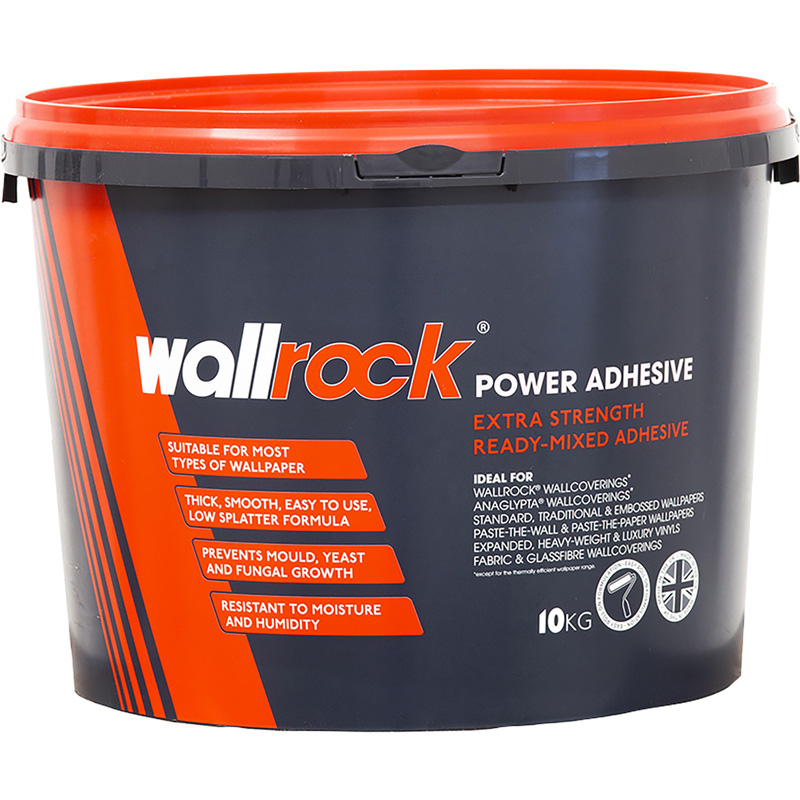
Whether you're using pre-made wallpaper paste or a mix that you blend yourself, get this ready to apply to the lining paper. Make sure the consistency of the paste is smooth and completely free of lumps.
-
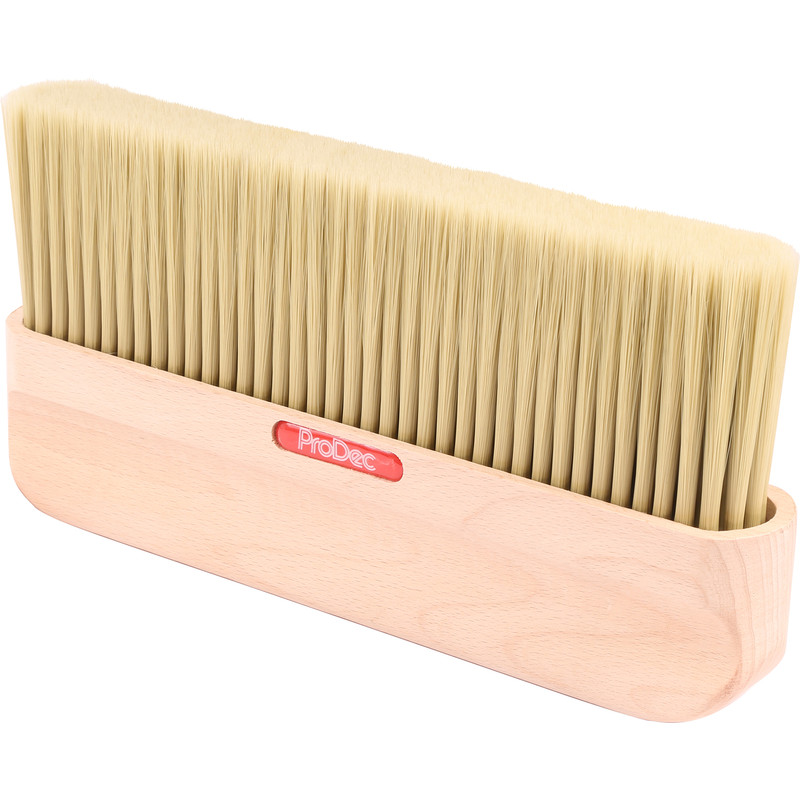
Using your wallpaper brush, apply paste to the lining paper, starting from the centre and working outwards. Be sure to cover the edges thoroughly.
- Once completely covered in paste, fold the paper back and forth in a concertina style.
- Set it to one side and continue on to paste the next length of lining paper.
Step 4: Allow Paste to Soak In
You'll need to make sure that you allow for sufficient soaking time for the paste to penetrate the lining paper. Doing this means that the paper can expand and prevents issues like bubbles and creases once the paper has been hung.
Most wallpaper paste needs around 5 to 6 minutes to fully soak into the paper, double check the guidance on the pack to be sure.
Step 5: Hang the First Length of Lining Paper
There are two ways of hanging lining paper and which one you choose depends on how you plan on decorating the wall.
- If you're going to be painting the walls, you'll want to hang the lining paper vertically. This method is easiest and ensures a smooth and even finish for the coats of paint.
- On the other hand, if you plan on wallpapering then it's best to hang lining paper horizontally. In trade circles, this method is referred to as cross-lining and prevents the seams of both the lining paper and wallpaper from overlapping which can result in a bumpy finish.
- Starting from a top corner, position the lining paper either horizontally or vertically. Allow for a little overlap on opposite walls and ceilings.
- Gently unfold the lining paper as you go, and brush the paper to smooth out any air bubbles and ensure the edges are well-adhered. Add a little more paste if you need to.
Step 6: Hang Subsequent Lengths of Lining Paper
With the first length of lining paper in place, you're now ready to proceed with the remaining lengths.
- Line up the next length of lining paper directly alongside the first length.
- Slide it into position so that edges are touching, but not overlapping.
- Smooth into place using the wallpaper brush.
Step 7: Trim the Edges of the Lining Paper
With all the lengths of lining paper in place, you're now ready to trim away any excess and smooth down the edges.
-
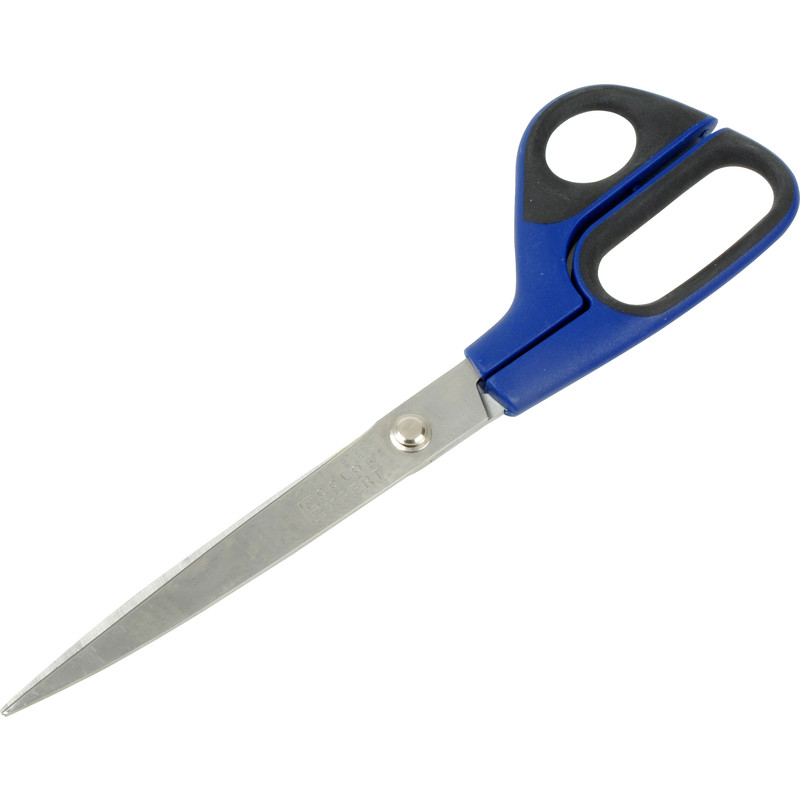
Using the back of the wallpaper scissors, press this into the edges.
- Carefully score a line along the edge, this makes it easier to trim away any unwanted paper.
- Pull the paper away from the wall, just enough to be able to cut away the excess, then use your scissors to cut along the scored line.
- Smooth the lining paper back down into place and run the brush over it to get rid of any air bubbles or creases.
Step 8: Leave the Paper to Dry Completely
While you're probably keen to get to work painting or wallpapering your newly lined wall, it's important to allow for sufficient drying time. Give it around 24 hours before you start decorating. In the meantime, why not take a well earned break!

