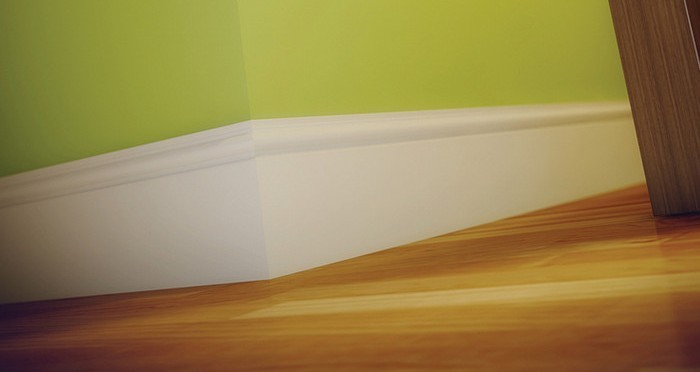
Before sprucing up your skirting boards with a fresh coat of paint, it's important to prep them beforehand for a long-lasting finish.
Follow our easy-to-follow process for prepping and painting your skirting boards. Our step-by-step instructions will ensure you achieve a professional finish everytime.
Essential Tools To Paint Your Skirting Boards
Step 1: Clean the Skirting Boards
First things first, you'll want to take some time to clean your skirting boards to remove any dust, dirt, and grime. Doing this step stops your sandpaper from becoming clogged which could affect the paint finish, so be sure not to skip it!
Step 2: Sand the Skirting Boards
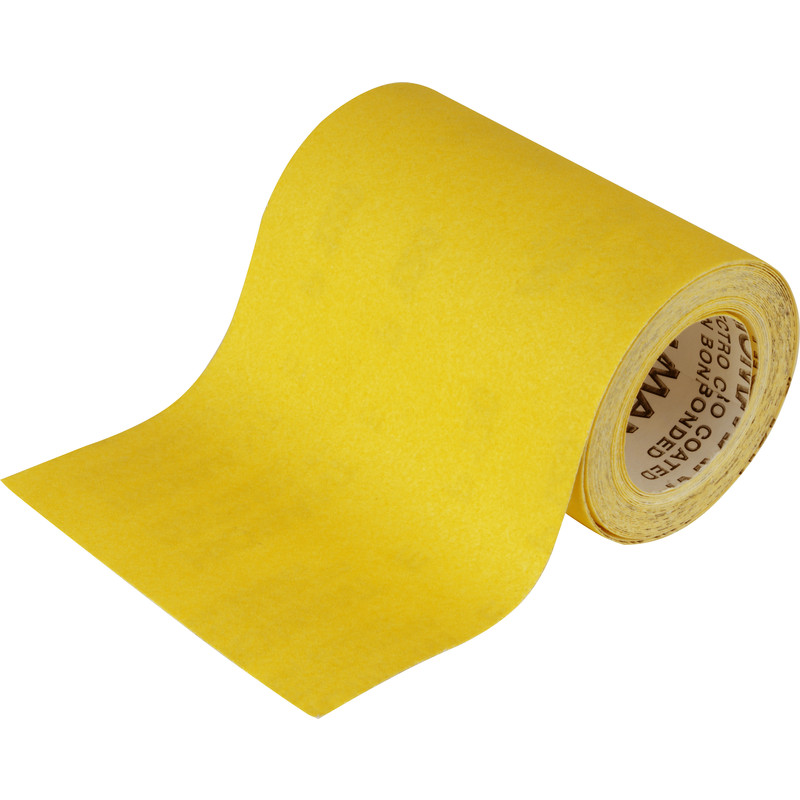
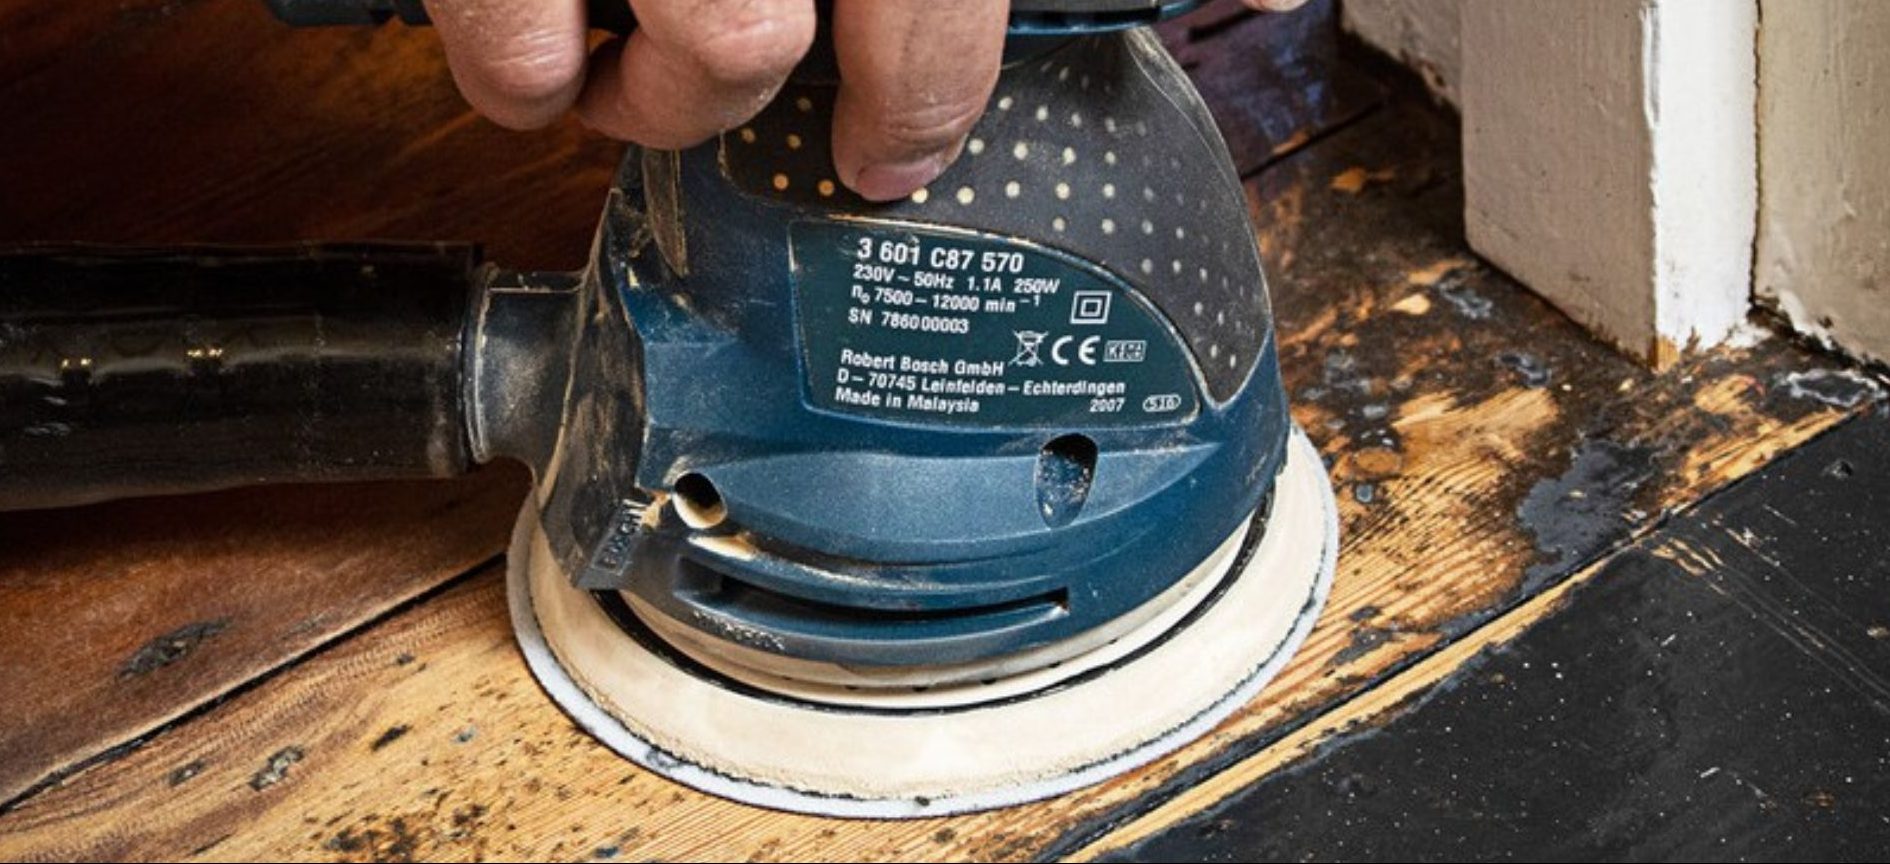
Once the skirting boards are clean, it's now time to remove any remaining paint. Grab some sandpaper to lightly sand the skirting boards. The aim here is mattify the wood and remove any shine as this will allow the new coat of paint to adhere properly.
Sanding jobs tend to result in a lot of fine dust particles so you may want to wear a protective mask to prevent you from inhaling any residue.
Step 3: Use Paint Stripper if Necessary
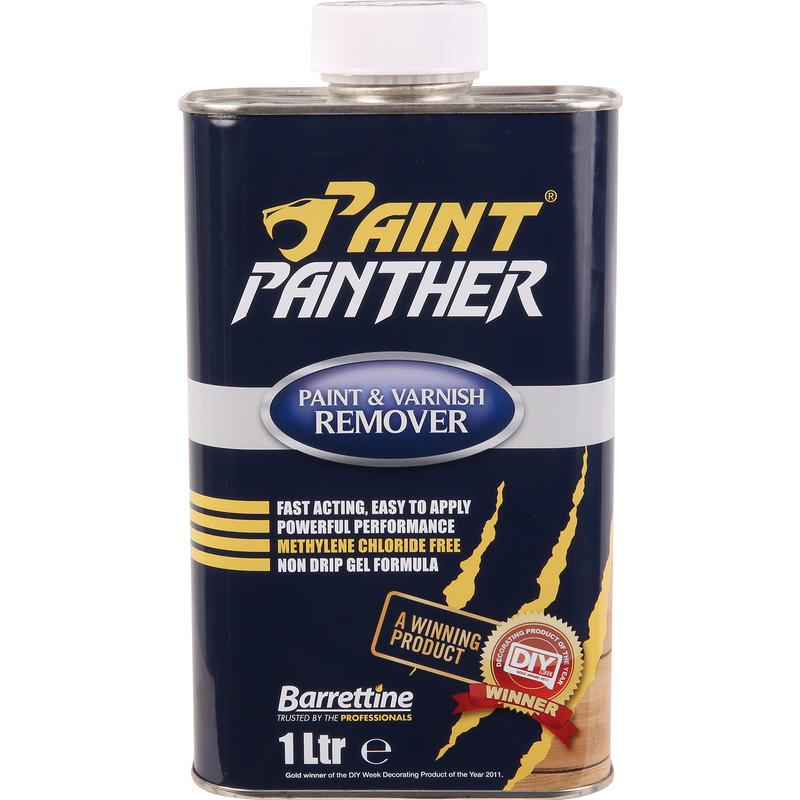
If the old paint on the skirting boards is very thick, it's a good idea to apply some paint stripper so it's easier to remove. Make sure you wear some protective gloves if doing this step and follow the manufacturer's instructions.
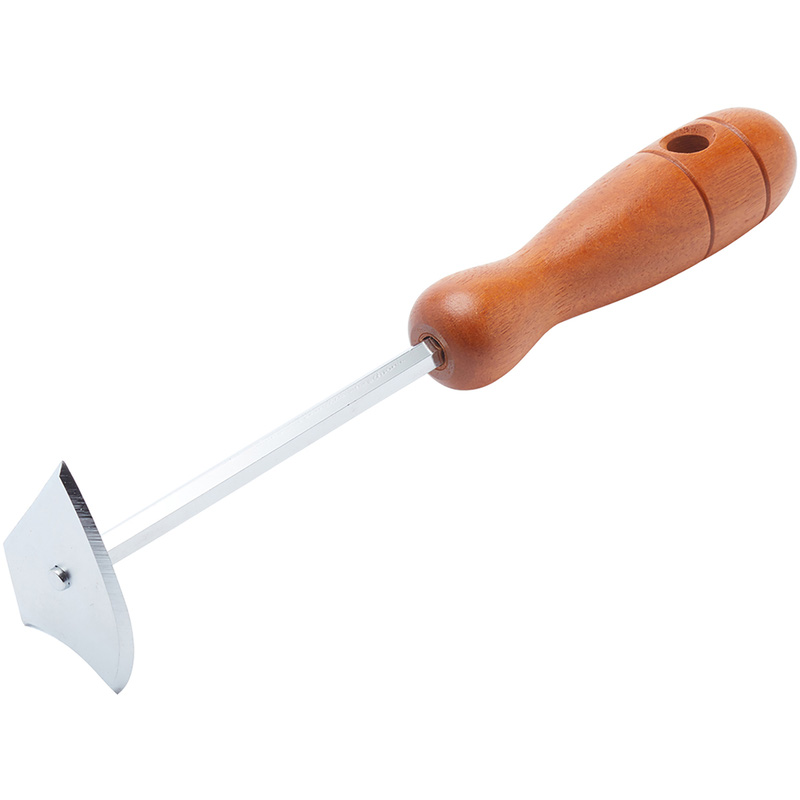
Once the paint stripper has softened the old paint layers, use a paint scraper to carefully scape it away. Take care not to damage the wood. You don't need to remove all the paint, just the top layer should do. Just make sure it's matte and smooth to the touch once you're done.
Step 4: Vacuum the Area Thoroughly
Your newly sanded skirting boards have probably left behind a lot of dust and debris. Give the area a quick vacuum and wipe down the skirting boards. Doing this will prevent any dust from interfering with the painting, resulting in a smoother finish.
Step 5: Mask the Surrounding Areas
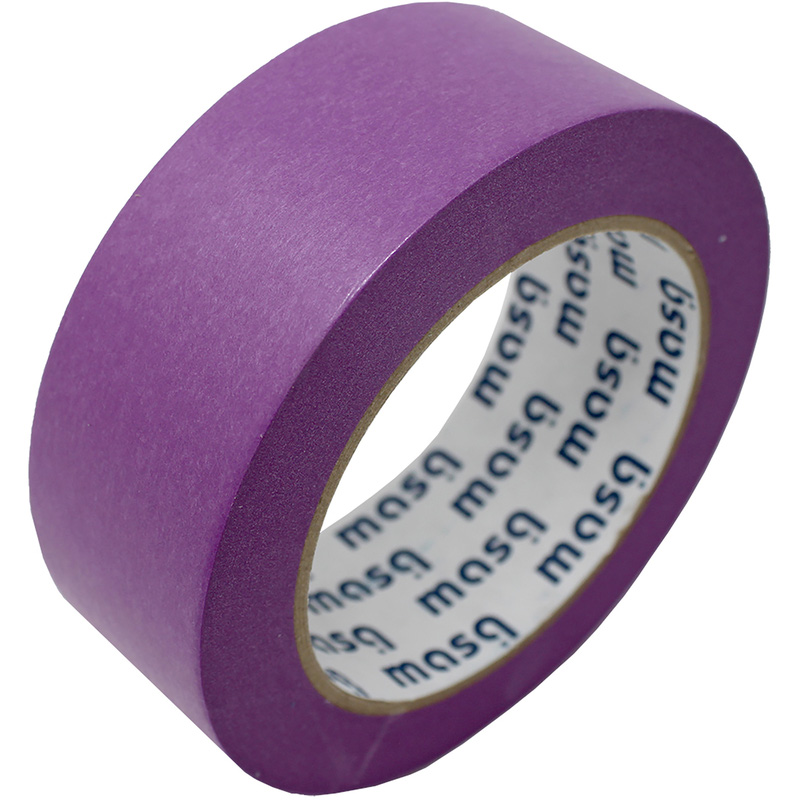
Next step is to mask off any areas you want to protect from the paint. Removing oil-based paint can be tough so take some time to ensure that all walls and floorings are sufficiently covered.
-
Firstly, apply masking tape where the top of the skirting boards meet the wall.
- Secondly, apply tape along the length of any carpeted areas then gently tuck the tape under the boards.
- For detailed areas like corners and trims, cut smaller pieces of tape to fit neatly.
Step 6: Apply the Paint
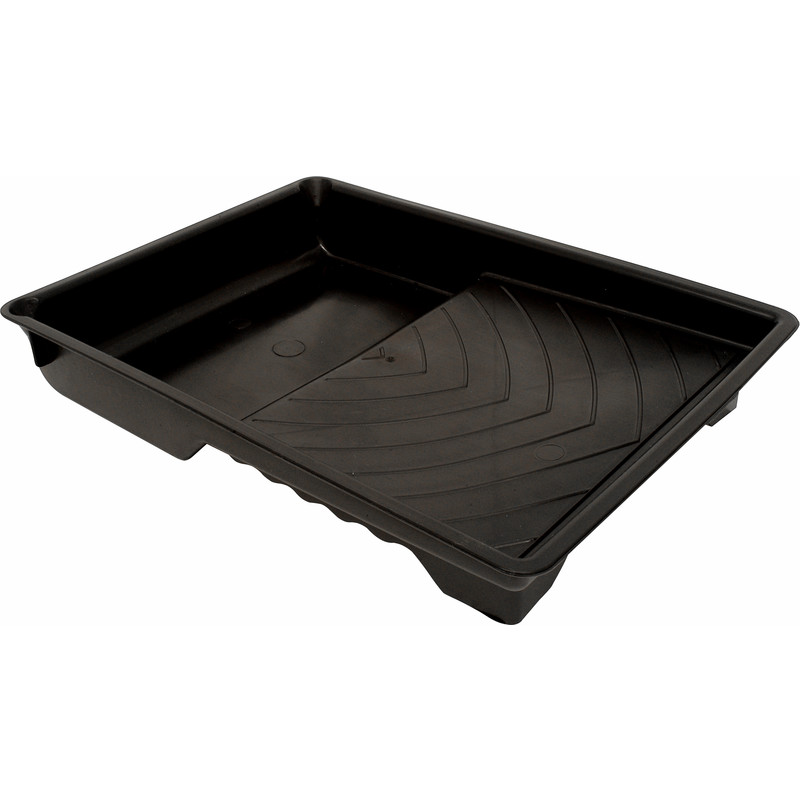
Open up your tin of paint and give it a good stir to remove any lumps. Now pour a small amount of paint in your tray, this helps to prevent overloading of your brush making paint drips much less likely.
-
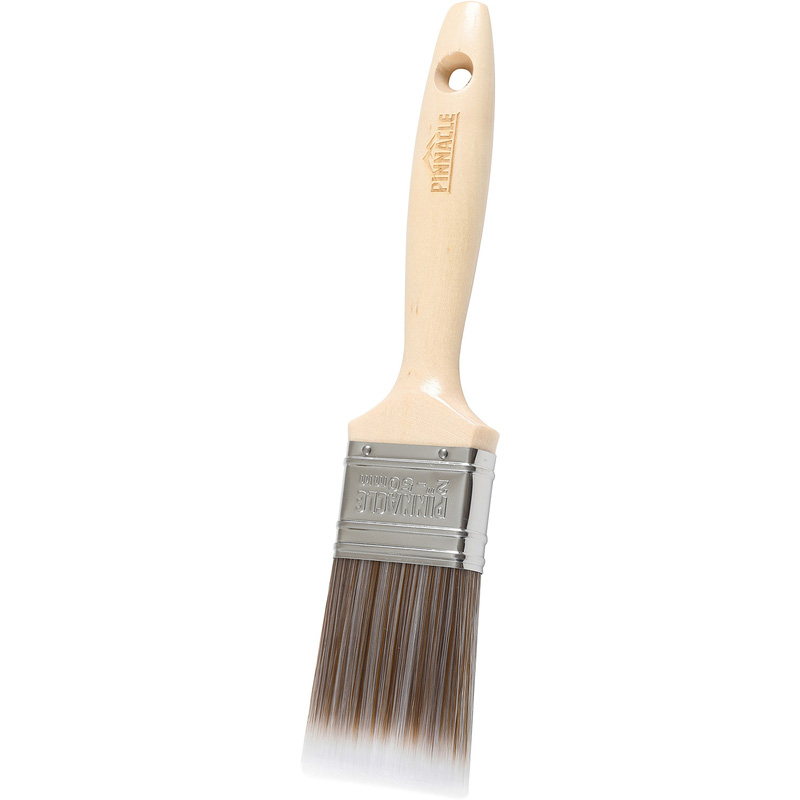
Load a small amount of paint onto your paint brush.
- Use long strokes and go along the wood grain to avoid visible brush marks.
- If you want to apply a second coat, wait until the first coat is completely dry first.
Step 7: Remove the Masking Tape
For water-based paint, carefully remove the masking tape after about 20 minutes when the paint is tacky. If using oil-based paint, wait at least 2 hours before removing the tape to avoid lifting the paint. Keep the tape flat to prevent peeling off any paint. Use a flat edge tool to clean up any paint that may have seeped through.

