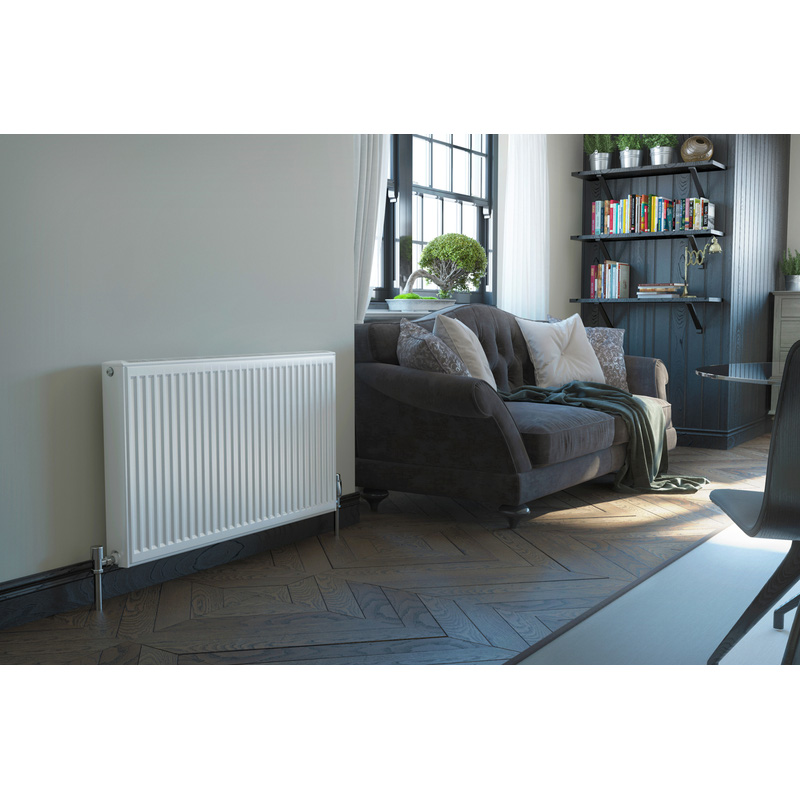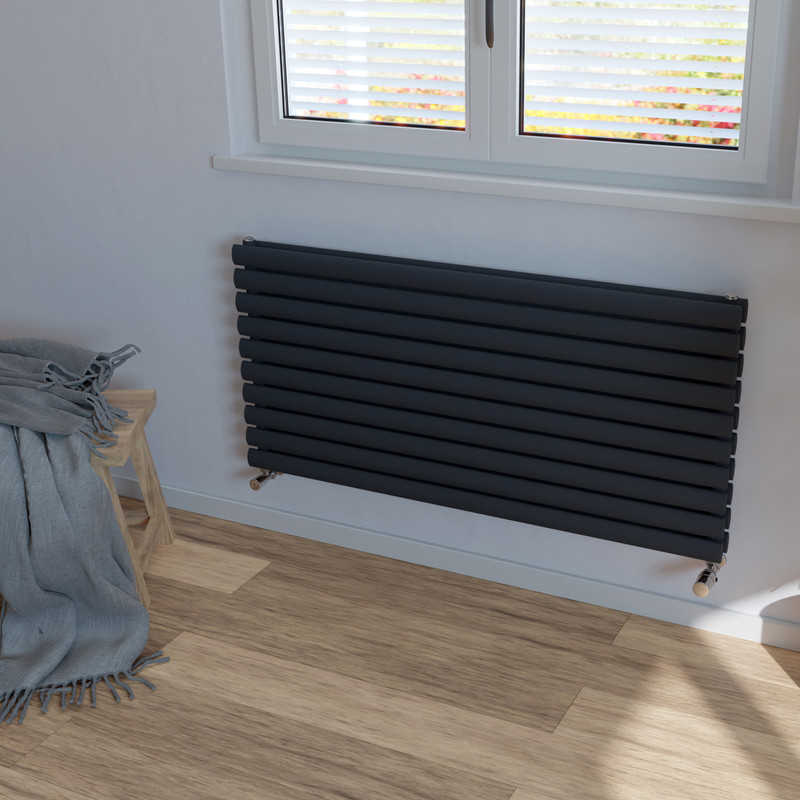
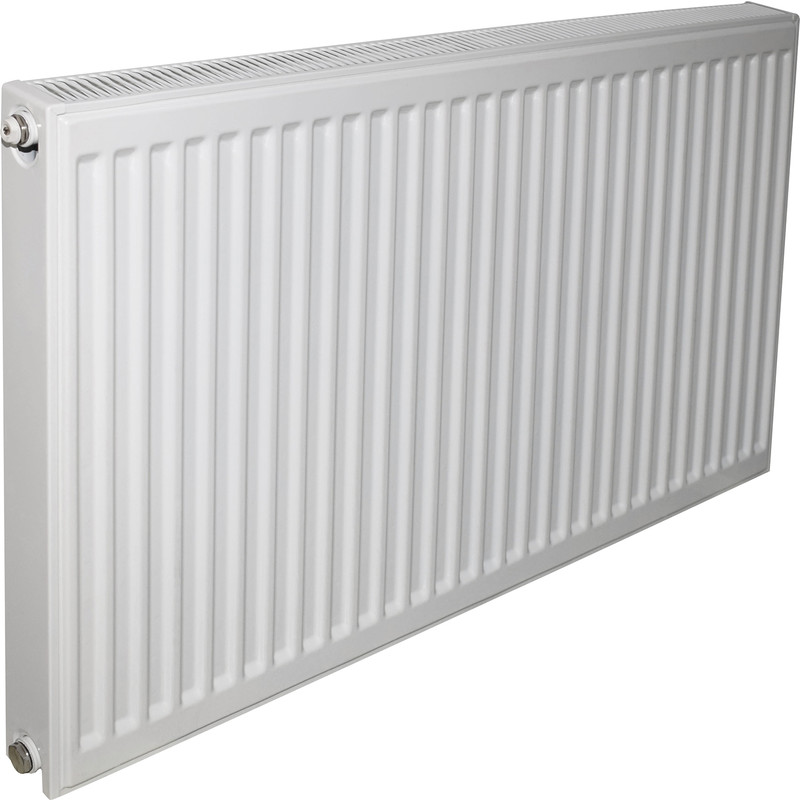
How To Replace A Radiator
While replacing a radiator might seem intimidating at first, it's actually a manageable DIY project for most people with the right tools and guidance.
Whether your existing radiator is out of action and needs a bit of maintenance, or you're looking to switch to a new model, we'll walk you through the steps to help you complete the job efficiently and with minimal downtime to your heating system.
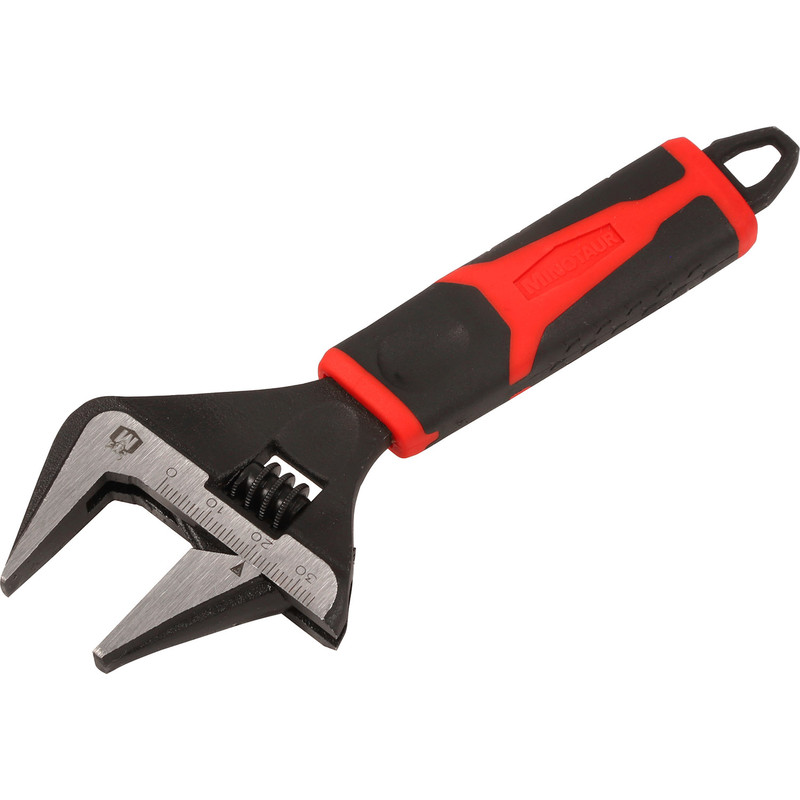
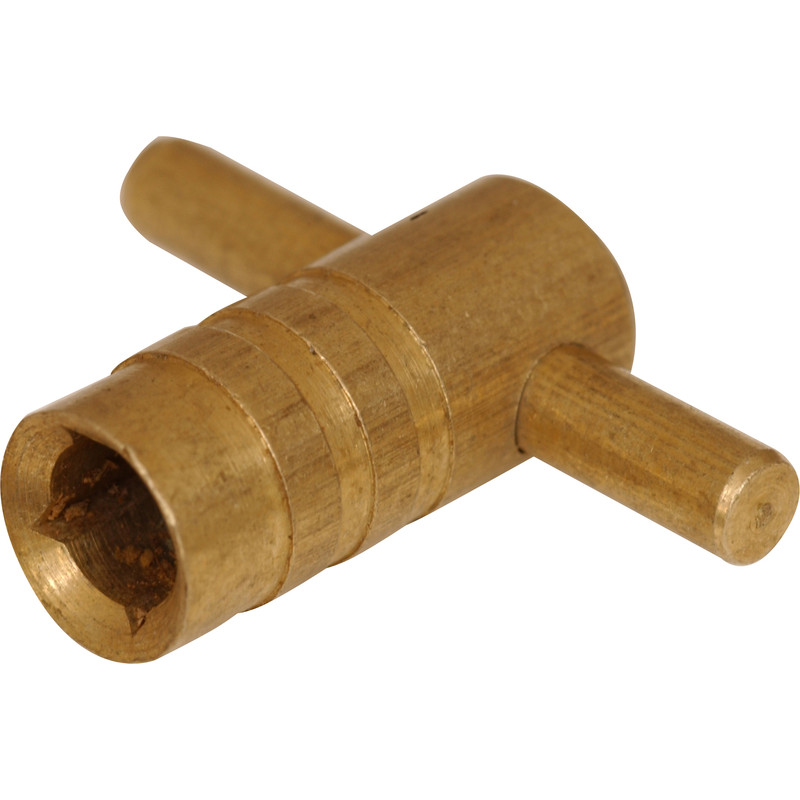
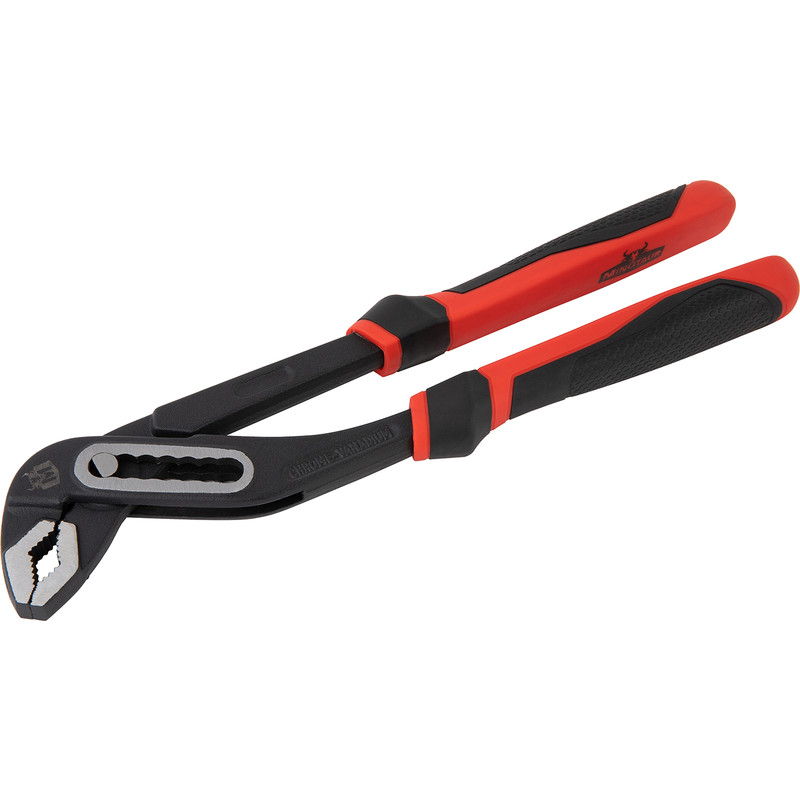
Tools Needed To Replace A Radiator
Step 1: Turn off the Radiator Valves
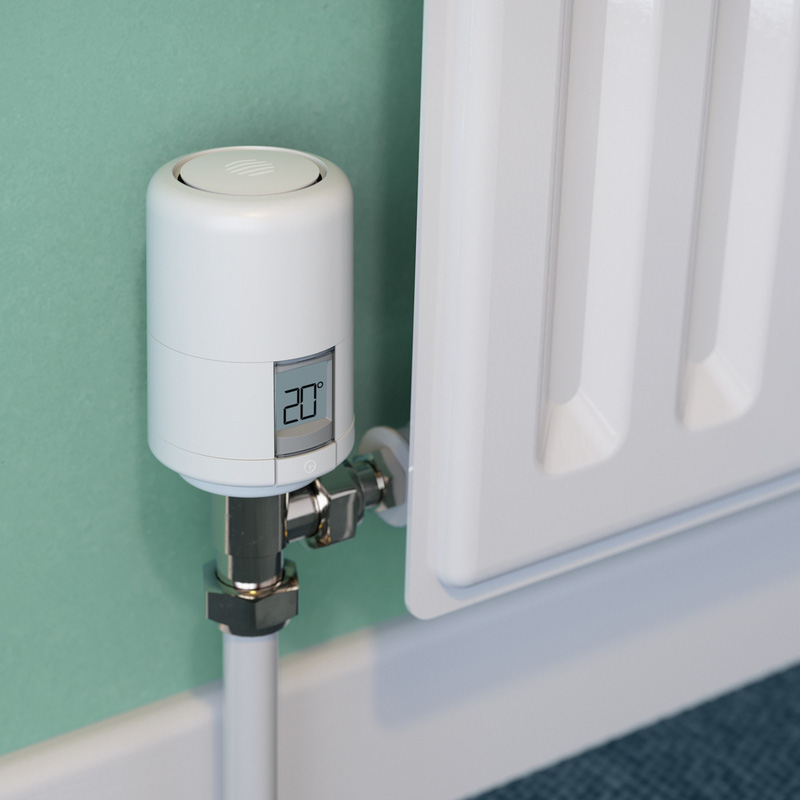
First thing to do is turn off the radiator valves. This will isolate the radiator from the rest of the heating system and prevent hot water from entering. There are two valves, one on each side of the radiator, so make sure to turn them both off.
You'll see that one side has a thermostatic radiator valve (TRV) , simply turn it clockwise until it’s fully off. On the other side, there's a lock shield valve, which helps balance the radiators so they heat up evenly. To turn it off, remove the plastic cap and use an adjustable spanner to turn the pin on top.
Be sure to note how many times you turn the valve, as you'll need to reopen it to the same number of turns when you reattach the radiator or fit a new one.
Step 2: Bleed the Radiator
Now that the radiator is isolated from the rest of your heating system, you’ll want to release the pressure from it. This is more commonly known as bleeding a radiator. Grab your radiator bleed key and a small container to catch any water run-off.
-
Locate the radiator bleed valve. You can usually find this at the top of your radiator, on the side.
-
Ensure the small hole on the valve is facing away from the wall to prevent water from splashing onto the wall. Place the bleed key over the valve and hold a container beneath it.
-
Then, turn the key counterclockwise. Water should begin to flow from the valve into the container. Allow a minute or so for the radiator to fully bleed. If water keeps flowing, it’s possible the valves weren't properly isolated, so be sure to double-check. Then close the bleed valve.
Step 3: Undo the Nut on the TRV
Before loosening off the nut on the TRV be sure to place a container underneath to catch the water. Something like a plumb tub is ideal as you can position it close to the wall. Keep in mind that the bigger the radiator, the more water will drain off.
-
Take the water pump pliers and hold them securely around the base of the valve. This holds it in place and prevents unnecessary pressure.
-
With your adjustable spanner, carefully loosen off the nut. Use your fingers to undo it fully.
-
Gently pull the valve away from the radiator. Water should start to flow from the pipe and into the container. The time it takes for the water to fully drain will depend on the size of the radiator.
-
A helpful trick to speed up the process is to open the bleed valve. This lets air into the radiator, aiding in the expulsion of water from the loosened valve.
Step 4: Slacken off the Nut on the Lock Shield Valve
Once the water has drained from the TRV, there’s likely going to be some remaining at the very bottom of the radiator. To get rid of this, loosen off the nut on the lock shield valve. Use the same method as in Step 3.
Step 5: Tilt the Radiator To Drain Remaining Water
Using both hands, carefully lift the radiator up on one side to tilt it. Any water left in the bottom of the radiator should pour away from the loosened TRV. Once you’re happy that the radiator is completely empty, lower the radiator back down onto its brackets.
Step 6: Remove the Radiator from the Wall
You’re now ready to remove the radiator from the wall. To do this, simply take hold of the radiator from the bottom and lift it up until it’s away from the wall brackets.
Step 7: Fit New Radiator Brackets
If you’re sticking with your current radiator and are simply removing it for a bit of maintenance or decorating the wall behind, you won’t need to worry about fixing new brackets so you can skip this step.
However, if you’re upgrading to a new radiator ensure that the brackets will be suitable. If not, replace them with new ones. These are often supplied with a new radiator along with the appropriate fixings.
Step 8: Lift the Radiator onto the Brackets
If the radiator is particularly heavy, it may be helpful to ask someone to give you a hand with this next step. Carefully lift the radiator against the wall and lower it down so it hooks onto the lugs of each bracket. Double check it feels secure and sits level.
Step 9: Realign the Valves and Pipework
With the radiator securely positioned, reconnect both the TRV and lock shield valve. Use your fingers to fasten the nuts on both valves and then tighten up with the adjustable spanner.
Now it’s time to open up the lockshield valve. As you do this, you’ll probably hear water flowing back into the radiator. Make sure to open it up the same number of turns as when you closed it off, and then set the TRV to your chosen setting.
By replacing the radiator, you may have introduced air into it. In which case, you’ll need to bleed it again like you did in step 3. Once you’ve done this, close the bleed valve and check all the pipework for any leaks.